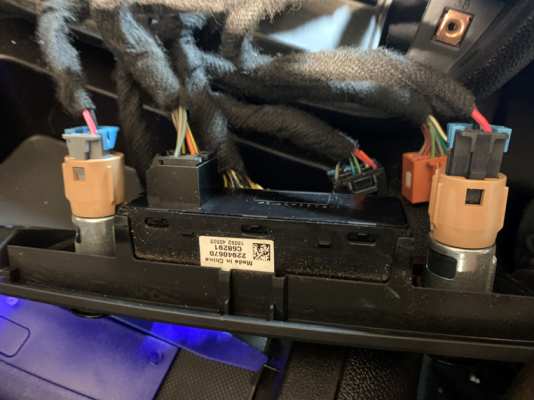
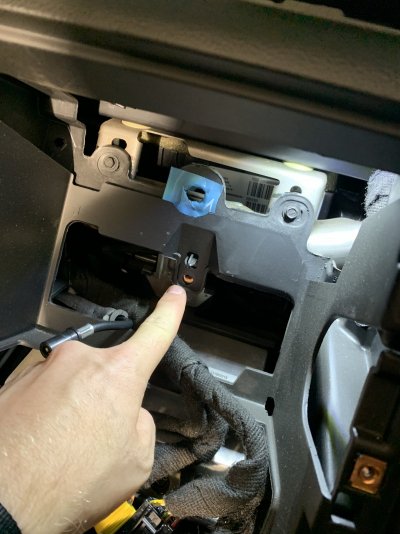
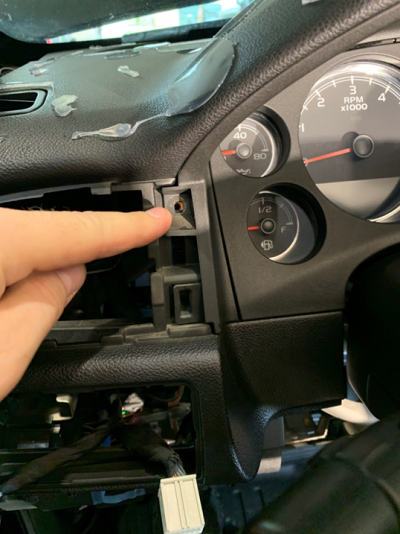
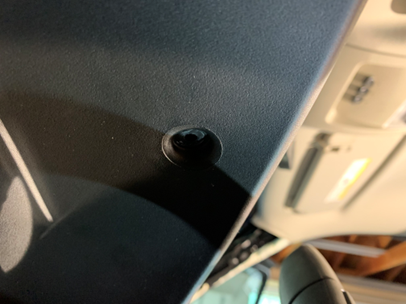
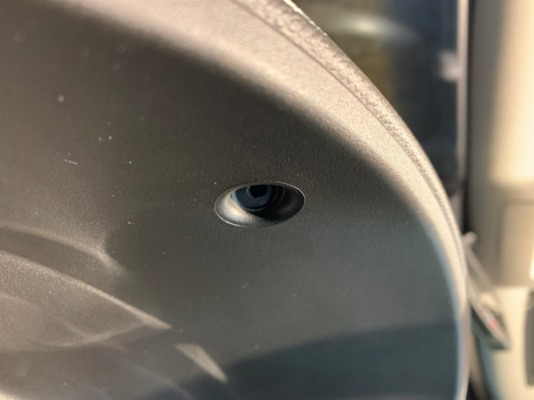
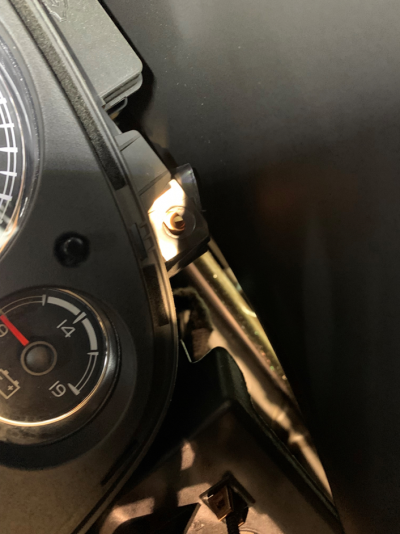
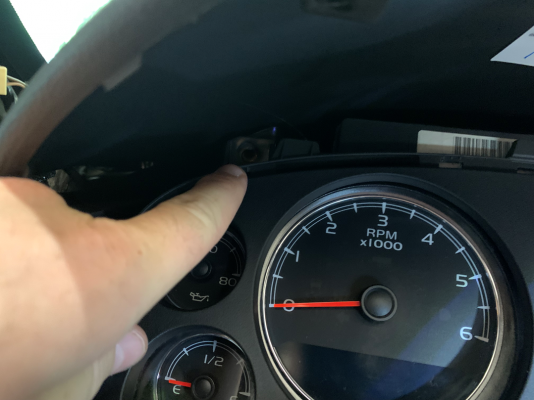
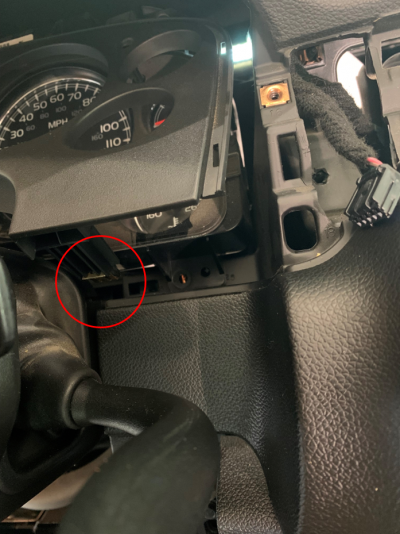
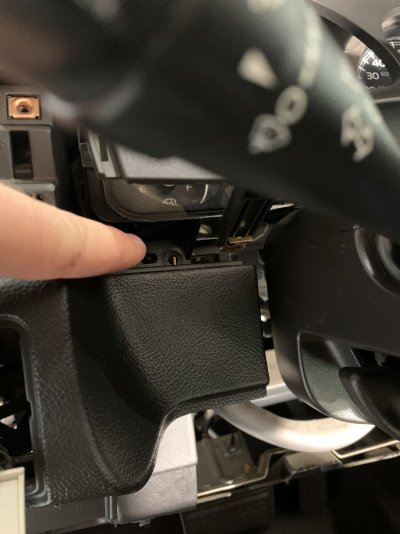
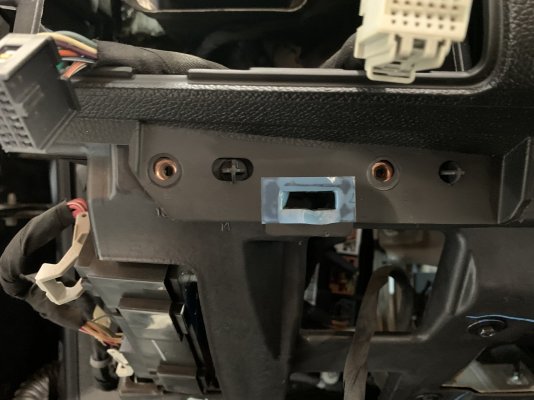
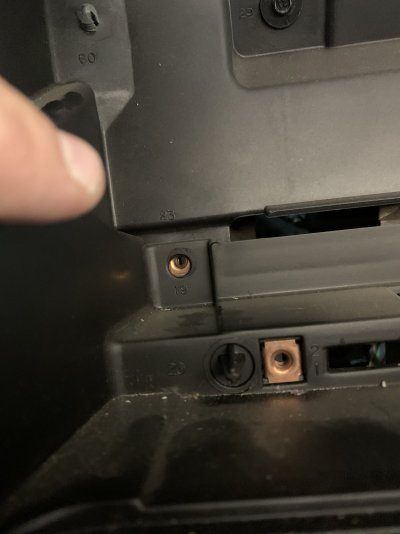
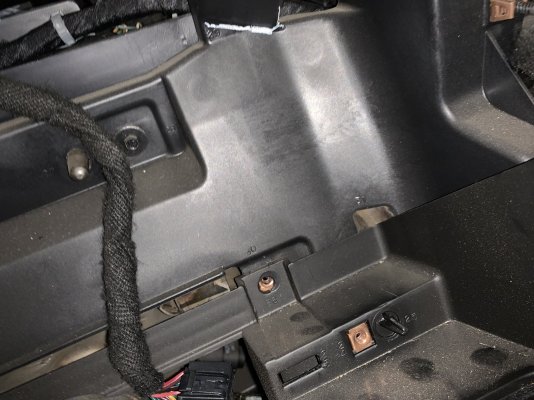
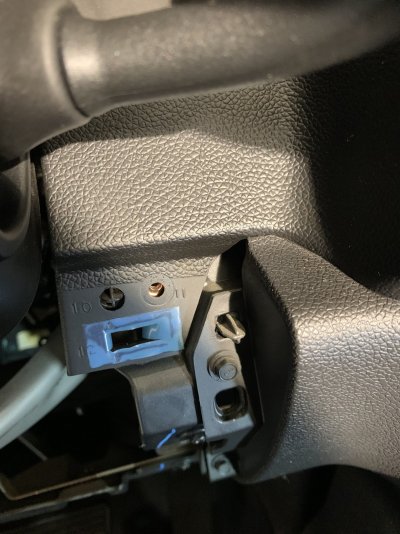
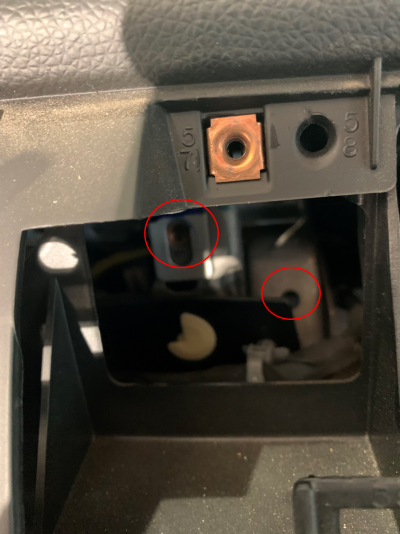
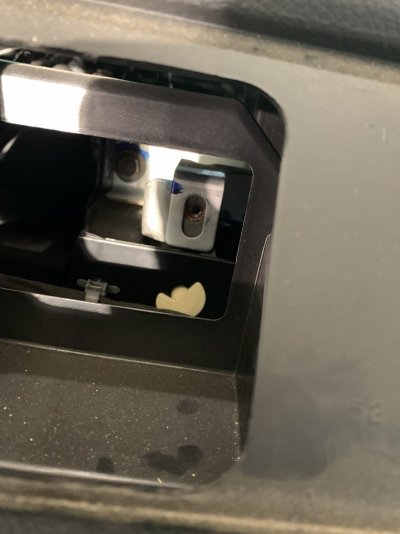
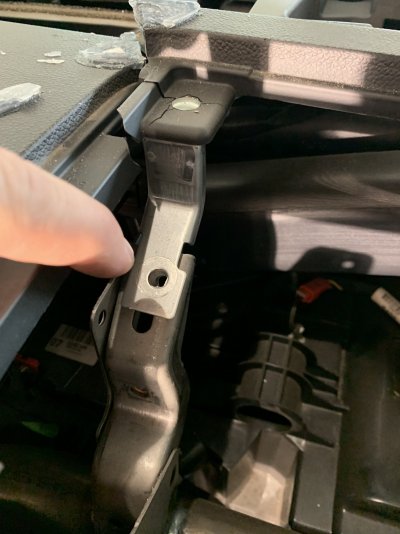
I wanted to share with the community my process of how I replaced the dashboard in my 2013 Yukon XL 2500; there seems to be a lot of good info already shared but I was never able to find a complete guide to the process. This is simply how I was able to accomplish the replacement and is not necessarily the right or wrong way, if you are unsure, please consult your local GM service center.
Before you get started, ensure that you have the following:
The GM part number for the dash is 23224747, this is a non-center speaker ebony interior and 23224733 for the extension. I went with a Dorman product for the extension which is 926-336.
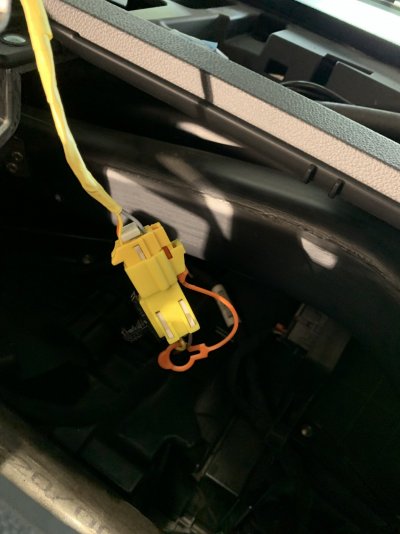
Before I began, I separated the key from the remote and shifted into M while also setting the parking brake. I then disconnected the battery and held the horn for 30+ seconds to ensure there was no more electricity in the system prior to removing the air bags.
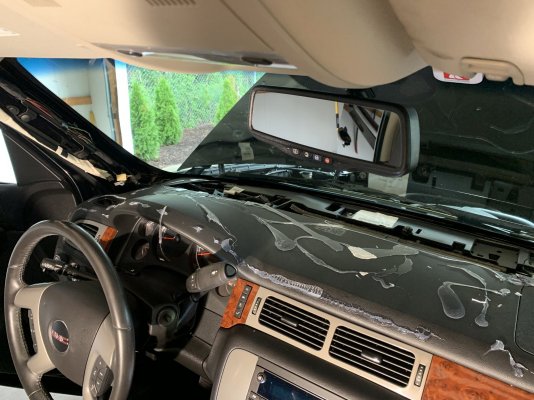
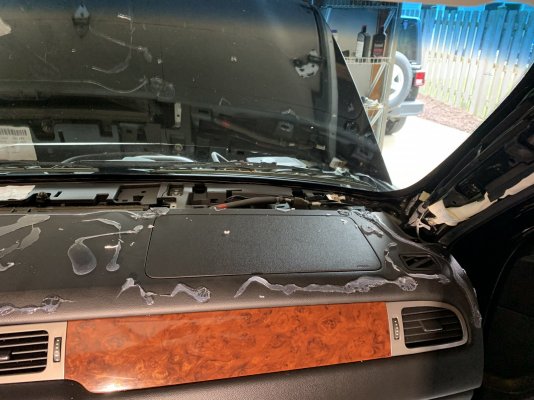
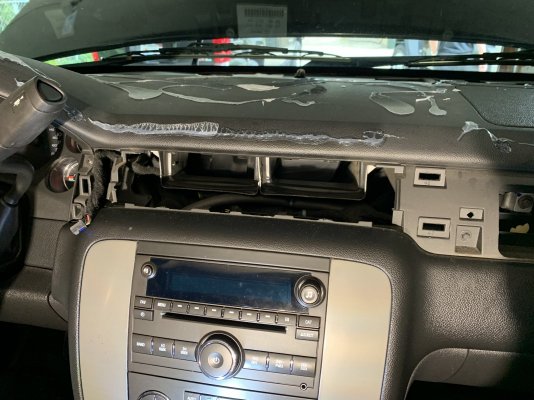
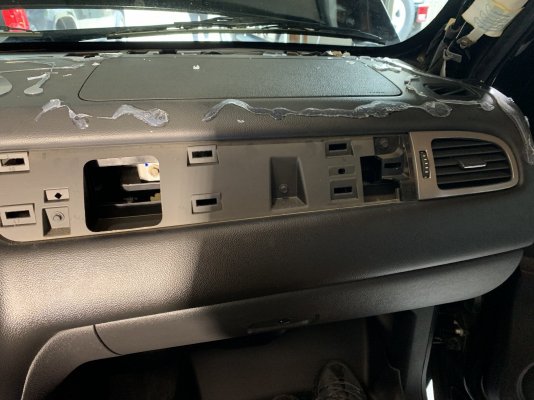
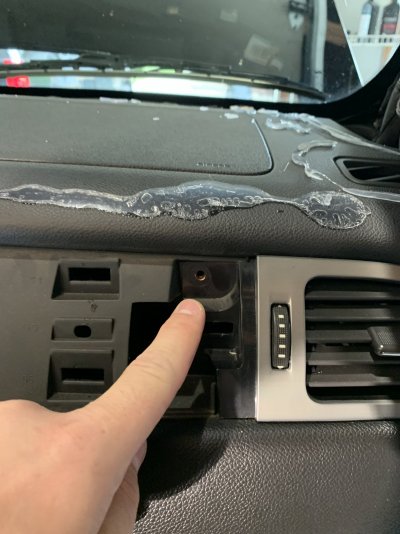
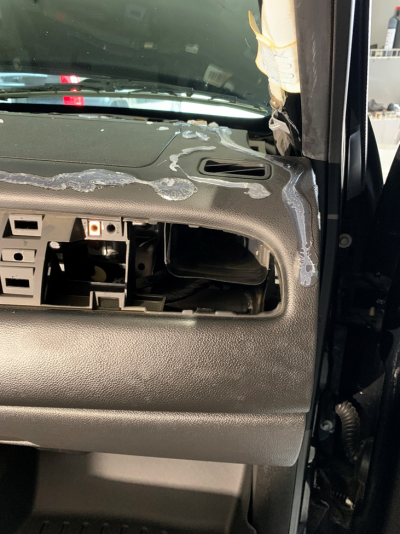
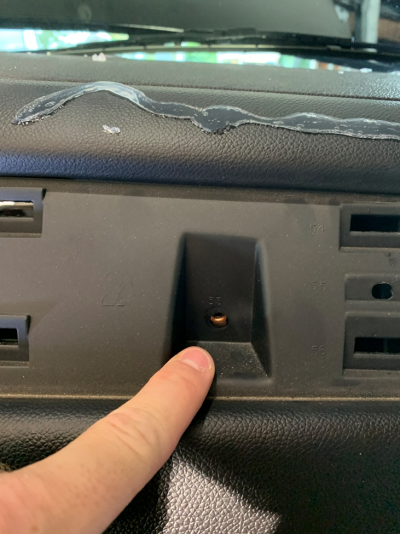
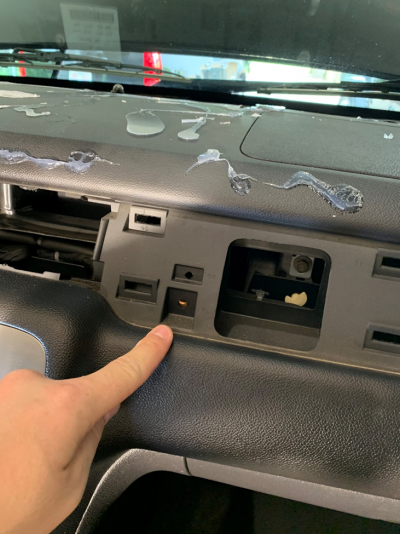
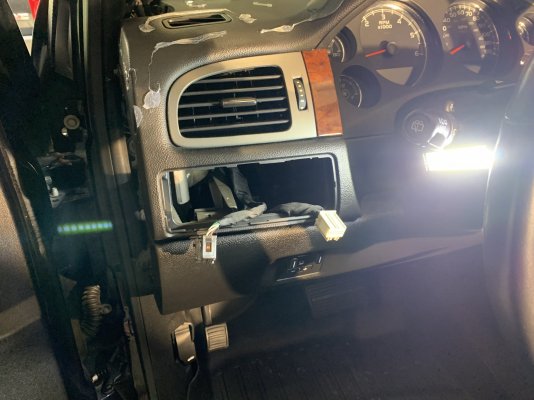
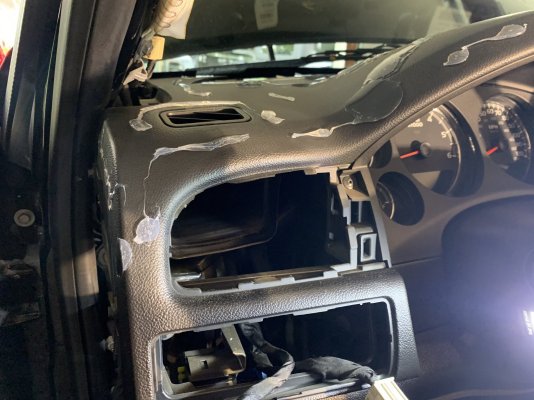
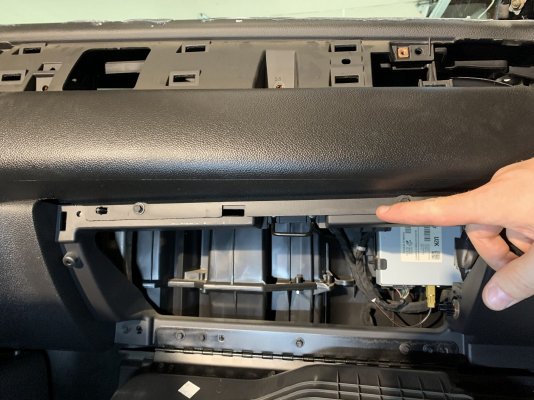
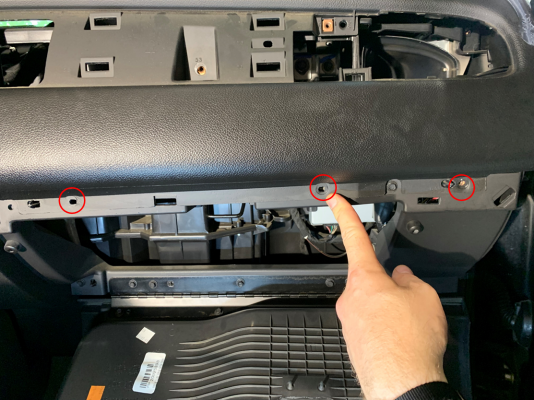
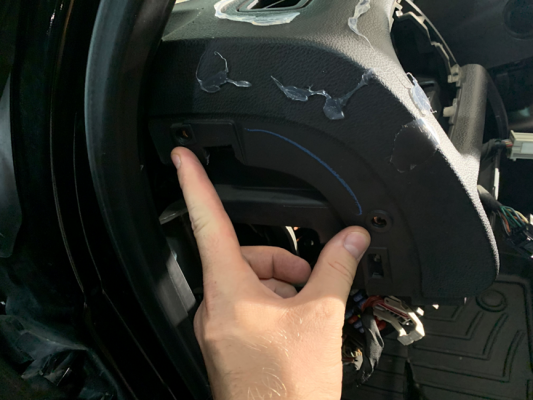
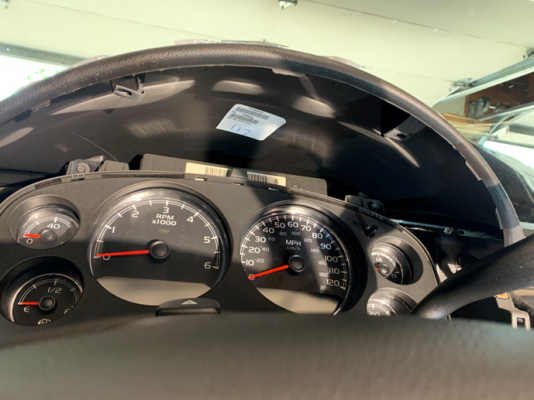
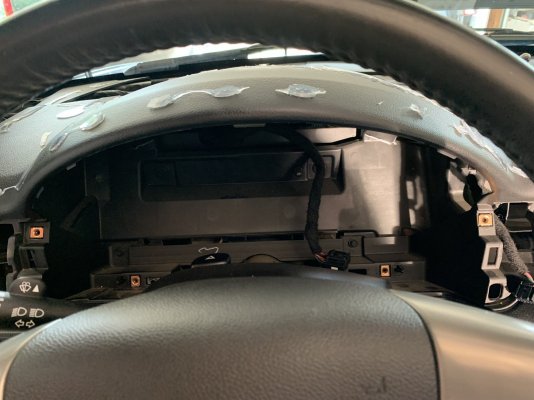
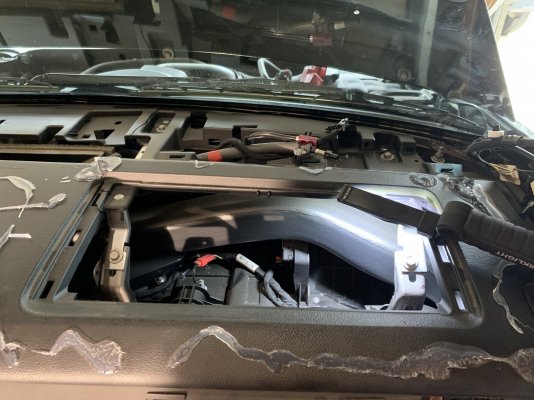
Getting started you can see that I have the cap on, I initially thought I would need to cut horizontally the cap in two, but I started to pry it apart using a larger trim tool and the glue used was easy to get apart.
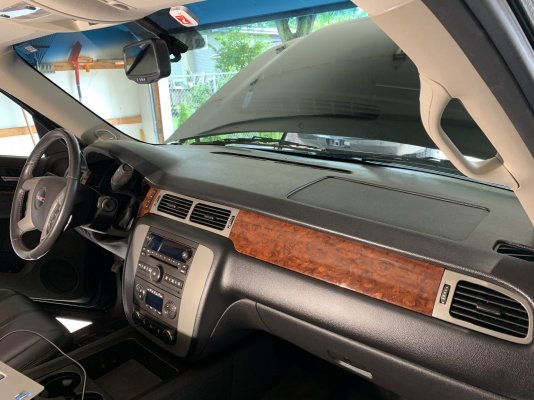
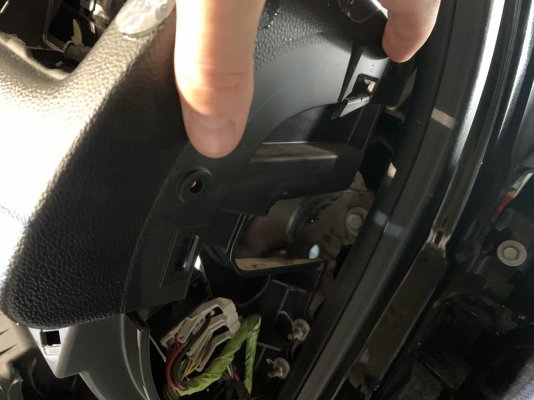
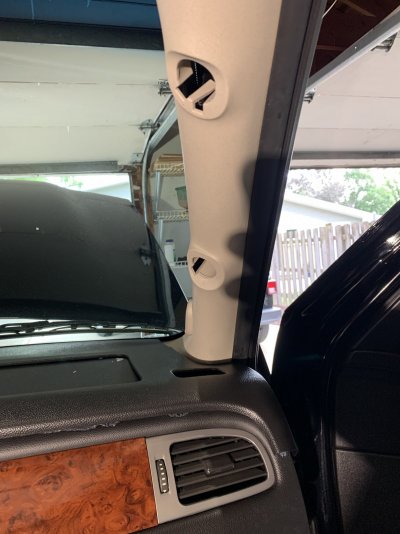
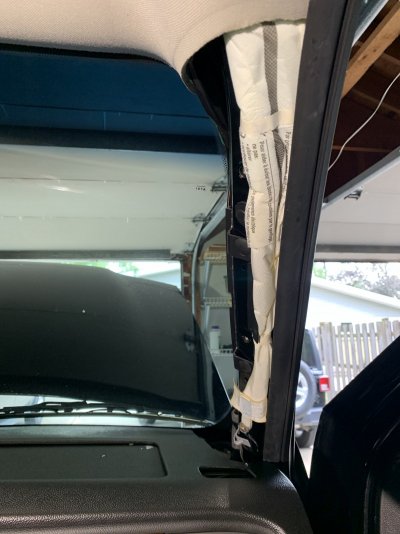
Before fully pulling the cap, I removed both A pillar trim pieces.
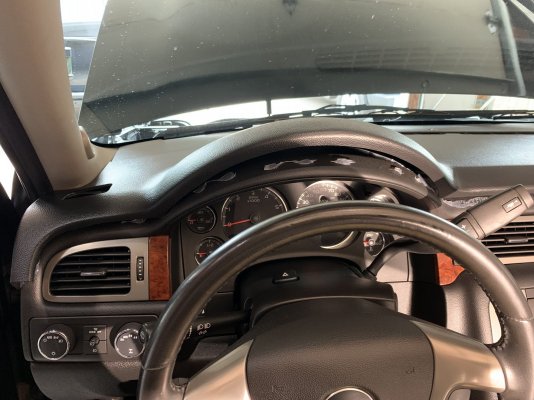
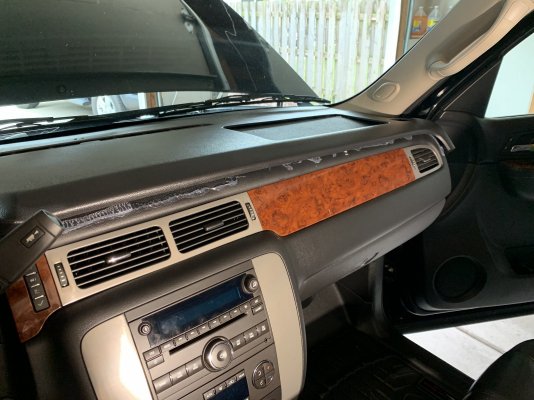
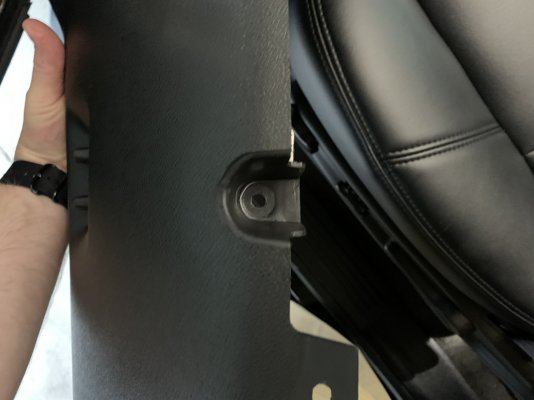
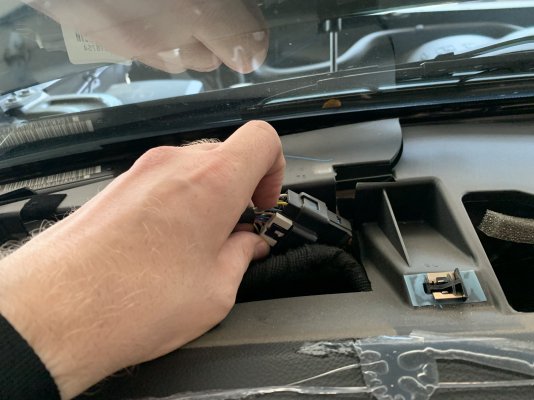
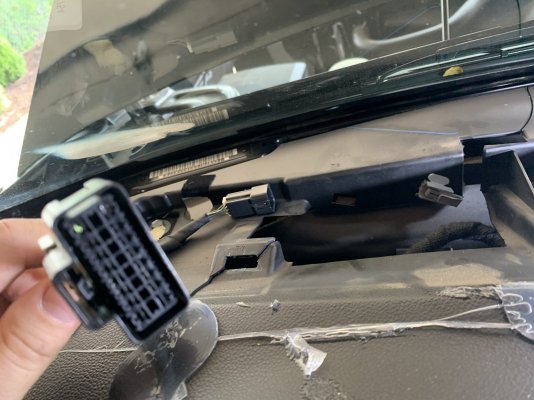
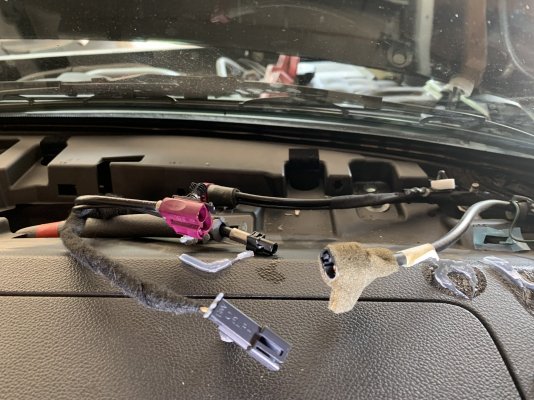
There are two bolts located in the assist handle on the passenger side which needs to be removed, take care on both sides as the speaker wire does not have a lot of maneuvering space.
Before you get started, ensure that you have the following:
- The entire day free, I started at 9am and it took all the way until 6pm with an hour for lunch. I took my time and labeled every set of screws which came out and cleaned/vacuumed the parts as they went back in.
- A 2nd person to help lift out the old dash, lift in the new dash, and provide moral support.
- 10mm, 7mm, T6 torx, Phillips head, and ratchets with extensions. I have the following from Home Deport which includes everything needed except the T6. https://www.homedepot.com/p/Husky-Mechanics-Tool-Set-290-Piece-H290MTS/312945780
- Some sort of foam to shove into the front defroster while working, on a completely unrelated subject I now have a video borescope and flexible magnetic tool grabber.
- Be prepared to break something, the plastic pieces are older at this point, and I was mentally prepared to break something accidentally which I’d needed to order for replacement later.
- A large working space, I wanted to be able to spread everything out as I took things apart and pulled the two other cars out of the garage to do the work.
- Large lights and battery-operated lights to see everything. I have this two piece set from Amazon that worked great. https://www.amazon.com/dp/B07G9X19G1
- A good trim removal kit, I bought a second to ensure I could pry with even force on the larger pieces. https://www.amazon.com/dp/B07HRNKY8P
- A couple large beach towels, I covered my seats and center console to ensure I didn’t scratch the leather.
- specifically at 6:30 to watch how they got the dashboard back into the vehicle.
The GM part number for the dash is 23224747, this is a non-center speaker ebony interior and 23224733 for the extension. I went with a Dorman product for the extension which is 926-336.
Before I began, I separated the key from the remote and shifted into M while also setting the parking brake. I then disconnected the battery and held the horn for 30+ seconds to ensure there was no more electricity in the system prior to removing the air bags.
Getting started you can see that I have the cap on, I initially thought I would need to cut horizontally the cap in two, but I started to pry it apart using a larger trim tool and the glue used was easy to get apart.

Before fully pulling the cap, I removed both A pillar trim pieces.


There are two bolts located in the assist handle on the passenger side which needs to be removed, take care on both sides as the speaker wire does not have a lot of maneuvering space.


