H1Chester
Full Access Member
- Joined
- Nov 20, 2021
- Posts
- 256
- Reaction score
- 161
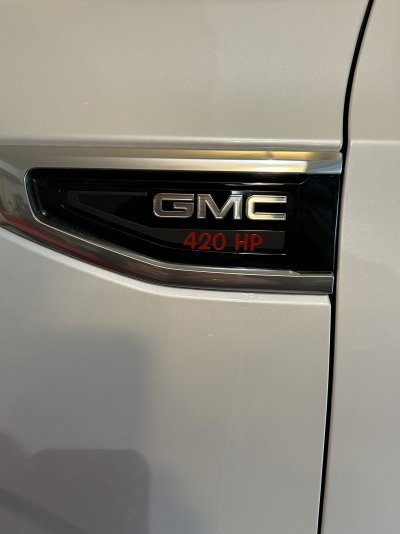
Hello I thought I’d take a couple of photos of my badge swap out. I purchased my set of badges off Amazon. When they arrived I noticed that they were just a little bit bigger than the stock ones. The set of badges I got are actually pretty nice and I think better than the OEM ones. The OEM ones seem fragile and looked like they could easily break when coming off.
I taped off the OEM location with blue painters tape. Then used a blow dryer and some floss to loosen up the adhesive. As the adhesive gets warm you can slowly pull and try to slide the badge. Keep working it slowly and it will eventually come off. You definitely need a blow dryer or heat gun.
Once you get the badge off you can work the rest of the adhesive off in clumps. Next make sure you use a safe product to get the adhesive residue off. I used goo gone and then washed it off and cleaned with an alcohol pad. If you’re really into it some people suggest taking a clay bar and buffing the spot.
The new badge was slightly bigger than the stock OEM one so I placed the new one about 1/8” lower than the stock one. Be careful when putting the new badge on. The adhesive on the new set is VERY sticky so there is no going back. I started on the aft edge of tape and then slowly laid the badge down while making sure it was lined up on the top horizontal tape reference.
I’ve also added photos of the front Z71 grille badge pins. I’ve ordered and returned a few black Z71 grille badges off Amazon because they weren’t going to work (even with a little customization) with the the 21+ Z71 grille badge. I may paint the grille badge with black plastidip and put it back on since I can’t find a back one. Sticking with plastidip for now until a more permanent solution.
Hope this helps anyone looking to do a badge swap.