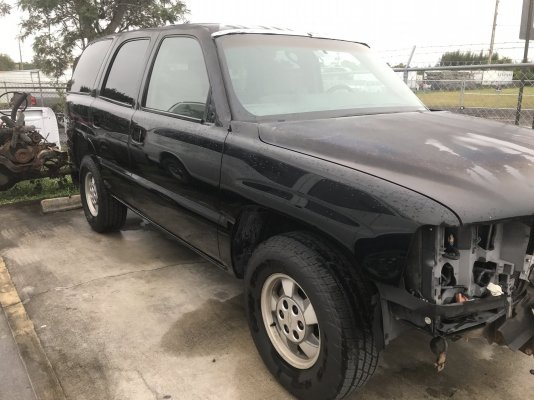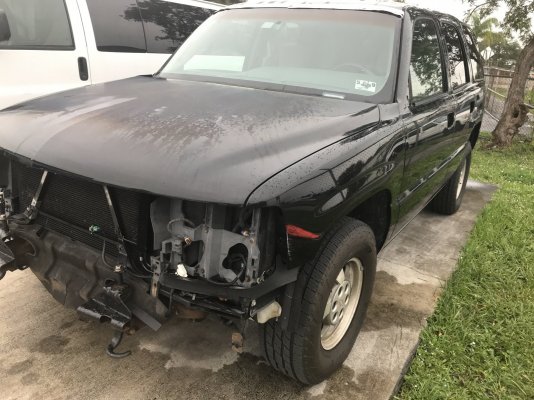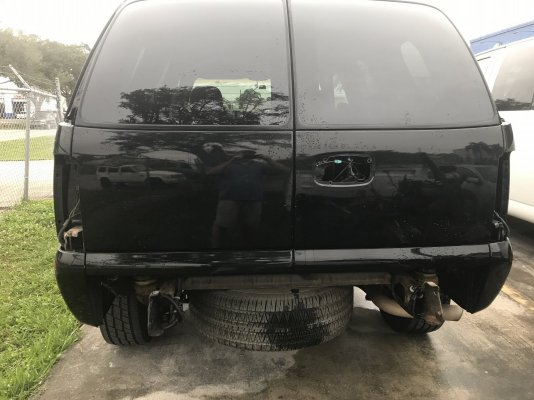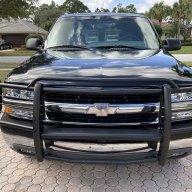
New to Forum. Fixing up my '03 Tahoe

Disclaimer: Links on this page pointing to Amazon, eBay and other sites may include affiliate code. If you click them and make a purchase, we may earn a small commission.

OP
OP
TahoeRestore

TahoeRestore

Member
Joined
Dec 9, 2021
Posts
62
Reaction score
106
Badge Removal

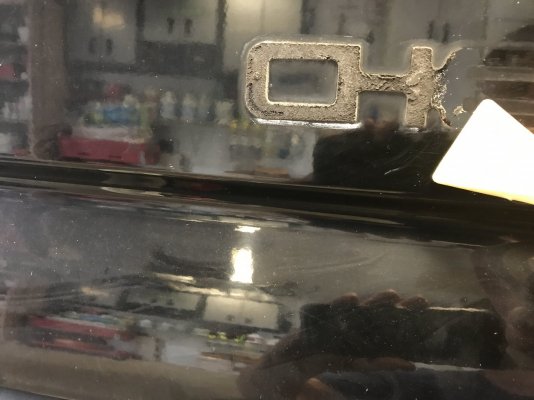
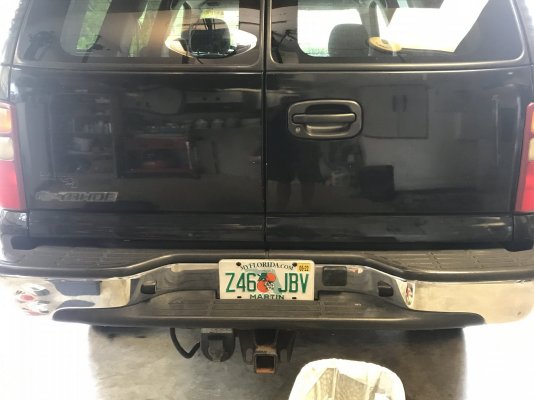
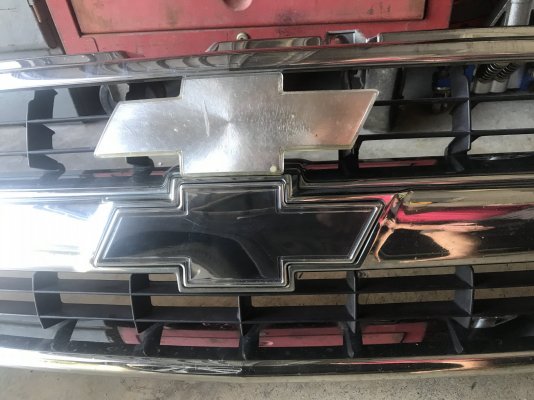
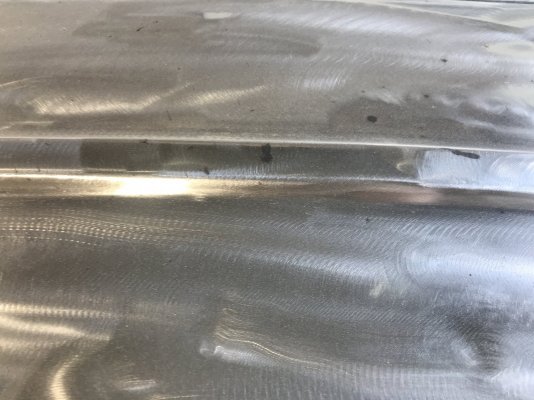
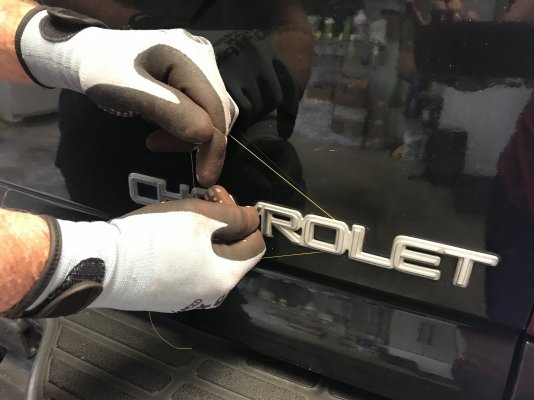
I used 20# braided fishing line to cut off the badges (pics). This leaves a lot of adhesive stuck to the paint. With some effort I was able to get the adhesive off with plastic putty knives and Goof Off to get the residue. No paint harm.

Thanks again for all who post on this forum!
 

Attachments

  • Badge Removal 1.JPG
    Badge Removal 1.JPG
    254.2 KB · Views: 29
  • Badge Removal 2.JPG
    Badge Removal 2.JPG
    264.2 KB · Views: 34
  • Badge Removal 3.JPG
    Badge Removal 3.JPG
    231.5 KB · Views: 30
  • Badge Removal 4.JPG
    Badge Removal 4.JPG
    220.5 KB · Views: 34

Rocket Man

Mark
Supporting Member
Joined
Dec 25, 2014
Posts
26,679
Reaction score
52,954
Location
Oregon
Badge Removal

I used 20# braided fishing line to cut off the badges (pics). This leaves a lot of adhesive stuck to the paint. With some effort I was able to get the adhesive off with plastic putty knives and Goof Off to get the residue. No paint harm.

Thanks again for all who post on this forum!
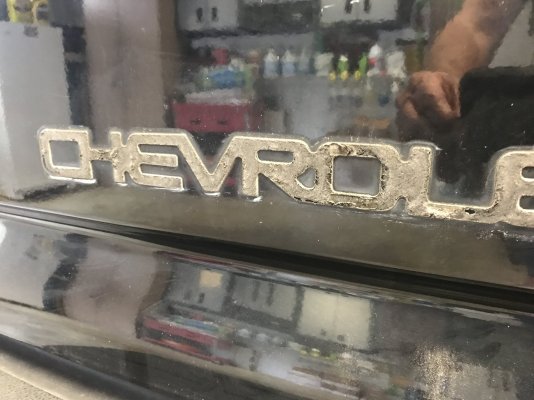
3M Magic Wheel removes that residue pretty good.
 

Rocket Man

Mark
Supporting Member
Joined
Dec 25, 2014
Posts
26,679
Reaction score
52,954
Location
Oregon
Yea, I heard. I ordered one yesterday and it arrives tomorrow. I'm going to leave the rest of the residue on till it get's here. I ordered "3M Stripe Off Wheel". Probably the same.
Yeah that’s it. I might have just been thinking it’s magic because it erases stuff. :lol2:
 
OP
OP
TahoeRestore

TahoeRestore

Member
Joined
Dec 9, 2021
Posts
62
Reaction score
106
Side Trim Removal

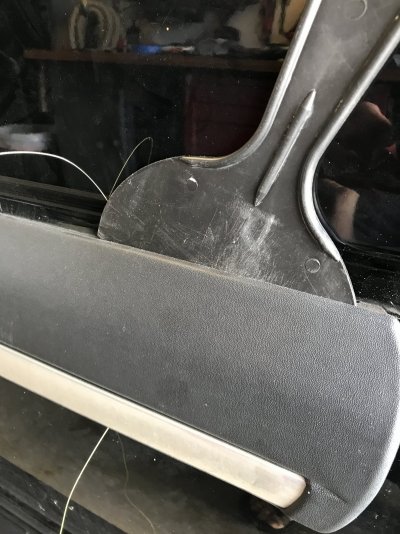
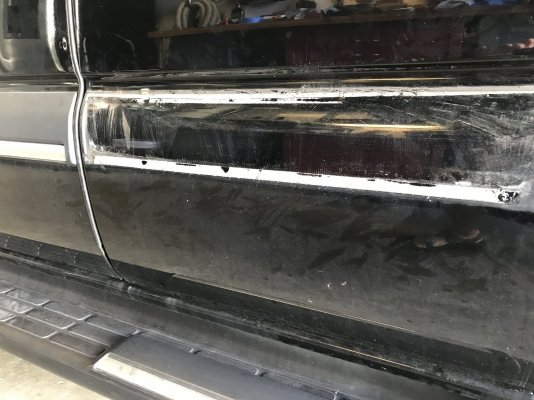
Used 40# braided fishing line here because the 20# was breaking too often. The top of the trim follows the curve into the body and the top strand will cut into the trim if you're not careful. I followed the separated trim with a plastic putty knife which gives a little space to keep the line out of the plastic (pic).
 

Attachments

  • Trim Removal 1.JPG
    Trim Removal 1.JPG
    385.6 KB · Views: 31
  • Trim Removal 2.JPG
    Trim Removal 2.JPG
    349.2 KB · Views: 33
OP
OP
TahoeRestore

TahoeRestore

Member
Joined
Dec 9, 2021
Posts
62
Reaction score
106
Running Board Removal

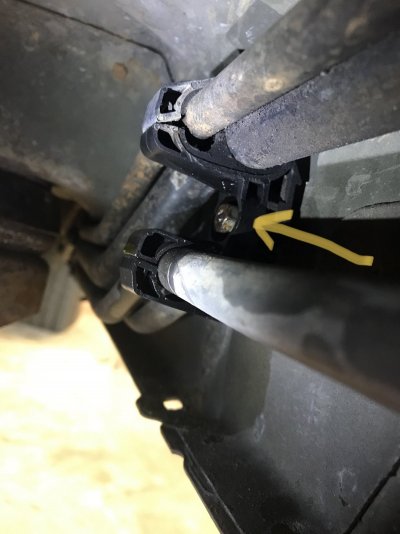
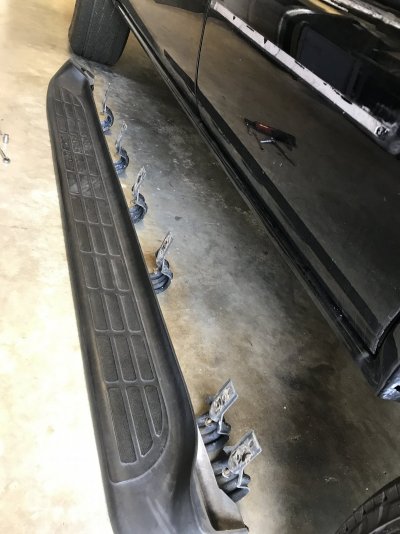
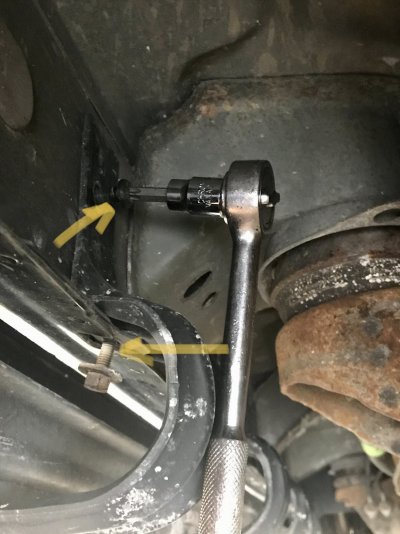
Left side was easy. Just 6 bolts underneath, 6 more on the inside of the body (pic with yellow arrows) panel, and one up front. The right side has Refrigerant lines for the rear AC that get in the way of the running board brackets. I just loosened the nuts on the refrigerant line mounts (pic with one arrow) and had enough movement to free the brackets.
 

Attachments

  • Refrig Line Mount.jpg
    Refrig Line Mount.jpg
    212.5 KB · Views: 34
  • RB Removed.JPG
    RB Removed.JPG
    294.4 KB · Views: 32
  • BR Brackets Left.jpg
    BR Brackets Left.jpg
    264.1 KB · Views: 34
OP
OP
TahoeRestore

TahoeRestore

Member
Joined
Dec 9, 2021
Posts
62
Reaction score
106
They are called (D-pillar) appliques; remove them while it's nice and warm out, maybe after they've been sitting in the sun for a while. Working on plastic in the cold is not a good idea.
Oops! They were very brittle. Oh well, looks like I will have new ones.
 

Attachments

  • D Pillar Trim Piece.JPG
    D Pillar Trim Piece.JPG
    177.8 KB · Views: 29
OP
OP
TahoeRestore

TahoeRestore

Member
Joined
Dec 9, 2021
Posts
62
Reaction score
106
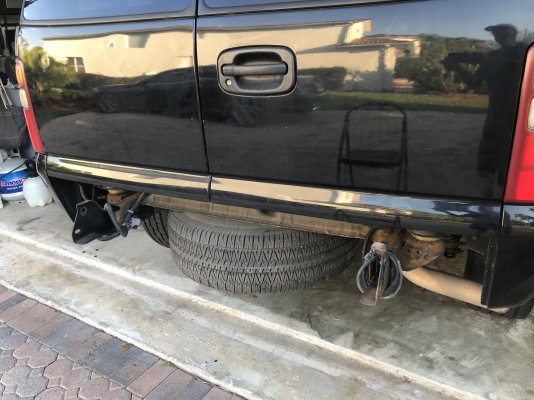
Rear Bumper

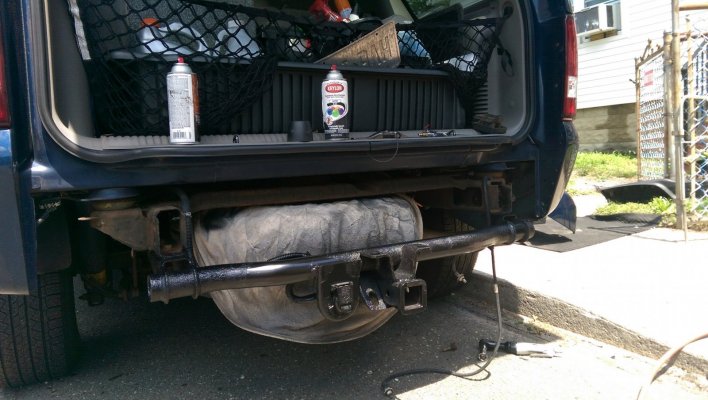
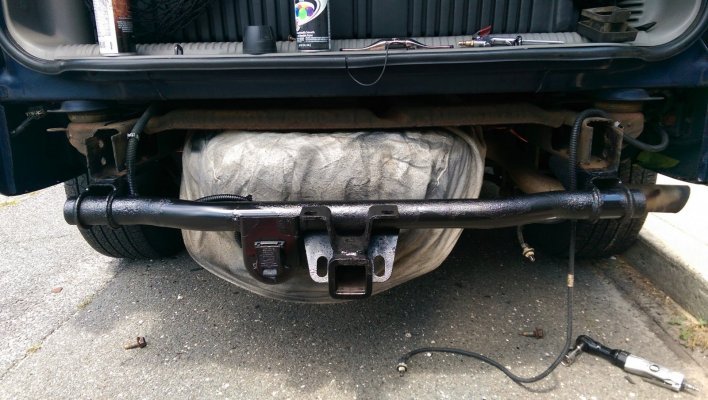
It's off. No big deal. Had to remove hitch first. Also realized you have to open barn doors to get it high enough to work it off.
 

Attachments

  • Rear Bumper Off.JPG
    Rear Bumper Off.JPG
    344 KB · Views: 30

Tonyrodz

Resident Resident
Joined
Feb 16, 2012
Posts
33,336
Reaction score
51,821
Location
Central Jersey
Rear Bumper

It's off. No big deal. Had to remove hitch first. Also realized you have to open barn doors to get it high enough to work it off.
I didn't need to remove my hitch 1st on my 03, but I have the rear hatch. I wonder if that's why.IMAG0086.jpgIMAG0087.jpg
 
OP
OP
TahoeRestore

TahoeRestore

Member
Joined
Dec 9, 2021
Posts
62
Reaction score
106
I didn't need to remove my hitch 1st on my 03, but I have the rear hatch. I wonder if that's why.View attachment 359286View attachment 359287
I see now. I first unbolted the hitch from the frame thinking it would come off with the bumper but because the hitch bracket was still under the frame the combo wouldn't lift up. I then took the hitch off at those two bolts in the center. Makes sense. Thanks.
 
OP
OP
TahoeRestore

TahoeRestore

Member
Joined
Dec 9, 2021
Posts
62
Reaction score
106
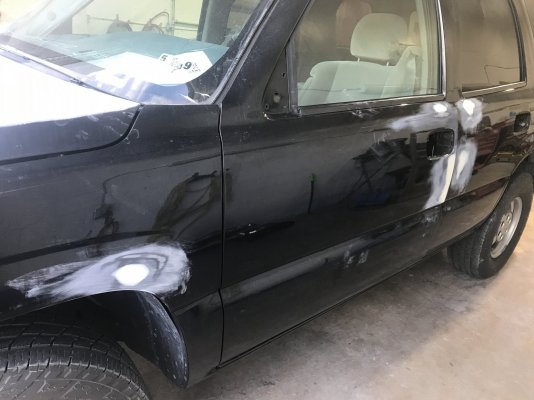
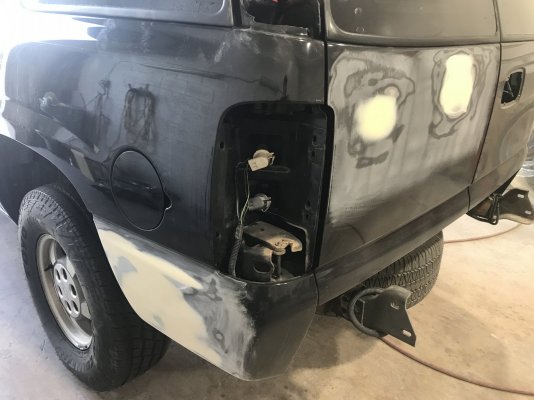
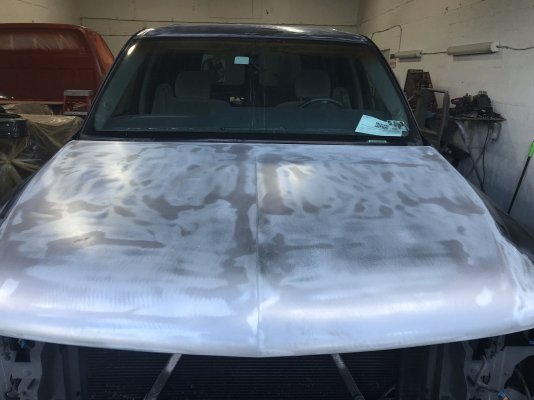
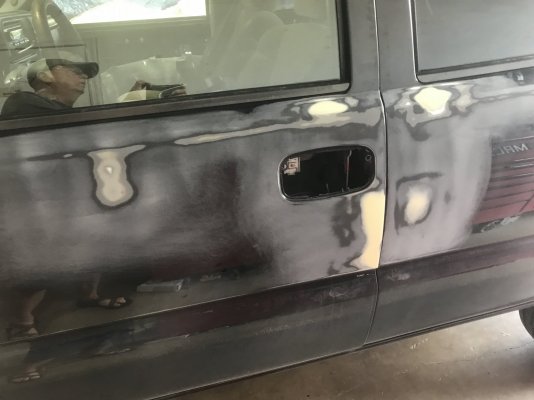
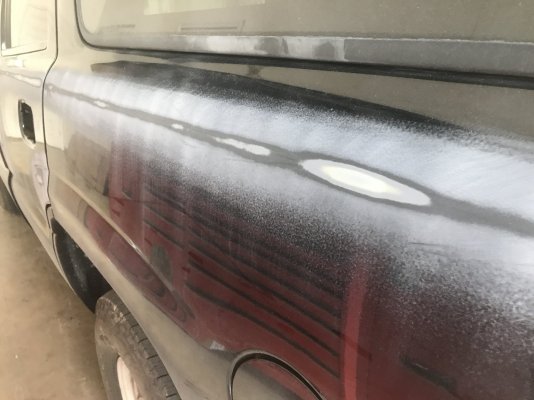
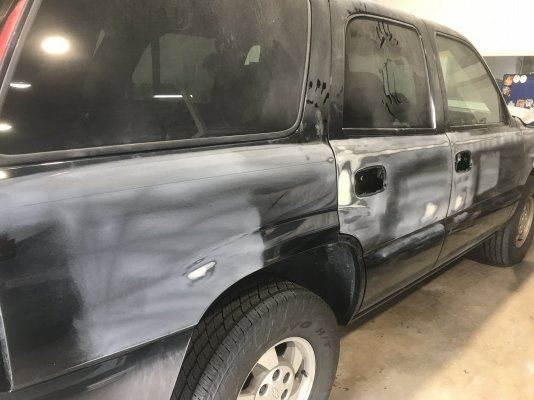
All parts removed and it's at the Paint shop.

Since we were wondering about the shop quality at $6K cost, I asked the owner about the process. He said they fix all rust, dents, and scratches then prime all bare metal. The primed areas and the rest of the "good" paint is sanded before painting. They use 3 coats of black base coat (BASF Urathane) and 2 layers of clear coat. The painting is done in a 95 degree temperature controlled booth. The finish is then baked at 150 degrees for some time.

I'm looking forward to seeing it in a week or two.
 

Attachments

  • Ready for paint 3.JPG
    Ready for paint 3.JPG
    334.2 KB · Views: 43
  • Ready for Paint 2.JPG
    Ready for Paint 2.JPG
    390.9 KB · Views: 36
  • Ready for Paint 1.JPG
    Ready for Paint 1.JPG
    309.8 KB · Views: 35
OP
OP
TahoeRestore

TahoeRestore

Member
Joined
Dec 9, 2021
Posts
62
Reaction score
106
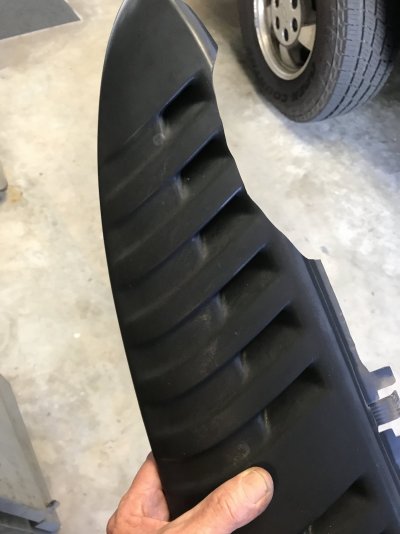
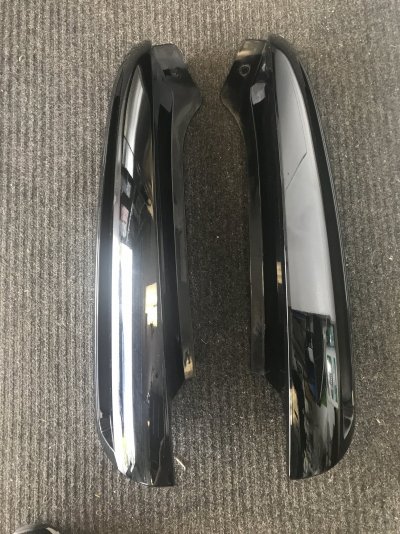
D Pillar Trim

Found a set of black Escalade D Pillar Trim pieces on eBay. They were in good shape with all the clips in place. The clear coat was starting to peel near the edges so I took them to the paint shop to have repainted when they paint the Tahoe. (pic)
 

Attachments

  • D Pillar Trim.JPG
    D Pillar Trim.JPG
    531.3 KB · Views: 31
OP
OP
TahoeRestore

TahoeRestore

Member
Joined
Dec 9, 2021
Posts
62
Reaction score
106
Replaced the grill bow tie with a metal one from Amazon. The original one is contoured and the new one is flat, but fits in the recess just fine. (old & installed new one in pic)


Attachments

  • Bow Tie.JPG
    Bow Tie.JPG
    311 KB · Views: 31
OP
OP
TahoeRestore

TahoeRestore

Member
Joined
Dec 9, 2021
Posts
62
Reaction score
106
Took some pics at the body shop. Notice the tan spots on the roof (1st pic). It's not flaky rust like the ones on the surface. They said it's imbeded rust in the metal. They will probably bubble up in the future. It may take 1 year or may last 10 years. Options - 1. Chase all of them through and make patch repairs. 2. Replace the entire roof or 3. Epoxy over them and see how long they last. Option 1 & 2 are way too expensive. We're going with 3 and will just have to do spot repairs if they surface.
 

Attachments

  • Body Work 4.JPG
    Body Work 4.JPG
    306.8 KB · Views: 39
  • Body Work 6.JPG
    Body Work 6.JPG
    258.8 KB · Views: 47
  • Body Work 7.JPG
    Body Work 7.JPG
    248.7 KB · Views: 38
  • Body Work 10.JPG
    Body Work 10.JPG
    222.4 KB · Views: 33

Griffin

Member
Moderator Administrator
Joined
Jan 14, 2013
Posts
65
Reaction score
107
Took some pics at the body shop. Notice the tan spots on the roof (1st pic). It's not flaky rust like the ones on the surface. They said it's imbeded rust in the metal. They will probably bubble up in the future. It may take 1 year or may last 10 years. Options - 1. Chase all of them through and make patch repairs. 2. Replace the entire roof or 3. Epoxy over them and see how long they last. Option 1 & 2 are way too expensive. We're going with 3 and will just have to do spot repairs if they surface.
What would the epoxy cost to redo it all?
 
OP
OP
TahoeRestore

TahoeRestore

Member
Joined
Dec 9, 2021
Posts
62
Reaction score
106
If you want this thread moved over the Under Construction section or the 03 section just let me know.

You doing a excellent job!
Thanks. Feel free to move the posting to whichever section you think is best. I presume all folks who are following the post will still get updates. It's really nice to have their input.
 

Rocket Man

Mark
Supporting Member
Joined
Dec 25, 2014
Posts
26,679
Reaction score
52,954
Location
Oregon
Thanks. Feel free to move the posting to whichever section you think is best. I presume all folks who are following the post will still get updates. It's really nice to have their input.
Yes build threads are in the Under Construction area and updates will still go out to everyone who is following. I have a thread there for my 02 Denali that’s currently 3900 posts lol. If you ever get bored there’s a link at the bottom of my posts.
 
OP
OP
TahoeRestore

TahoeRestore

Member
Joined
Dec 9, 2021
Posts
62
Reaction score
106
What would the epoxy cost to redo it all?
I visited the shop today and asked about the epoxy application. They are planning on applying epoxy to the entire roof. Thanks for asking and prompting me to check.
 
OP
OP
TahoeRestore

TahoeRestore

Member
Joined
Dec 9, 2021
Posts
62
Reaction score
106
Visited the shop today. Pics of progress.
 

Attachments

  • Body Work 14.JPG
    Body Work 14.JPG
    193.4 KB · Views: 34
  • Body Work 15.JPG
    Body Work 15.JPG
    247.6 KB · Views: 40
  • Body Work 16.JPG
    Body Work 16.JPG
    252.8 KB · Views: 37
OP
OP
TahoeRestore

TahoeRestore

Member
Joined
Dec 9, 2021
Posts
62
Reaction score
106
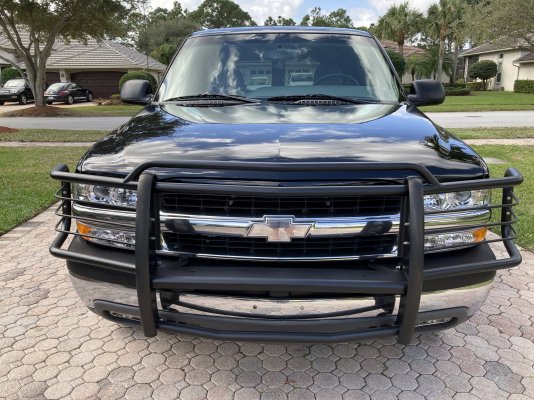
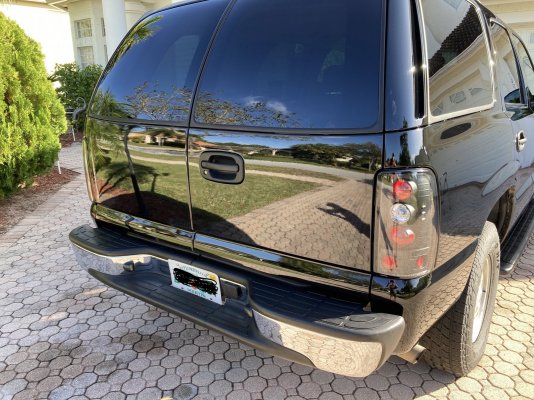
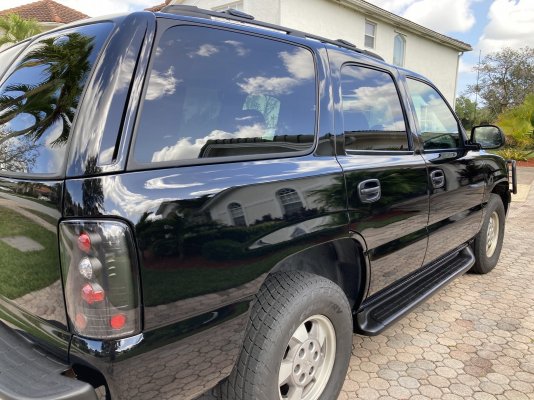
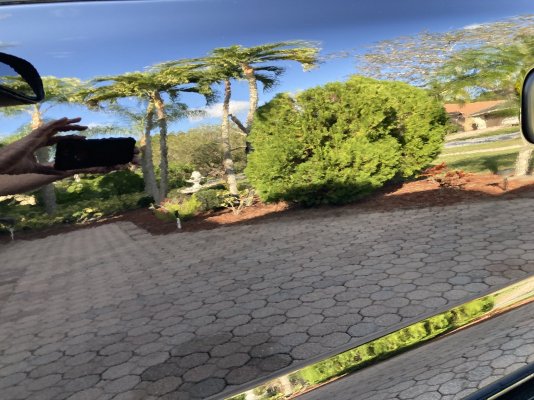
It's painted and back together! I'm pretty happy. Every exterior light has been replaced down to tag lights. Next, will be some inside improvements like a head unit with back up camera and car play.
 

Attachments

  • Front.JPG
    Front.JPG
    529.9 KB · Views: 35
  • Rear Angle.JPG
    Rear Angle.JPG
    498.2 KB · Views: 40
  • Rear Quarter.JPG
    Rear Quarter.JPG
    427.4 KB · Views: 34
  • Side Closeup.JPG
    Side Closeup.JPG
    364.2 KB · Views: 34

Forum statistics

Threads
138,092
Posts
1,998,715
Members
103,016
Latest member
BadDaddy2003
Back
Top