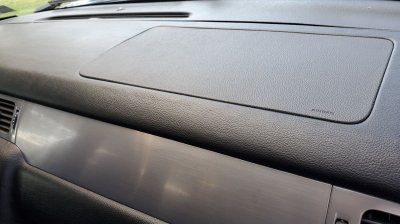
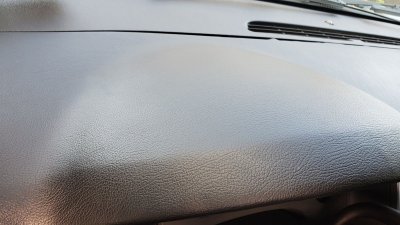
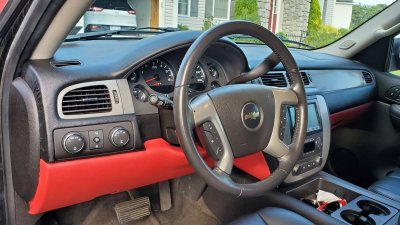
Tahoe Z71 renovation project - Cracked Dash Fix

Disclaimer: Links on this page pointing to Amazon, eBay and other sites may include affiliate code. If you click them and make a purchase, we may earn a small commission.

The Raven

Full Access Member
Joined
Jul 6, 2013
Posts
142
Reaction score
168
Location
Fleetwood, PA
Well I know this has been covered extensively so i'm not going to dwell on the repair technique when there's plenty of data on thats already out there...but I know that when going into a project like this there can never be too many examples of how other guys did it. So here's mine...I went a bit further than the average.

Background - I almost traded my NNBS Tahoe Z71 in back in February because I had a ton of GM card points to use and the Tahoe needed some TLC. Unfortunately i'm not a big fan of the new Tahoes nor spending near $70k for one and I just wasn't happy with anything smaller. Got real close to a deal on a new LT Trail Boss but I backed out because i've never been a big fan of pickups. So i've decided i'm going to invest some money into the Tahoe and hold onto it for at least another 3 years. I have been busy with all kinds of "renovations" this year and i'll get those upgrades posted soon.

So after lots of work, both "fixes" and upgrades, I finally pushed myself to tackle the dash cracks.

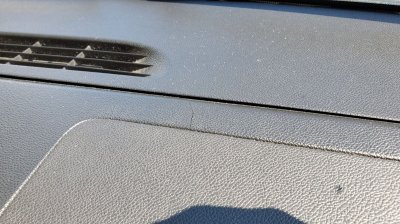
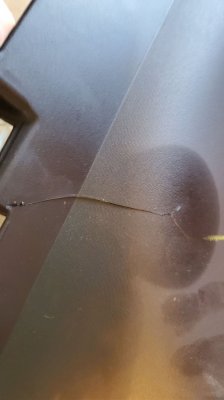
My befores:
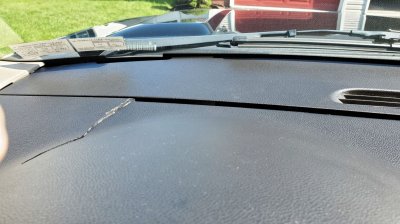
20190825_104743.jpg 20190825_104808.jpg

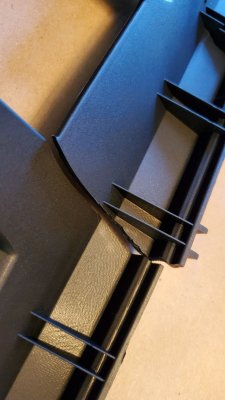
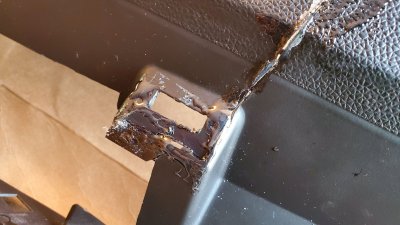
The cracks after I got the dash out:
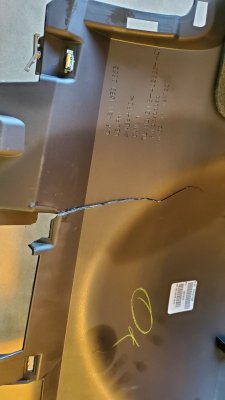
20190825_121415.jpg
20190825_121424.jpg
20190825_121450.jpg
 
Last edited:
OP
OP
T

The Raven

Full Access Member
Joined
Jul 6, 2013
Posts
142
Reaction score
168
Location
Fleetwood, PA
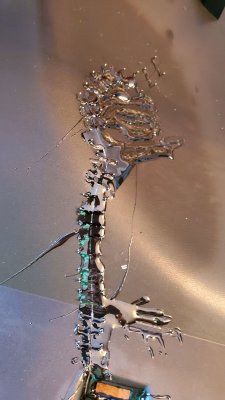
The repair:

20190825_134314.jpg 20190825_142813.jpg 20190825_143455.jpg

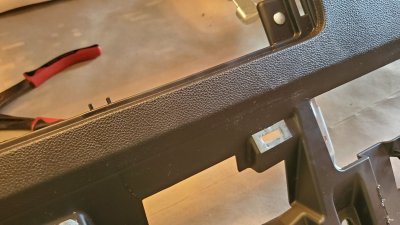
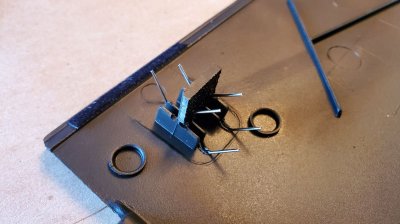
My defroster vent panel had lost all but one of it's attachment points only the far right trim clip peg remained. You might have thought the only choice was to replace it, but that's a $300+ part so screw that noise, i decided to fix it:

20190825_135834.jpg


I used 3/16" abs stock and cut new pegs, hot stapled them in place then smothered them in epoxy. Sorry I don't have any more pics of this but it worked perfectly. I was able to replace all the pegs and re-attach all the front slide-in clamp thingys.
 
Last edited:
OP
OP
T

The Raven

Full Access Member
Joined
Jul 6, 2013
Posts
142
Reaction score
168
Location
Fleetwood, PA
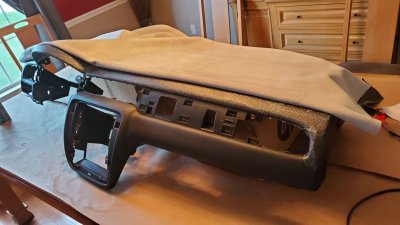
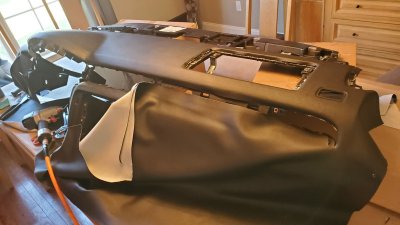
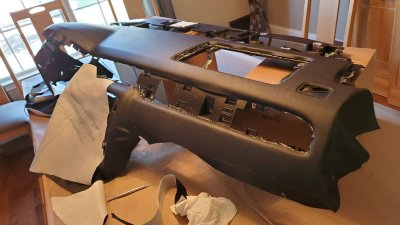
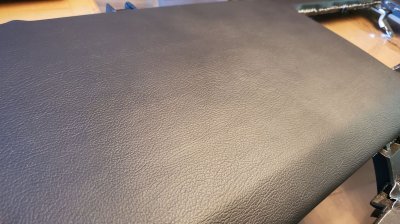
and then finally, because I have tried to repair my behind-the-cluster crack with glue for years, there was no way to make it look good from the top, I decided to (fake) leather-wrap the whole deal:

20190825_162002.jpg 20190825_170502.jpg 20190825_172505.jpg 20190825_172517.jpg
 
Last edited:
OP
OP
T

The Raven

Full Access Member
Joined
Jul 6, 2013
Posts
142
Reaction score
168
Location
Fleetwood, PA
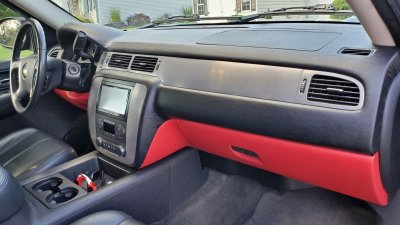
All finished and installed:

20190903_165012.jpg 20190903_165023.jpg 20190903_165047.jpg 20190903_165144.jpg

It's red because that's going to be the new color scheme...new matching leather for the seats is on order and i'm going to do the same color in the door inserts. The red SRT interior in the Durango was my inspiration. I'm a sucker for red and black.

So there you have it. My approach to the dash crack issue. Hopefully this will serve as inspiration for some of you still unsure about what to do with your cracks.
 
Last edited:

Keanen55

Full Access Member
Joined
Mar 9, 2010
Posts
276
Reaction score
48
Location
HOUSTON, TX
I thought about wrapping mine too, but got lazy and went with Dash skins route! Nice work! Looks great!
 
OP
OP
T

The Raven

Full Access Member
Joined
Jul 6, 2013
Posts
142
Reaction score
168
Location
Fleetwood, PA
I thought about wrapping mine too, but got lazy and went with Dash skins route! Nice work! Looks great!

You saved yourself a ton of time and frustration. Wrapping a dash is no joke...it sucks. If you do it right though, the results are incredible.
 

BourbonNcigars

Full Access Member
Joined
Dec 1, 2018
Posts
865
Reaction score
1,840
I'm impressed. Well done. No way I'd have tried this. That looks like WAY more work than I'd be willing to put in. When I had my Tahoe I threw some of that premium $30 **** on top of the dash.
 

Tonyrodz

Resident Resident
Joined
Feb 16, 2012
Posts
30,993
Reaction score
45,166
Location
Central Jersey
All finished and installed:

View attachment 229980 View attachment 229981 View attachment 229982 View attachment 229983

It's red because that's going to be the new color scheme...new matching leather for the seats is on order and i'm going to do the same color in the door inserts. The red SRT interior in the Durango was my inspiration. I'm a sucker for red and black.

So there you have it. My approach to the dash crack issue. Hopefully this will serve as inspiration for some of you still unsure about what to do with your cracks.
Looks great. I wonder how it'll look after a summer in the sun tho.
 

08HoeCD

Full Access Member
Joined
May 6, 2016
Posts
2,052
Reaction score
1,931
Looks great!

I just discovered today that I have a small crack in my dash. It took 161k miles for it to finally rear its ugly head. I couldn't care less at this point. :)
 

Forum statistics

Threads
129,210
Posts
1,812,221
Members
92,309
Latest member
ylwdogs
Top