DISCLAIMER. I AM NOT RESPONSIBLE IF YOU GET HURT OR IF YOU DAMAGE YOUR VEHICLE. THINK BEFORE WORKING ON YOUR VEHICLE. ALWAYS DISCONNECT YOUR BATTERY BEFORE WORKING ON ELECTRICAL COMPONENTS OR ANYTHING RELATED TO AIRBAGS.
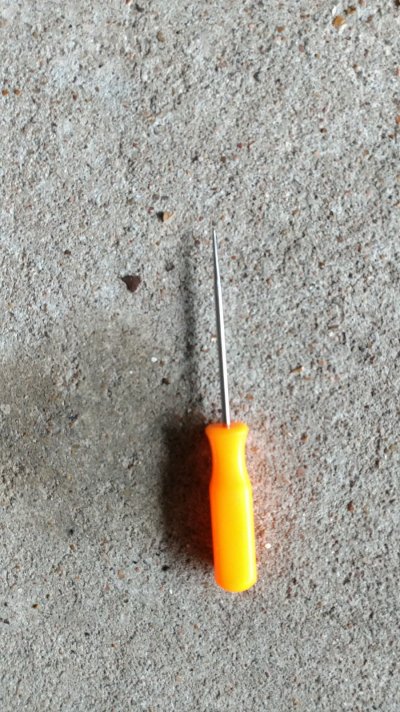
NEVER STICK ANYTHING SHARP INTO THE RELEASE HOLES ON THE STEERING COLUMN.
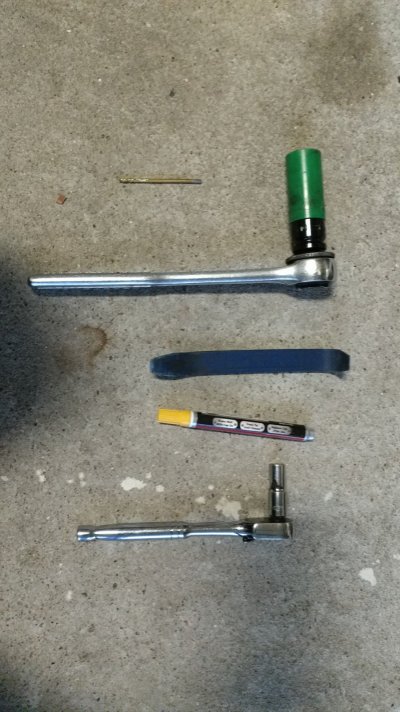
Tools needed:
*21mm deep socket (+ a 6 inch extension) + ratchet to clear steering wheel
*1/8 drill bit
*plastic pick
*pliers or crescent wrench
*paint pen
*10mm socket
1. remove negative terminal on battery
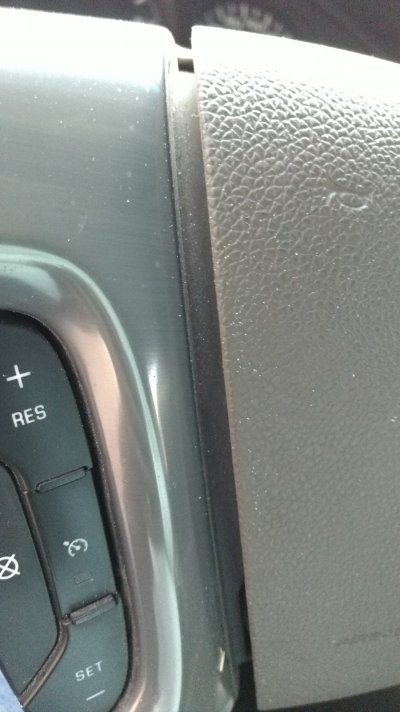
2. stick 1/8th drill bit into one of two small holes on steering column
The bit will be perpendicular to the column. You will insert bit and find
some resistance and a spring type feel. When you feel that, you have the right spot. You may need to insert the bit / tool multiple times until you find the spring.
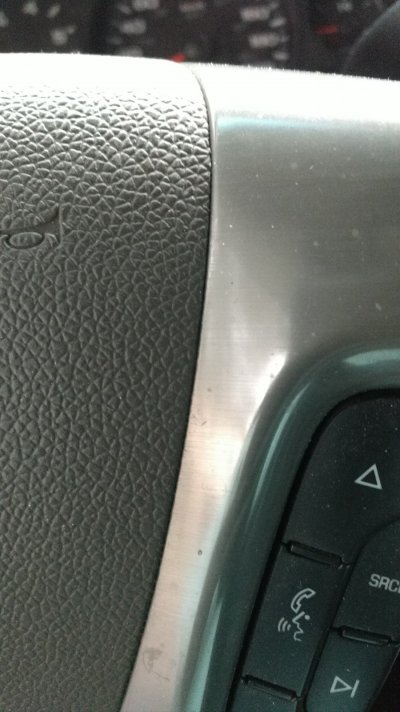
Push and that side of the airbag cover will release. You may need to pull the cover a little near the horn symbol at the same time. NEVER use a sharp pick or tool for this task.
It will stay open but you can wedge a plastic piece in there if you wish, to not accidentely close it.
3. repeat process on other side / opposite hole.
4. now that both sides have been released, gently pull the airbag away a couple inches. Gently
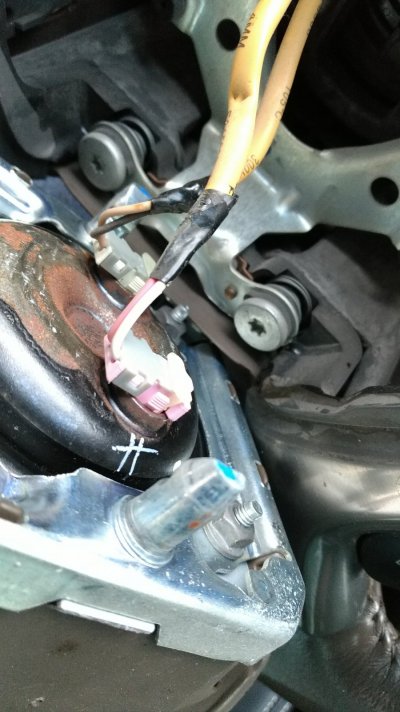
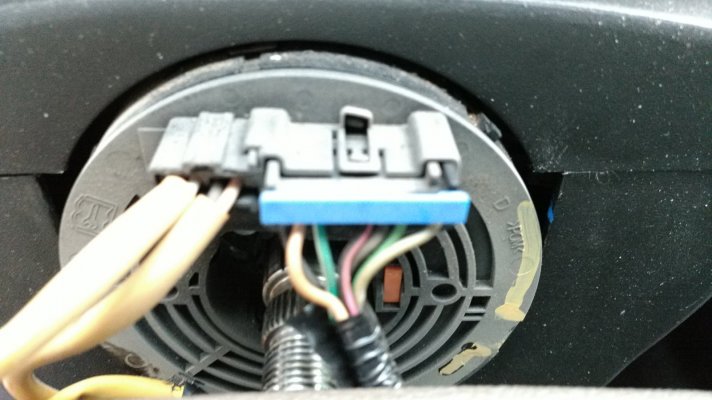
because you have some cables to detach. Using a plastic pick, detach the cable(s) at the top.
Now you have some more slack. There are two yellow cables attached to back of bag. Use a plastic
tool to lift, a small amount, the plastic clips that keep the cables in place. once you lift those a
bit, you squeeze tiny textured plastic clips, one on each size, then lift and remove connector. remove both connectors. now remove airbag.
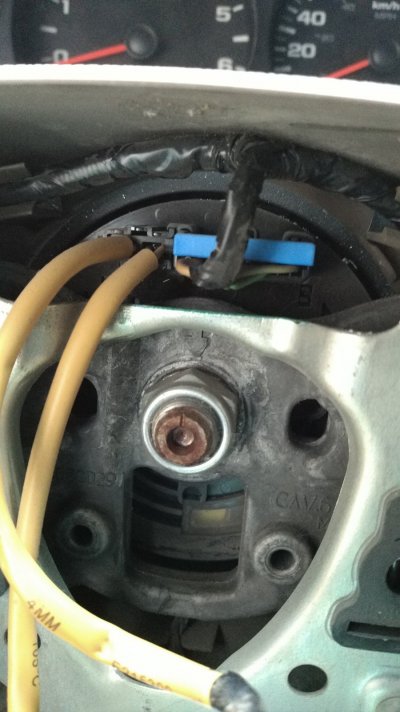
5. Make sure your steering wheel is at high noon. use paint pen to mark the nut, stud and then below the stud.
I dont' know the torque spec on the nut, but you can tighten until snug. if you marked it, you can tighten until you get to your mark.
i've been told step 5 (paint pen) isn't necessary but I would do it just in case.
6. with airbag now removed, hold the wheel. use 21mm socket to loosen nut.
7. once you break the nut, back it off a few turns, no more than half way down the stud.
8. using a rocking motion, pull left side then right, pull the steering wheel hard. A fair amount of
resistance is normal. You left the nut on there right? This will prevent damage to your wheel mechanisms and to your face.
9. With the wheel loose, back off the nut and remove the wheel.
Your wheel is now off. .
10. Perform steps in reverse for install.
* line up steering wheel at high noon
*when you reinstall the airbag , line it up and push it into place. it should clip on both left
and right side. that's it. Bag cover should be flush with steering wheel.
If you need to swap the color of your airbag cover or for some reason R&R it, here are the steps.
10. flip center cover / bag over. there are 4 10mm nuts. take those off.
11. push aside the 8 plastic / rubbery holder clips
12. pull the metal bracket off. you may need to gently move one or more of the metal tabs
on the side. don't force them much as they will bend.
13. pay attention to the airbag orientation. carefully remove it, KEEPING it folded as you pull it out.
14. place it into your new plastic cover, making sure folds are correct.
15. place bracket on. install 4 10mm nuts.
16. make sure the 8 rubber clips are in place
17. reinstall airbag on secured steering wheel.


Last edited:

