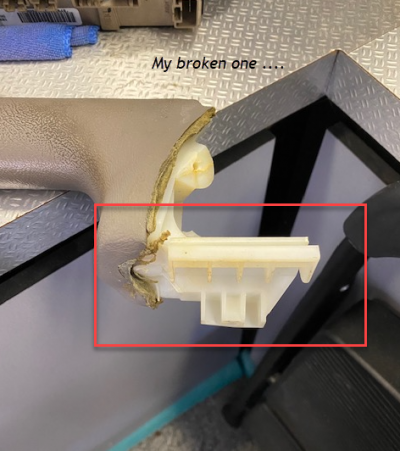
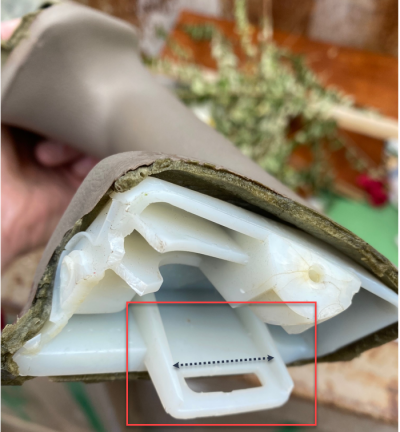
Finally, finally, Finally I fixed it. I took the original arm rest and added a 1/8” thick 1” x 1” metal plate square and drilled holes in it to accept the new control panel frame piece and it worked. I used epoxy glue to hold the metal to the plastic. I thought it was fuses… but I think it was a bad seeding of the wiring below the switches. Each install step of the way I checked to make sure all switches still powered windows, locks, etc. Finally nice, clean, and fully functional. Thanks guys for your input.