Custom box REPLACE FACTORY location

Disclaimer: Links on this page pointing to Amazon, eBay and other sites may include affiliate code. If you click them and make a purchase, we may earn a small commission.

jdpber

GOLD MEMBER
Supporting Member
Joined
Oct 18, 2010
Posts
26,314
Reaction score
24,310
Location
The America
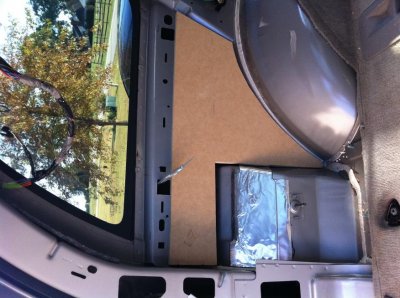
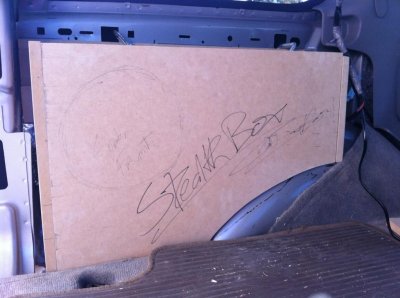
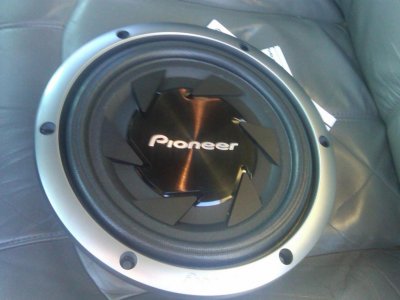
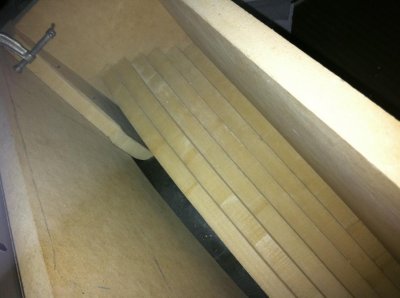
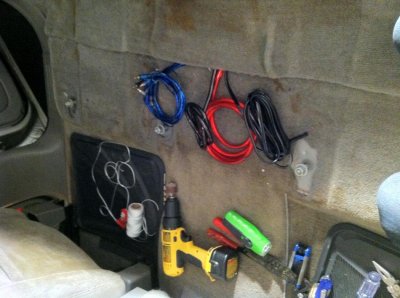
keeping my cargo area and use of 3rd row was key Yet i wanted sound quality.. started building a custom 3/4 mdf box to house a 10" Pioneer shallow mount.. amp under the middle seat.. 4 gauge power. 12 gauge to all speakers... went ahead and ran the doors but German Maestro components will be installed after X-mas expenses.. and an ARC 5 channel..

this is the work so far.. the box will be smoothed and wrapped in fiberglass for a super solid air tight bass house..

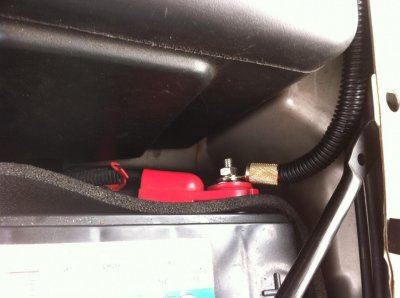
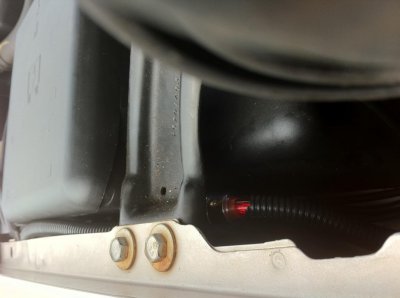
This Build is intended as a clean Stock looking interior and High Sound Quality.. the fuse block is hidden behind the large fuse box and the corner fender/firewall arced support..

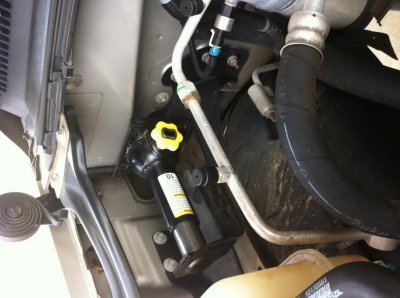
Jack has been relocated using factory bracket to the passenger side under the hood in the diesel 2nd battery location.. and the tire tools fit behind the hinges of the middle seat under the pop out covers.


4 guage power
12 gauge speaker
3 sets RCA
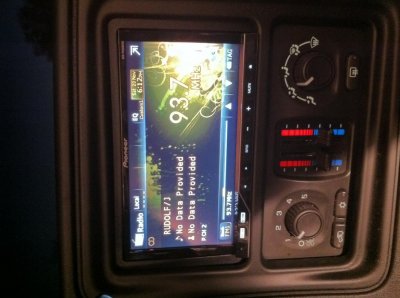
Pioneer AVH-P4200DVD
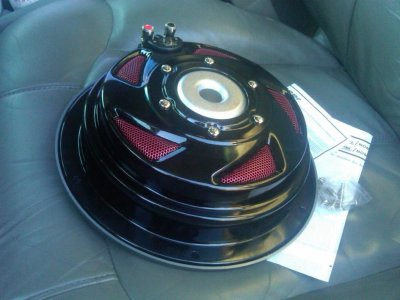
Pioneer Shallow mount 10"

German Maestro 6.5 components up front
German Maestro 5.5 components rear door
ARC Audio 5 channel under middle seat


Attachments

  • photo-18.jpg
    photo-18.jpg
    93.7 KB · Views: 816
  • photo-13.jpg
    photo-13.jpg
    96.9 KB · Views: 808
  • photo-15.jpg
    photo-15.jpg
    89.5 KB · Views: 811
  • photo-14.jpg
    photo-14.jpg
    96.4 KB · Views: 834
  • photo-16.jpg
    photo-16.jpg
    91.3 KB · Views: 849
Last edited:
OP
OP
jdpber

jdpber

GOLD MEMBER
Supporting Member
Joined
Oct 18, 2010
Posts
26,314
Reaction score
24,310
Location
The America
pics

the box still needs more fitment fine tuning.. dynamat behind it. and fiberglass.. but this is where i start.. hope this helps those looking for a 1cu/ft box in the stock location..
 

Attachments

  • photo-12.jpg
    photo-12.jpg
    96 KB · Views: 819
  • photo-17.jpg
    photo-17.jpg
    88 KB · Views: 763
OP
OP
jdpber

jdpber

GOLD MEMBER
Supporting Member
Joined
Oct 18, 2010
Posts
26,314
Reaction score
24,310
Location
The America
thanks man< haven't had any time to work on it sense i got the speaker. but i plan to work tonight on it and hopefully finish it up this weeK. so i can get the fiberglass wrap on the box..
 

vatahoelt

Full Access Member
Joined
Jun 1, 2009
Posts
1,014
Reaction score
13
Location
NoVa
are you or did you already cut that mounting bolt for the jack tools?

i found a factory box for that location and in order to use it, i'm going to have to cut that bolt off.

btw, i love the spot for the factory jack.
 
OP
OP
jdpber

jdpber

GOLD MEMBER
Supporting Member
Joined
Oct 18, 2010
Posts
26,314
Reaction score
24,310
Location
The America
]Yes i took the side grinder to the bolts.. the tire iron and spare tire tools are relocated under the middle seat and jack is bolted under the hood...

Also i opted for more air space and removed the small useless storage box so that the sub box could be larger.. i never use the box other than for the trailer light adapter that now makes its home in the glove box...

it got cold and hands didnt want to work so ill hop back on the horse tonight and post more pics of box..

for now here is the speaker.. alot better construction than i was expecting.. my boy at the audio shop said once these speakers are broken in they sound very good for what they are... and 10X better than a factory sub.. should do the trick well...

Overall this has taken alot of time but! it is going to be worth the effort to have 3rd row and not loose any cargo space while still having a 1 cu/ft box hidden..
 

Attachments

  • photo-19.jpg
    photo-19.jpg
    87.3 KB · Views: 376
  • photo-20.jpg
    photo-20.jpg
    90.6 KB · Views: 343
OP
OP
jdpber

jdpber

GOLD MEMBER
Supporting Member
Joined
Oct 18, 2010
Posts
26,314
Reaction score
24,310
Location
The America
ok to explain the image.. this is a view looking down inside the box from the top,, the multiple pieces are done in a step fashion so that i get the curvature of the wheel well and maximize my air space.. once done they all will be liquid nailed and screwed together. In addition the steps will be smoothed so that the interior airspace is uniform and smooth,, the back outside of the box "steps" are tapered to conform to the radius of the wheel well.. this fitment has been time consuming as every piece is different arc and measurement.. but i am done with this part..

tonight: cut top, bottom and speaker hole..

then disassemble and glue and screw.

round all the corners and prep fro fiberglass wrap
 

Attachments

  • photo-21.jpg
    photo-21.jpg
    90.6 KB · Views: 584

tmtb2013

TYF Newbie
Joined
Apr 18, 2010
Posts
12
Reaction score
0
Location
Louisiana
Nice man, keep it going. I was thinking of doing something just like this a few months ago. Maybe I will give it a shot.
 

Forum statistics

Threads
129,269
Posts
1,813,067
Members
92,374
Latest member
fishcop076

Latest posts

Top