Not trying to hijack the thread
@Fosscore but how did you do your headliner and how difficult was it?
@Red Rocket
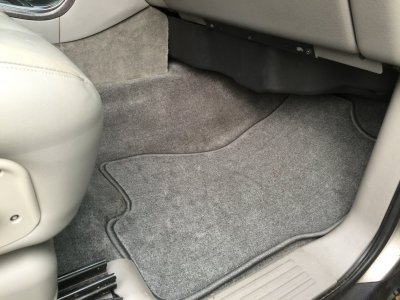
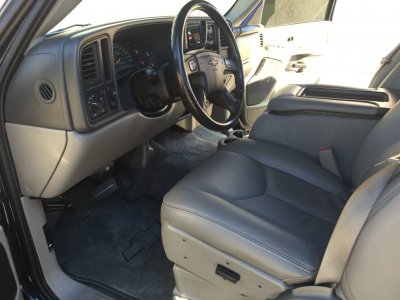
Here's the link to my build thread with some pics and a write up when I replaced my carpet and headliner at the same time. Might help with seeing it torn apart and all the trim removed.
http://www.tahoeyukonforum.com/threads/replacing-interior-carpet.76744/#post-950683
I'll lay out a few more details here as well. Was a lot easier when I had the interior torn apart as all the bottom trim had already been removed for the carpet. Thankfully I decided to just do it at the same time and then I took all the rest of the trim off starting at the A pillar and removing the rest of the B, C and D pillars.
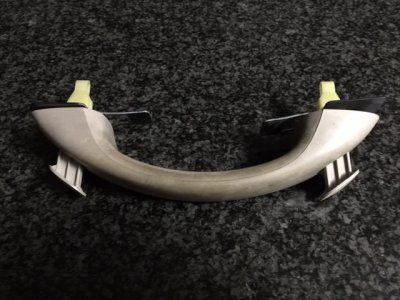
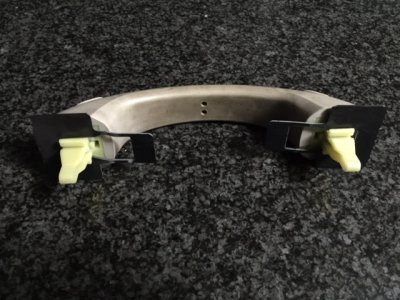
There are 6 Torx screws for each of the sun visors and the vanity mirror lights clips to undo. You have a Denali so you may have a few more electronics than I do. I cannot recall. The front overhead center console has that one long screw forward to drop it down and unhook the lights and A/C controls. The passenger overhead grab handle needs to come out, but this handle pushes thru the headliner and into the roof of the truck which gives it the strength to hold your co-pilot in her seat. Pics below of a spare I just happned to have in the house.
Pop out the two plugs and pull them out to loosen the handle a little bit. On the back side of the headliner, there are two black funky looking slide washers. You need to slide them to allow the grab handle to pull out. They do have a tendency to want to bend so be a little gentle when trying to get them to slide off. If you do not remove the A and B pillar trim pieces first, it might restrict being able to carefully pull the headliner down to release these slide washers to get the grab handle to release from the roof of the truck. You probably won't be able to remove the headliner if you don't remove the A and B pillar pieces anyways, so just make it easy on yourself and pull them out. There are some more details in my thread about he middle seat belt bolt removal. There is a bolt/screw that holds one of the A/C panels on the right hand side and another screw on the left hand side. Most of the panels are just the usual GM push and pull style pins, with that odd screw/bolt here and there.


There should be at least 3 plastic body panel plugs (2 middle and one rear) holding the overhead to the roof along with that overhead piece by the rear liftgate. The rear A/C ducting also pushes its way into the headliner from the right rear window as it distributes the air to all the rear vents. It just slides out of the headliner to allow the headliner to drop down. You just have to drop the left hand side of the headliner a bit to get that duct piece to slide out. Unclip the dome light plugs.
The most challenging part for me during removal and installation was the main wiring harness that runs down the drivers A pillar to behind the dash. This harness feeds the entire headliner and is hot glued to the headliner. Not wanting to cut anything, I carefully peeled the entire harness off and then hot glue gunned it back into its original location. A little extra time, but then no OEM wiring was cut during this change out.
That will release the last bit of tension and the headliner is pretty light. Just bulky due to the size. Watch the oddly cut corners (the B pillar pieces have little pointy bits as they wrap around that pillar) when you slide it out the back. They will want to bend over and try to crease. It was easiest to remove it at a 45 degree angle high and low.
At this point, I turned over the headliner to the upholstery shop pros. $250 and 1 day later they had removed the old material and glue, cleaned it and installed the new material (I went with a darker grey than the carpet and much darker than the OEM pewter) They also sorted out the 2 sun visors as well. IMO this was well worth the money to let the pros who do what they do every day knock it out without a hassle.
Hope that helps. I think it was a bit easier than tackling the carpet with mass backing and trimming out the necessary mounting points. Haha. Any other questions, just ask. Good luck. Made a world of difference and very happy I just did it at the same time. Made my interior look and smell great!! Very happy.


