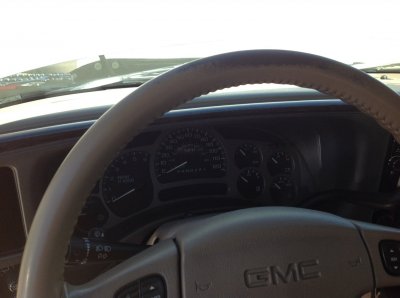
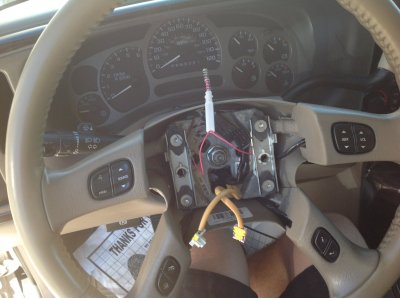
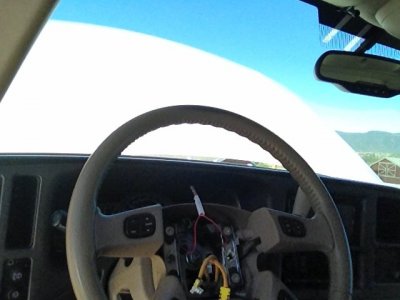
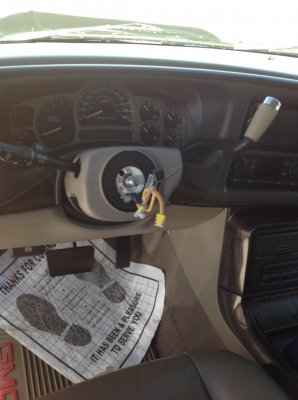
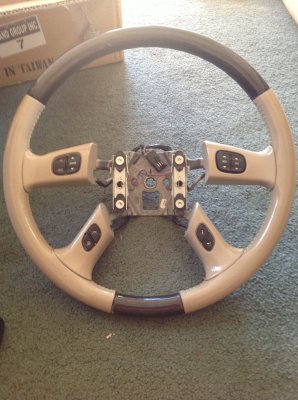
Steering wheel removal

Disclaimer: Links on this page pointing to Amazon, eBay and other sites may include affiliate code. If you click them and make a purchase, we may earn a small commission.

adventurenali92

Full Access Member
Joined
Feb 16, 2015
Posts
7,245
Reaction score
8,348
Location
Big Bear Lake, ca
So I've searched a few threads and haven't come up with what I'm looking for. Forgive me if there's already a thread on this. Any insight is appreciated. I'm about to swap q custom steering wheel into my 2006 denali xl. I know I need to start with disconnecting my battery and waiting a half hour for the electronics to discharge. What other tools will I need handy? A video I saw from grant steering wheels showed a steering wheel puller? Is that a must have or can I do without it? Never had to do anything like this before so this is new territory, but im sick of needing someone else to do it for me. Lol. Thanks guys, any links to threads or videos would be greatly appreciated!
 

PG01

Supporting Member
Joined
Nov 6, 2016
Posts
14,758
Reaction score
17,877
Location
Up here to the right
I used to loosen the center nut and back it off all the way to the top of the stud then a few good wacks with a reg hammer (you should use a rubber mallet) and it used to pop
 

Sevenevez

Supporting Member
Joined
Dec 13, 2012
Posts
1,202
Reaction score
3,321
Location
Arizona
i have done this on a couple different vehicles.
i left my battery disconnected for about a half hour as well so the airbag doesnt blow your face off :)
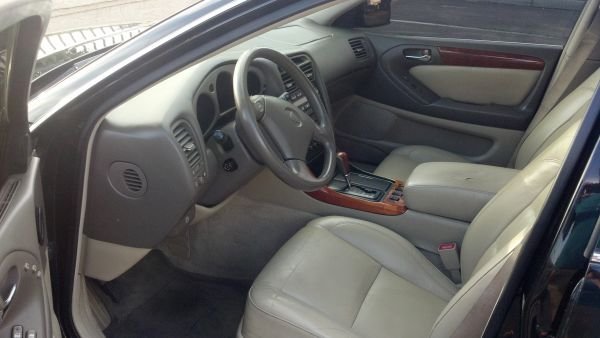
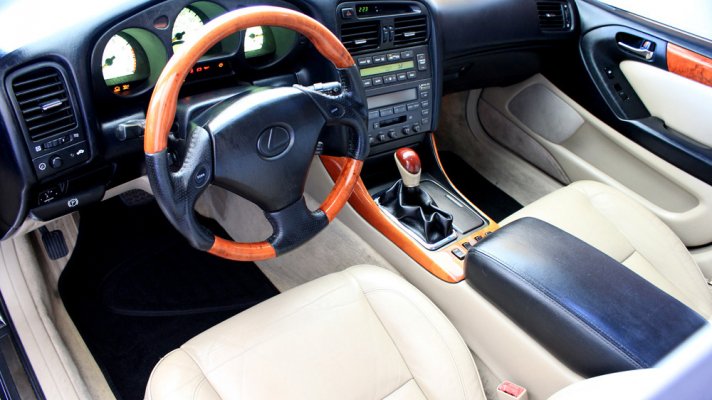
mine was an OBS and the second i did was my Lexus. The OBS was my first and i rented the puller but probably didnt need it. The second i did was my Lexus. and that one once i got the nut off, i just yank at like 12 o clock once pretty hard and then at 6 o clock the same and it pops right off the spline. Just made sure i took a picture and mounted the other on at the exact same position etc..
probably took me just over an hour or so.

pics of the GMC install (yours might be a little different being NBS)

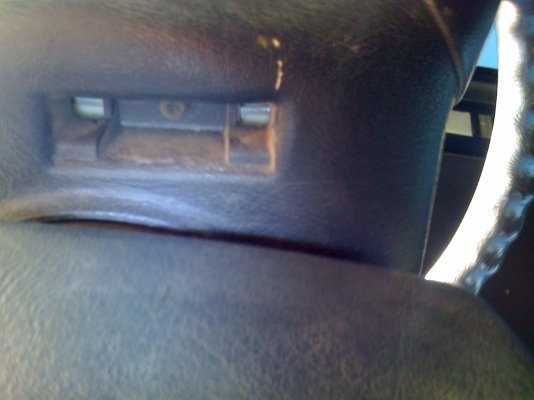
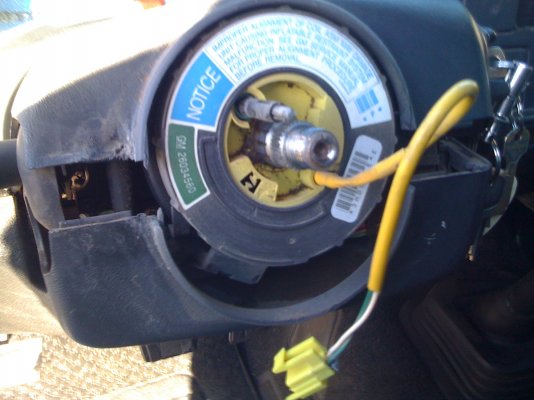
tabs to release on back under sides of wheel to release the horn face/airbag

s1.jpg

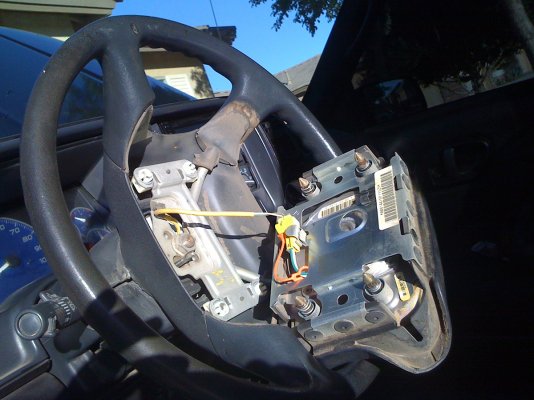
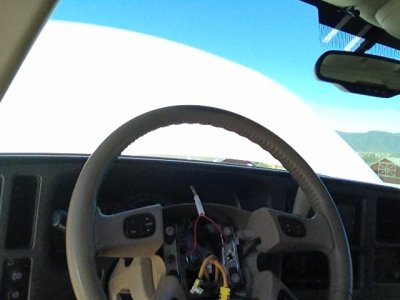
unplug airbag

s2.jpg

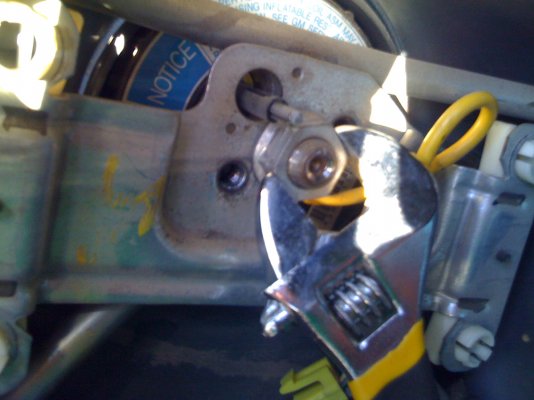
remove nut

s3.jpg

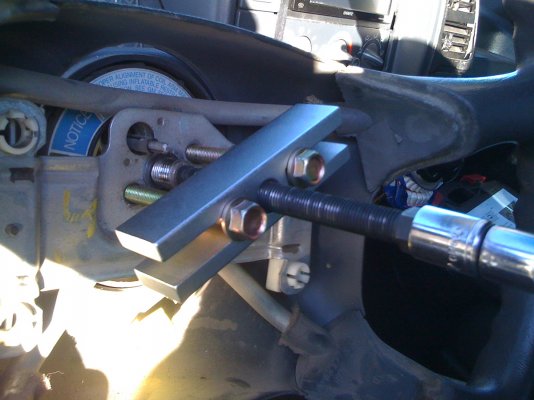
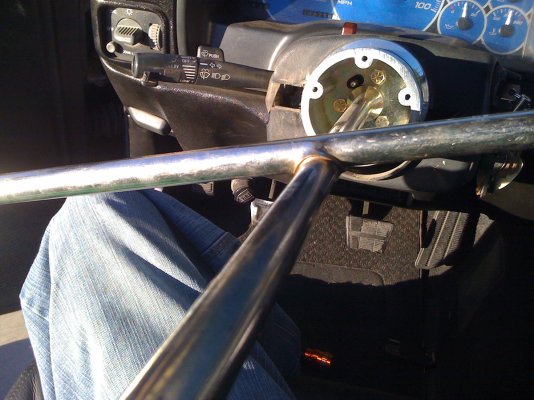
steering wheel puller

s4.jpg

wheel off

s5.jpg

billet adapter

s6.jpg

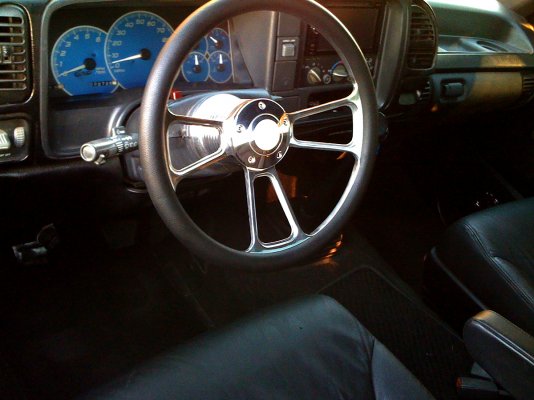
billet wheel with no airbag mounted on that one and it was done

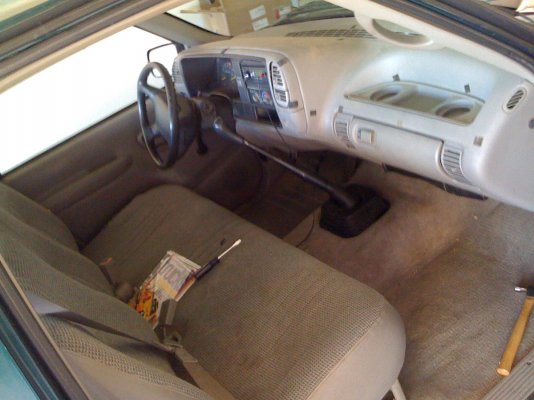
and.. just because :) here's my interior before and after.

s7.jpg

after

s8.jpg

here's a before and after of my lexus two tone transformation with a silk blaze woodgrain wheel

Car12.jpg

after

g258.jpg

Hope some of that helps. Pretty much the same process you might go though

.
.

Did you get a new one from AutoWood? i was thinking of getting one that matches my interior but with the additional woodgrain from them and what they charge.
 
Last edited:

about20ninj45

Full Access Member
Joined
May 13, 2014
Posts
1,120
Reaction score
330
If you rent a puller get out from O'Reilly or advanced. They one for AutoZone it's too short and won't work. I didn't disconnect the battery when I did mine. Left the nut on the top threads and pulled the steering wheel up so the nut acts as a stopper. If you do it wrong you can f up the clock spring which is no bueno.
 
OP
OP
adventurenali92

adventurenali92

Full Access Member
Joined
Feb 16, 2015
Posts
7,245
Reaction score
8,348
Location
Big Bear Lake, ca
@Cattivo , thanks for the vid! That's the one I was watching haha. @Sevenevez , that wire up is awesome! I'll be following that lol. Hopefully I don't jack up my clock spring. I looked into, autowoods, his wood grain wualaity looks fantastic. But he's super expensive. I kind of went a different route. I was playing with a hydrodip kit to try and achieve the dark wood color. But the top grip wouldn't come out smooth. It was kinda frustrating. So I went a different route and I really like the end result. I'll post some pics shortly and show you guys. Thanks for all the replies guys! Very helpful!
 
OP
OP
adventurenali92

adventurenali92

Full Access Member
Joined
Feb 16, 2015
Posts
7,245
Reaction score
8,348
Location
Big Bear Lake, ca
So quick question, might sound dumb, but before I tear into this, do I need to have the plastics above and below the steering column removed first?
 
OP
OP
adventurenali92

adventurenali92

Full Access Member
Joined
Feb 16, 2015
Posts
7,245
Reaction score
8,348
Location
Big Bear Lake, ca
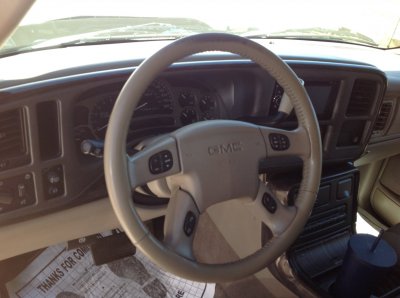
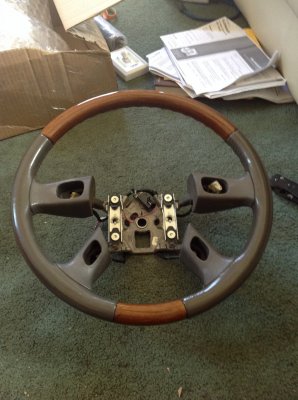
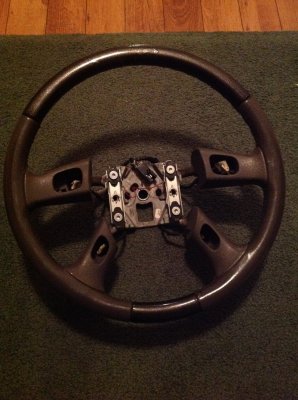
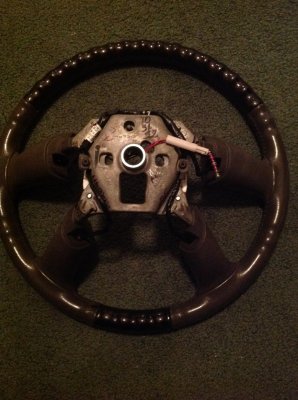
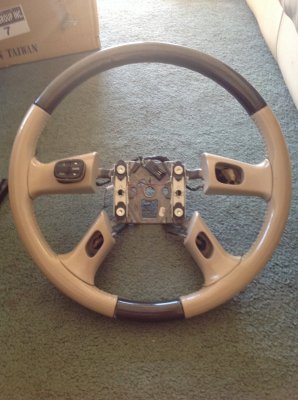
So you're guys' help was absolutely invaluable! This thread was awesome and gave me the exact steps i needed for the swap! Thank you to everyone! And what shocked me was that the swap was a lot easier than I thought it was gonna be! The hardest part was pulling wheel of the spline, and it was pretty easy thanks to your suggestions. Didn't need the puller. Here's my end result! I'm totally diggin it! I went a little different route. After the hydro rip fail(lol) I really liked the base coat color that came with my dip kit. It's a rad color. So after the first wheel that the grips messed up, I bought a steering wheel on eBay from an esky. Painted the grips, with the base coat color, called blue graphite metallic, but it's actually pretty dark. Anyways, once those were painted and clear coated, I then redid the dark leather, with SEM light cashmere color leather dye. It's a little lighter than my denalis darker than interior. But I love the result. I also had bought an airbag cover from an envoy Denali, with the badass Denali badge in the center. Did that in the same leather dye. So here's some pics, cuz pics or it didn't happen right.

image.jpeg

image.jpeg

image.jpeg

image.jpeg

image.jpeg
 

Forum statistics

Threads
129,233
Posts
1,812,529
Members
92,332
Latest member
jmart157
Top