Crippin87
Full Access Member
- Joined
- Mar 2, 2017
- Posts
- 198
- Reaction score
- 147
Disclaimer: Links on this page pointing to Amazon, eBay and other sites may include affiliate code. If you click them and make a purchase, we may earn a small commission.
Thanks it's my first so I was hoping it would turn out alright lolNice write up!
I finally got the write up done. Now that you can see how I did mine, what did you do differently in yours?Well, I got mine installed, but was not able to figure out how to retain function of the button due to the way it all reassembles (as ivin74 pointed out, it's quite tightly fit together).
One other thing to remember as you're installing it is the need to temporarily power it on and mark the camera top and bottom. Otherwise it will be crooked since it is cylindrical with no discernable top/bottom.
Now that it's done, I'm happy with the results, but if I had to do it over again, I would not have since it was such a frustrating process (and my license plate camera worked fine).
One other thing to note, the diameter of the camera is less than that of the inside of the button. I used electrical tape to wrap several times around the camera to give it a larger diameter.
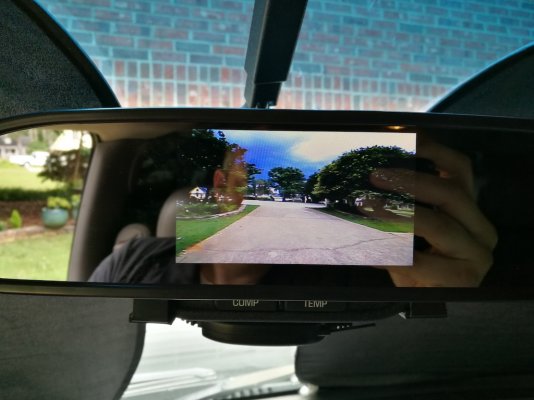
I've attached a photo of what it looks like (my monitor is in my rear view mirror).
If I can get good enough on CAD, I will 3D print something that will ot only mount the camera, but make the button work. I'm also considering just putting an actuator on the glass release and putting a button in the dash.

Thanks it's my first so I was hoping it would turn out alright lol
If anyone tries it let me know how it turns out for them. I'm hoping I was able to explain everything well enough for them to do it on their own.
