Undoing bad "lift". Body lift+ a little cranking?

Disclaimer: Links on this page pointing to Amazon, eBay and other sites may include affiliate code. If you click them and make a purchase, we may earn a small commission.

Jerky Arm Ape

Full Access Member
Joined
May 13, 2014
Posts
183
Reaction score
1
Location
North East Louisiana
Hey guys I am new to this forum and am glad that I came accross it.
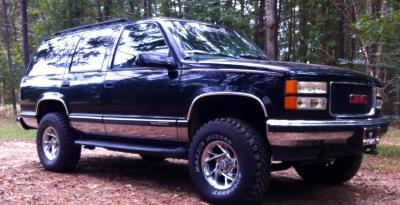
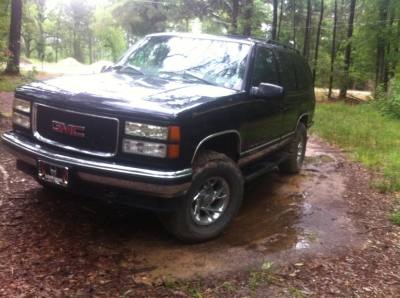
I have a 1998 yukon 'tis four-wheel drive.
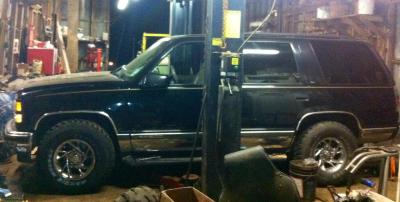
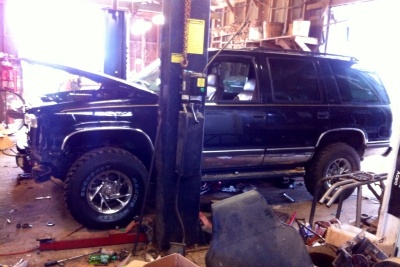
I bought it with a 3" lift block in the rear and front torsions adjusted to set level. :(


I lowered the adjustment to aquire a stock stance, rebuilt the front suspension with moog chassis parts and put some cheap rough country white shocks and steering stabilizer kit on it.
Had it aligned before I drove it anywhere with the new parts. The truck had 209xxx miles on it. I put it on the lift to change the oil for the third time (12,000 miles later) and was already searching for slack and the tires were just about melting off of it.
Now I'm at 233,6xx miles and am sporting the cheapest pitman, idler and upper ball joints, and used tires on the front.
image_zps241aed17.jpg

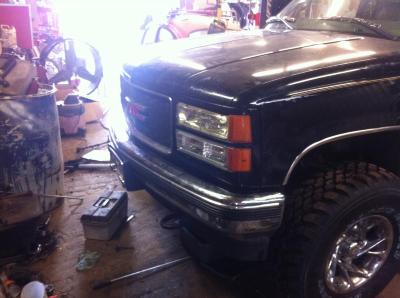
I have two new 285/75-16 maxxis buckshot mudders for the front and a body lift.
Am going to rebuild it completely again with moog chassis, unless y'all know of something better?

Has any one used a 1" block on the rear and adjusted the front to match with any luck as far as longlastivityof suspension and alignment?
 
Last edited:

Gzes

the drifting 2dr
Joined
Aug 9, 2011
Posts
5,433
Reaction score
51
Location
Wichita tx
Welcome and first important thing is that setup is not a body lift. If it were then there would be blocks on frame to body. By tires melting you mean it rubs on the blocks? Pics would be helpful to see what's happeneing
 
OP
OP
Jerky Arm Ape

Jerky Arm Ape

Full Access Member
Joined
May 13, 2014
Posts
183
Reaction score
1
Location
North East Louisiana
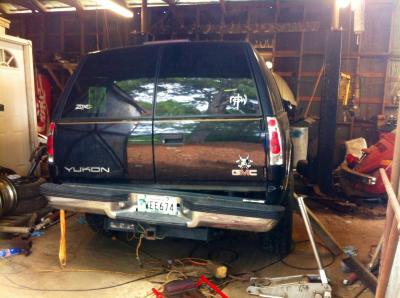
Right now it has a 3" lift block on the rear axle between the leaf spring and the axle.
The front was just had the torsion bars cranked up to raise it to be level with the rear of the truck.

By tires melting off I mean in less that 12,000 miles I had less than half tread on two new tires, there were literally chunks missing out of the tread.
Mind you that was after a front suspension rebuild, four new tires and a GM dealership alignment...

Those tires were trashed and I've been using used tires in the front because new ones would be a waste of money.

I'm wanting to do away with that setup and install a 3" body lift. And remove the 3" lift blocks from the rear, downsize to a 1" lift block to have the fender clearance of a 4" lift when combined with a body lift.

I'm wondering if I just do a one inch lift block on the rear axle, and adjust the front torsions to match the 1" lifted rear,with leveled stance, will I still have bad alignment and premature failure of front suspension components as I do with the current setup?
 

yates ™

Resident Apple hater
Supporting Member
Joined
Jul 9, 2010
Posts
24,409
Reaction score
6,418
Location
Iowa
You basically have the front completely maxed out which will wear all the front end components faster.
 
OP
OP
Jerky Arm Ape

Jerky Arm Ape

Full Access Member
Joined
May 13, 2014
Posts
183
Reaction score
1
Location
North East Louisiana
Lets take the current suspension status and the word body lift, put it in a ziplock bag and store it in a cabinet somewhere.


Um yes... Bought it like that.


Now working to undo it.


Just wanting to know do I have to set the suspension completely back to stock specifications to get rid of that problem?


Or.


Can you.


Lift it some above OEM specifications and it be ok?


Like what is the most you can go?

None?

1 inch?

Two inches?

Thanks guys.
 

Gzes

the drifting 2dr
Joined
Aug 9, 2011
Posts
5,433
Reaction score
51
Location
Wichita tx
can crank 2 in but im running 3 in body lift fine. was gonna crank another inch but rather sas
 
OP
OP
Jerky Arm Ape

Jerky Arm Ape

Full Access Member
Joined
May 13, 2014
Posts
183
Reaction score
1
Location
North East Louisiana
Ok,
So pretty well if I want the truck level I should not use a block at al.

I guess the 3" lifted fender clearance isn't bad.

I just don't like the position of the tire in the rear tire opening of the body. it's closer to the front of the fender well than the rear and the lesser the lift, the more it sticks out with a larger tire.
 
OP
OP
Jerky Arm Ape

Jerky Arm Ape

Full Access Member
Joined
May 13, 2014
Posts
183
Reaction score
1
Location
North East Louisiana
Well I finally got around to undoing my "3" suspension lift".

I started in the rear.
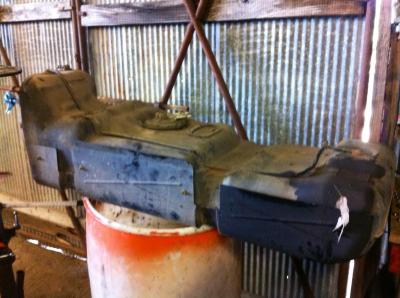
Had to pull the tank out to get the driver's side leaf spring off.:Frustrated:
image_zps677c1f89.jpg

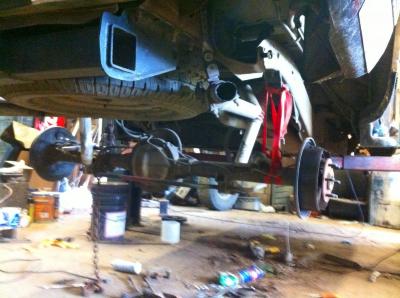
Then I removed the blocks, shocks and leaf springs.
image_zps017f2922.jpg

I replaced the leaf spring bushings and the shackles.
Also the sway bar bushings and end links.
Put new stock length 9/16" u-bolts and stock length KYB GR-2 shocks.

Went ahead and greased the yolk with an Amsoil grease that was suggested by Donnie Yukonie.

Had the drums turned for the first time at 236,*** miles, replaced the wheel cylinders and rubber line with AC Delco parts and put Wagner thermo quiet shoes on it.
Also replaced the "self adjuster" assembly with a new kit on each side.
(still had the factory holder on the studs for assembly line)

Once reassembled I moved on to the front.

---------- Post added at 12:40 PM ---------- Previous post was at 12:15 PM ----------

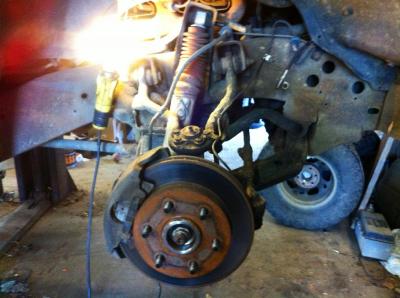
Old nasty and squeaky.
Not to mention that this shock was blown out.
image_zpsc1d05ef8.jpg

Of course the disassembly was the easiest and quickest part of the job.

I could move all four ball joint and all four tie rod end stems by hand with little or no resistance.
image_zps435b20fa.jpg

While all the parts were absent, I degreased the shnit out of everything and did a little wire wheel work so I could paint the frame.

Not suggested but, I unloaded my torsions by removing the adjuster bolts and then separating the upper ball joint and was able to pull the lower a-arm down far enough to pull the key stops out of the crossmember.
It wasn't unsafe to me but I did have my truck on a lift.

I replaced the torsion bar cross member link/bushing assembly with AC Delco units.


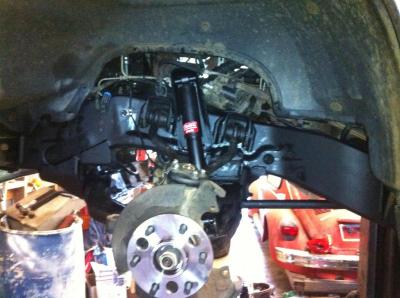
Then replaced the balljoints and control arm bushings in both the upper and lower control arms with Moog Chassis components and retained my factory eccentric bolts, they had 0 wear on them surprisingly.

I traded out some vw parts with a local mechanic who installed my lower ball joints and control arm bushings with his big balljoint clamp dealio.
My press frame wasn't quite large enough to fit them in there.

Used Moog for the sway bar bushings and end links, blue in color.

I finished it off with some stock length KYB GR-2 shocks.
image_zpsba2a2036.jpg

I replaced the wheel hub assemblies with Precision name brand units.
Put new rotors on it and some Wagner thermo quiet pads, replaced the rubber lines while I was there.


Then with the steering I started in the middle.
Replaced the gear box with an A1 Cardone reman. Box.

Replaced the idler arm, idler arm bracket and pitman arm with Moog Chassis comonents.

Decided not to put the steering stabilizer back on the center link.

Replaced all four tie rod ends and adjusters with Moog Chassis components as well.

I installed a Dorman steering coupler and wet ahead and put the steering shaft extension on after disassembling and inspecting the shaft itself.

Rechecked the torque on everything that I could get to and put the new tires on.

image_zps9d764110.jpg

---------- Post added at 01:02 PM ---------- Previous post was at 12:40 PM ----------

Then it was time for the body lift install!

It was over all easy.

I had one but if wiring that I had to re-route.
Just had to move the taillight ground around my bumper bracketry.

I left the fuel filler lines in attached and didn't have to lengthen them.

Ill only see it like this once.
image_zps262fb5ee.jpg

Both sides done, working on the fan shroud.
image_zps1887ad4d.jpg

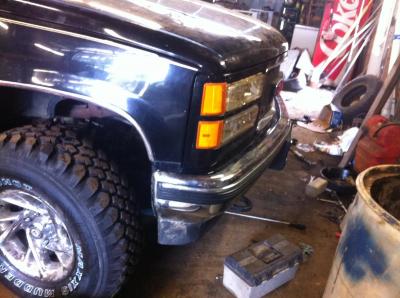
The most aggravating part to me was getting the bumper aligned but it came out decent.

image_zps7af54a9c.jpg

image_zps4ab21daa.jpg

There it sat waiting on the alignment appointment.
image_zps80c6e7ba.jpg

---------- Post added at 01:09 PM ---------- Previous post was at 01:02 PM ----------

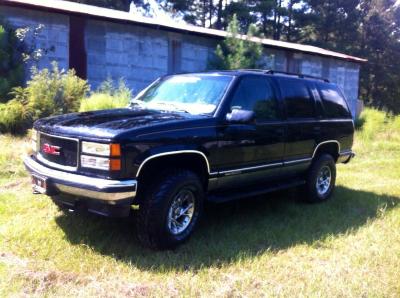
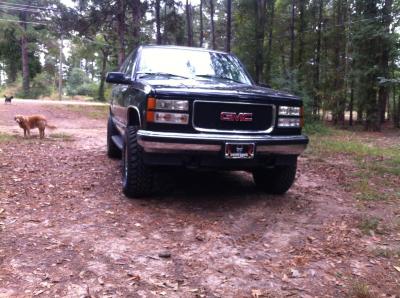
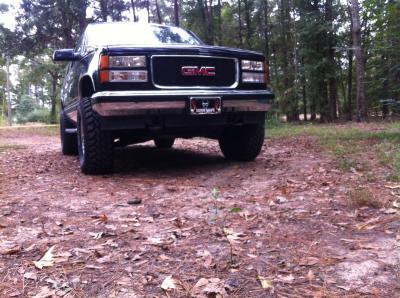
And here we have the finished product, ride height adjusted and alignment performed.

image_zps0bea0b48.jpg

image_zpsb7b2c199.jpg

I decided to leave my factory running boards on. They provide protection and also cover the frame up very well.

image_zps8962ee8d.jpg

I will revisit after I move the rear bumper up.
 
Last edited:

BigDaddy13440

Full Access Member
Joined
Aug 20, 2009
Posts
942
Reaction score
558
Location
Rome, NY
That actually looks very nice with the running boards on.

Have you had a chance to fully cycle the suspension, like hitting a bump at full lock? The reason I ask is that I put 285's on wider offset wheels on my '96 (with nothing more than a 2" crank) after taking off the running boards. I had to trim my fenders and the rear edge of my bumper so everything would clear.
 
OP
OP
Jerky Arm Ape

Jerky Arm Ape

Full Access Member
Joined
May 13, 2014
Posts
183
Reaction score
1
Location
North East Louisiana
I actually have at very low speeds.
There is a dirt road nearby that is elevated about 20" above the land around it.
I drive onto it at several angles while cycling the suspension.
I only rub while in reverse on the lowest part of the bumper and some on the valance while at full lock.

No rubbing on the door side of the fender.
 

Forum statistics

Threads
129,476
Posts
1,816,424
Members
92,682
Latest member
GinoTahoe
Top