dbbd1
Full Access Member
- Joined
- May 12, 2017
- Posts
- 924
- Reaction score
- 354
Nailed it!!!
(For more details, read further. Post #4 tidies this up nicely and is probably the best way to complete this mod. I am just leaving all of the original info just as an FYI and to show the evolution of the mod.)
Well, almost...
The mod has a couple of flaws in it. It kills all power to my radio console and climate controls (not so bad) and to my gauges (maybe not so good). It was not supposed to do this, according to the schematic. But, I have learned that, hmm, they are not always accurate. There should have been a separate wire feed to the gauges. Another issue is that if you switch it on or off with the vehicle running, the radio will sometimes weird out (on but no volume, volume control lags behind you moving the knob, those kinds of things).
So, that said, here goes...
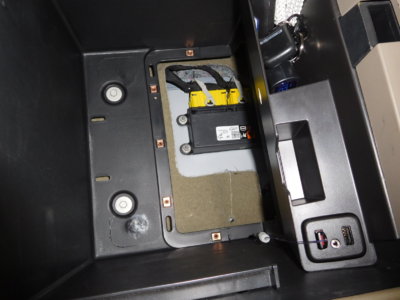
The fuse that controls +12v to the storage is in the left dash side fuse block, labeled IPC, #39 (instrument storage compartment- took me forever to figure out the "real" name for the d@mn thing!). If you just pull the fuse, you lose power to a few other items too, the dash is one. That fuse is also for the HUD and the driver and passenger heating/cooling. No big, pulling the fuse is an easy shortcut, if that's what you want to do. Otherwise, you can just put a switch inline for the storage, like I did.
I was originally going to go with a magnetic reed switch but it had some issues, mostly, going through the plastic panels means that it did not always close the switch contacts. I just put in a hidden pushbutton switch.
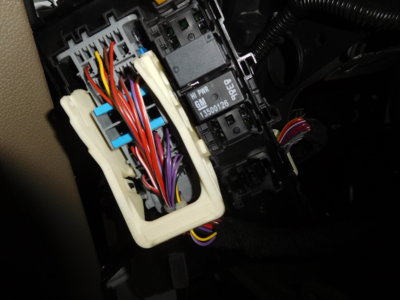
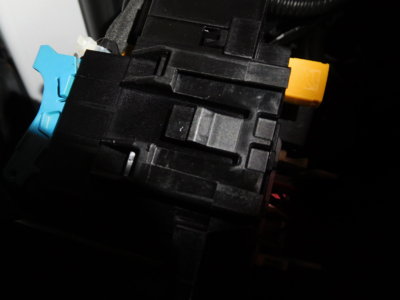
First thing is to remove to remove the fuse block, this is the hardest part of the mod (and its not hard at all). It is held in place by two clips, one on the top of it and one to the driver/back of it. Depress the tangs and slide it out. The first time, it will be a it snug.
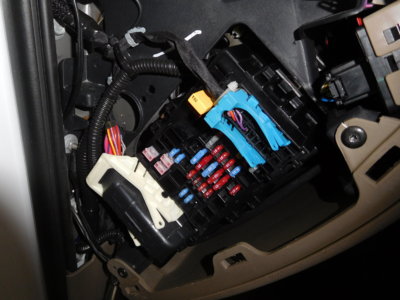
The red 10amp fuse, in the lowest point shown in the pic, is the fuse we want.
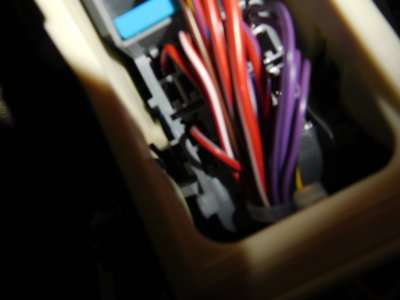
The next pic is a close-up of the tangs that need to be depressed to pull out the fuse block.
(For more details, read further. Post #4 tidies this up nicely and is probably the best way to complete this mod. I am just leaving all of the original info just as an FYI and to show the evolution of the mod.)
Well, almost...
The mod has a couple of flaws in it. It kills all power to my radio console and climate controls (not so bad) and to my gauges (maybe not so good). It was not supposed to do this, according to the schematic. But, I have learned that, hmm, they are not always accurate. There should have been a separate wire feed to the gauges. Another issue is that if you switch it on or off with the vehicle running, the radio will sometimes weird out (on but no volume, volume control lags behind you moving the knob, those kinds of things).
So, that said, here goes...
The fuse that controls +12v to the storage is in the left dash side fuse block, labeled IPC, #39 (instrument storage compartment- took me forever to figure out the "real" name for the d@mn thing!). If you just pull the fuse, you lose power to a few other items too, the dash is one. That fuse is also for the HUD and the driver and passenger heating/cooling. No big, pulling the fuse is an easy shortcut, if that's what you want to do. Otherwise, you can just put a switch inline for the storage, like I did.
I was originally going to go with a magnetic reed switch but it had some issues, mostly, going through the plastic panels means that it did not always close the switch contacts. I just put in a hidden pushbutton switch.
First thing is to remove to remove the fuse block, this is the hardest part of the mod (and its not hard at all). It is held in place by two clips, one on the top of it and one to the driver/back of it. Depress the tangs and slide it out. The first time, it will be a it snug.


The red 10amp fuse, in the lowest point shown in the pic, is the fuse we want.
The next pic is a close-up of the tangs that need to be depressed to pull out the fuse block.
Last edited:

