Rocket Man's 02 Denali Build Thread AKA "THE BEAST"

Disclaimer: Links on this page pointing to Amazon, eBay and other sites may include affiliate code. If you click them and make a purchase, we may earn a small commission.

OP
OP
Rocket Man

Rocket Man

Mark
Supporting Member
Joined
Dec 25, 2014
Posts
25,965
Reaction score
50,651
Location
Oregon
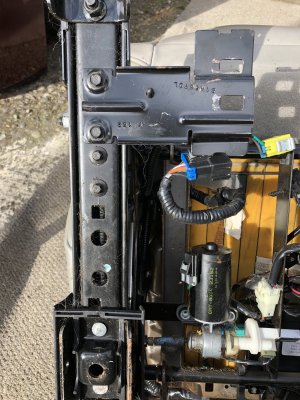
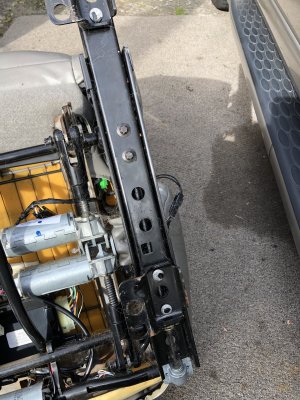
I have been noticing some forward-and-backwards movement in the driver seat. Not much, just enough to feel when hitting the gas or brakes. So I removed the seat and found some 8mm 12-sided bolts on the tracks were slightly loose so I tightened them up. No more movement! I’m glad it was an easy fix and nothing was worn like I was fearing since parts for these seats are hard to come by.

5BDE8C54-2C30-4E22-A257-F64430D54E35.jpeg 88D5BE93-7C8F-436F-AAF0-AB358BAC483F.jpeg
 

Tonyrodz

Resident Resident
Joined
Feb 16, 2012
Posts
30,974
Reaction score
45,103
Location
Central Jersey
I have been noticing some forward-and-backwards movement in the driver seat. Not much, just enough to feel when hitting the gas or brakes. So I removed the seat and found some 8mm 12-sided bolts on the tracks were slightly loose so I tightened them up. No more movement! I’m glad it was an easy fix and nothing was worn like I was fearing since parts for these seats are hard to come by.

View attachment 260877 View attachment 260878
For once--An easy fix!! Maybe The Beast is starting to mellow with age lol.
 
OP
OP
Rocket Man

Rocket Man

Mark
Supporting Member
Joined
Dec 25, 2014
Posts
25,965
Reaction score
50,651
Location
Oregon
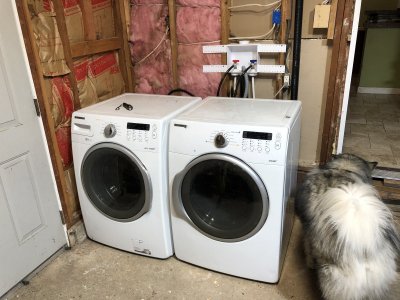
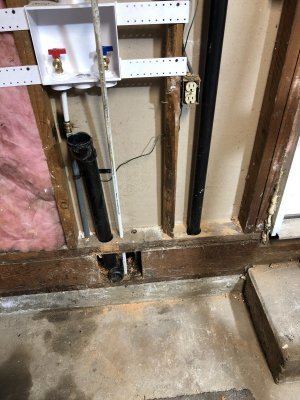
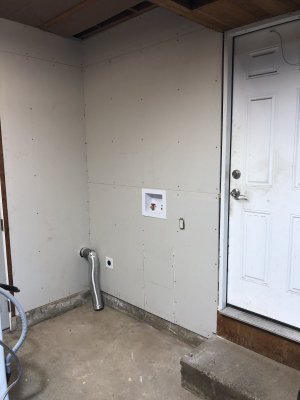
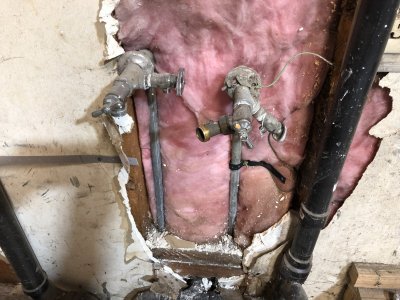
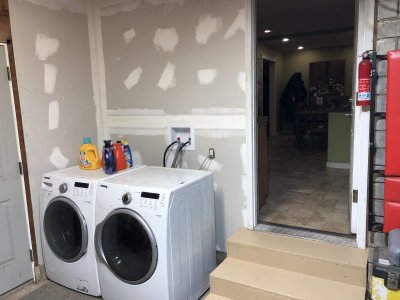
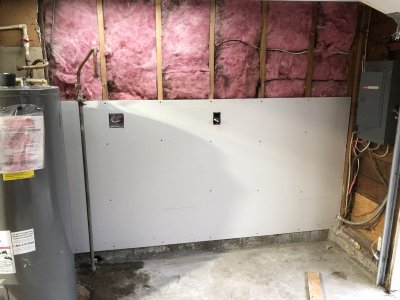
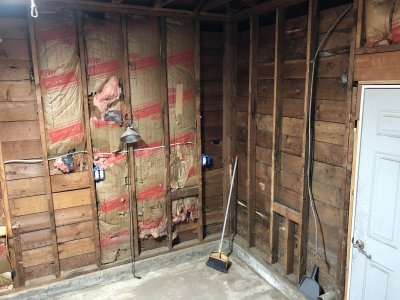
I’ve been working on a garage remodel for awhile now so I decided to post a few pics. It’s not directly related to either truck but it kind of is. That part of my house was built in the 50’s and it’s a single car garage that also doubles as a laundry room. It was paneled with 1/2” oak strips that somebody probably got for free. The dryer was kitty corner from the washer which was stupid. My goal is to make the garage a pass- through so I can get a truck through into my back yard, then build a shop back there. As well as make it a nice ass garage that is easy to work out of. It’s always seemed like an impossible task, kinda overwhelming. First task was to start at the washer dryer corner which meant installing the plumbing inside the wall (it was on the outside), moving the 220 outlet and dryer vent, and sheet rocking. The plumbing was an issue since it meant crawl space work so I was gonna hire a kid for that but decided to do the supply lines from the top side myself. That didn’t work out so well as soon as I turned the main supply back on in the street and heard a spraying sound from the crawl space. Shit. I called the kid and went without water for a day, but everything worked out.

487F2BAD-0079-453D-910C-07CD06262701.jpeg 7394C51A-26D3-491F-84E2-A19E38C39672.jpeg 07AD18B8-E47C-4E17-8542-72FB3C40494B.jpeg D2135001-D711-4715-8827-AE6C6C0722B1.jpeg C19A6053-C01E-4AC1-A853-9C89019A9D1B.jpeg
 
OP
OP
Rocket Man

Rocket Man

Mark
Supporting Member
Joined
Dec 25, 2014
Posts
25,965
Reaction score
50,651
Location
Oregon
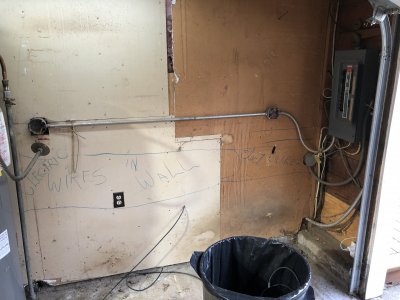
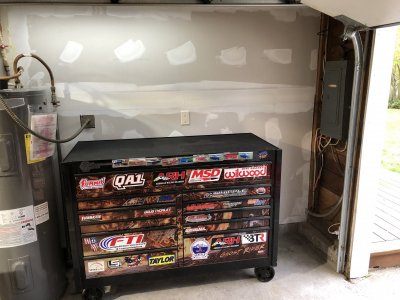
The overwhelming part was also the fact i had a ton of stuff crammed in every nook and cranny. It’s all under my rear patio cover right now. Anyway, I just moved down the wall to the other side of the furnace and water heater. This area had some Sheetrock done in patches so I added outlets and rocked it, then moved my main toolbox over there so the opposite side of the garage can go down to 20” depth from the wall in order to have room to drive through. Since the furnace is the wide point on the other side, that’s the side that the toolbox, W/D etc will be. So... outlets, rock, move the toolbox complete. I didn’t rock around the breaker panel because I will be replacing the panel. It’s super old and needs an upgrade. That’s a Spring thing.

09500B94-D8EB-4D2D-B72F-F0DD6B42789F.jpeg B8CF96B6-21F2-4EB7-8F35-5554DE934682.jpeg 610C9322-81BE-4AF6-92DF-001EA76950C0.jpeg
 
OP
OP
Rocket Man

Rocket Man

Mark
Supporting Member
Joined
Dec 25, 2014
Posts
25,965
Reaction score
50,651
Location
Oregon
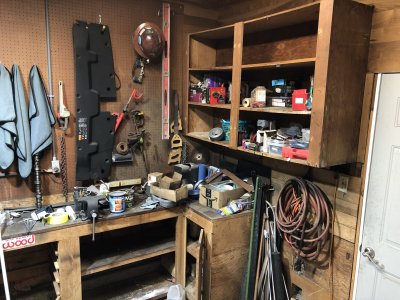
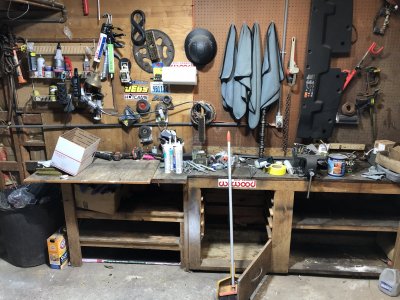
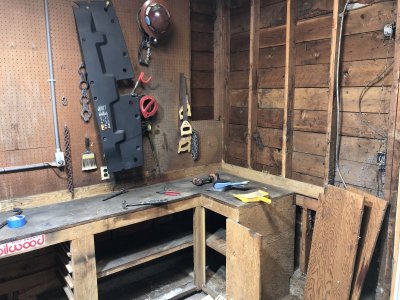
The final area is the workbench section. So far I’ve stripped it to the studs, added (3) double outlets on the wall over the bench, a couple other outlets on the wall past the bench and wired new light outlets in the ceiling with the wiring inside the framing so I can Sheetrock the ceiling. Oh and stripped the ceiling of the weird fiber board stuff that was on it. I’m adding switched circuits for under cabinet lighting over the bench in case I add a cabinet and for an outside light at the rear, which has never a working outside light.

2EDE6B56-0F6D-4C16-94CF-7C7A79DB54D7.jpeg 76183AB6-F0EA-4AB5-A981-D079C40CEF63.jpeg 14D47B21-1BAB-4D0F-B266-4CF5655D83DB.jpeg A65E8898-E3E0-4501-AA95-F76C4C504041.jpeg
 

Forum statistics

Threads
129,117
Posts
1,810,704
Members
92,203
Latest member
firedog9518
Top