Rocket Man's 02 Denali Build Thread AKA "THE BEAST"

Disclaimer: Links on this page pointing to Amazon, eBay and other sites may include affiliate code. If you click them and make a purchase, we may earn a small commission.

Sam Harris

Supporting Member
Joined
Sep 26, 2018
Posts
7,400
Reaction score
14,796
Location
Texas
Today I washed it and applied a brand new product from Chemical Guys called Hydroslick Ceramic Coating Hyperwax. It’s supposed to be a ceramic coating that is in gel form and just wipes on and then buffs off. It has no wax. It has no Carnuba. It’s supposed to be a whole new category. I can say one thing- it’s a PIA to apply since it’s pretty much invisible as it goes on. It leaves no haze so you can’t tell if you missed a spot when its time to buff it off. Supposedly it lasts 6 months to a year. View attachment 231244View attachment 231245
I guess if it actually lasts as long as they say, a PITA application is worth it..
 
OP
OP
Rocket Man

Rocket Man

Mark
Supporting Member
Joined
Dec 25, 2014
Posts
25,966
Reaction score
50,660
Location
Oregon
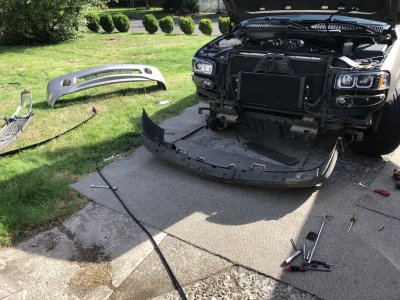
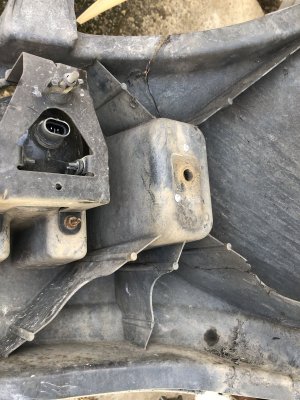
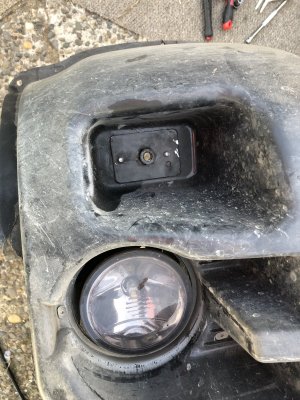
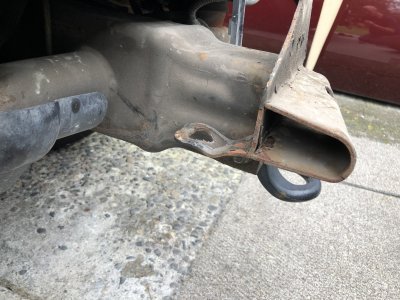
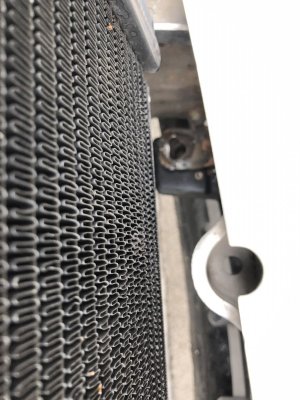
Well...I decided to do the bumper mod at 1 in the afternoon, thinking it looked like 3 hours tops. I should have known that any time I take apart something on my truck that hasn’t been touched in 17 years it doesn’t go fast. There’s a plate with a nut welded to it on each side that sit in a pocket in the fiberglass part of the bumper that’s behind the skin. These were rusted so when I removed the bolts, even with penetrating spray, the force twisted the plates which broke the pop rivets so they fell inside which meant the skin had to come off. By the time I went to Ace , bought extra long pop rivers and fixed them, I decided to put it all back together since 3 hours had already passed. There was no way it was getting done today since there was welding involved. It’s supposed to rain for a couple days, but I’ll get to it after that. Dammit.

9DA3B132-1D93-4F96-B17E-D7857AA291C0.jpeg E16D8E64-605B-441A-BF6B-3E6553C904DC.jpeg C8E50220-CAE4-4D93-B7D7-5B5CD3B5CE10.jpeg
 

HiHoeSilver

Away!
Joined
Feb 28, 2017
Posts
10,919
Reaction score
14,571
Location
Chicago
Well...I decided to do the bumper mod at 1 in the afternoon, thinking it looked like 3 hours tops. I should have known that any time I take apart something on my truck that hasn’t been touched in 17 years it doesn’t go fast. There’s a plate with a nut welded to it on each side that sit in a pocket in the fiberglass part of the bumper that’s behind the skin. These were rusted so when I removed the bolts, even with penetrating spray, the force twisted the plates which broke the pop rivets so they fell inside which meant the skin had to come off. By the time I went to Ace , bought extra long pop rivers and fixed them, I decided to put it all back together since 3 hours had already passed. There was no way it was getting done today since there was welding involved. It’s supposed to rain for a couple days, but I’ll get to it after that. Dammit.

View attachment 231376 View attachment 231377 View attachment 231378

Sucks. One of those "nut plates" came off of mine, too, but it was one of the horizontal ones near the middle. Grrr.
 

ivin74

05 NBS Nali
Joined
Aug 3, 2014
Posts
2,271
Reaction score
2,325
Location
Htown, Texas
Well...I decided to do the bumper mod at 1 in the afternoon, thinking it looked like 3 hours tops. I should have known that any time I take apart something on my truck that hasn’t been touched in 17 years it doesn’t go fast. There’s a plate with a nut welded to it on each side that sit in a pocket in the fiberglass part of the bumper that’s behind the skin. These were rusted so when I removed the bolts, even with penetrating spray, the force twisted the plates which broke the pop rivets so they fell inside which meant the skin had to come off. By the time I went to Ace , bought extra long pop rivers and fixed them, I decided to put it all back together since 3 hours had already passed. There was no way it was getting done today since there was welding involved. It’s supposed to rain for a couple days, but I’ll get to it after that. Dammit.

View attachment 231376 View attachment 231377 View attachment 231378


Damn you don't **** around, you tore that front end down quick. Keep us posted
 
OP
OP
Rocket Man

Rocket Man

Mark
Supporting Member
Joined
Dec 25, 2014
Posts
25,966
Reaction score
50,660
Location
Oregon
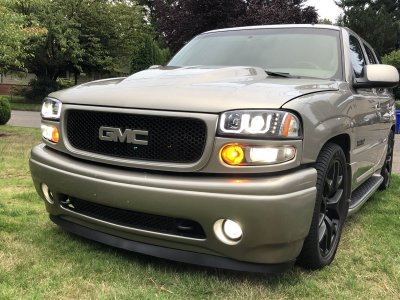
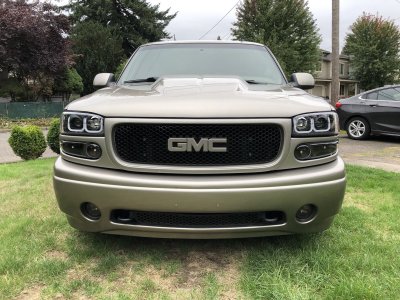
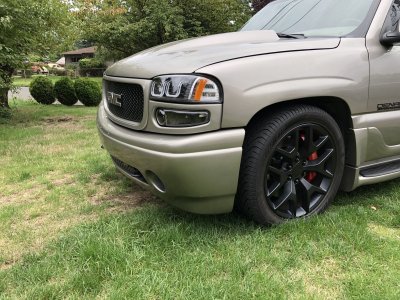
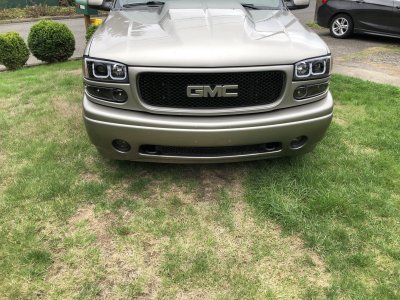
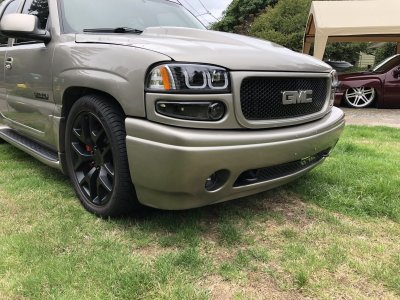
First, I'd like to say thanks to @ivin74 for the motivation to get this done. Now here's my before and after pics for comparison. I can't believe I waited this long to do this, it's bothered me since I bought the truck.
edit: yes I still have to reinstall my lower valance. Maybe it will clear curbs a bit better now. I have already removed an inch off the bottom but it still hits on some when I park. This gives it about another 3/4".IMG_9827.JPG IMG_9841.JPG
 
Last edited:
OP
OP
Rocket Man

Rocket Man

Mark
Supporting Member
Joined
Dec 25, 2014
Posts
25,966
Reaction score
50,660
Location
Oregon
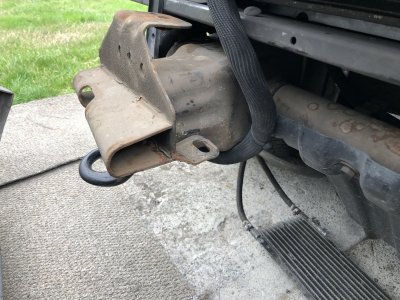
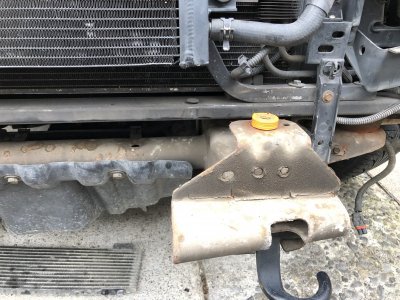
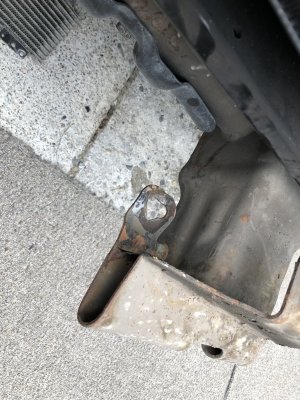
I did find a couple ways to make this easier, at least they worked out for me. I spent 2 hours total to complete this today, and with no welding. I had the advantage of looking at Ivin's thread and thinking on it overnight. I thought, why not attempt to just bend the lower brackets up and bending them flat, then re-drilling the holes to make them line up instead of cutting them off and welding them. Also, for the outer brackets, instead of notching them, I knew from working on the bumpers on my NNBS Silvy and making it work, there were adjustments that can be made. I used a 3-lb sledge on the lower brackets and bent them up and then pretty much taking the bend out of them and making them flatter which allowed the bumper to be raised without hitting them. I used 5 washers like Ivin, wrapped in electrical tape so I could pull the bumper on and off a few times without them falling apart while I re-drilled holes or made adjustments. I didn't take many pics, I was in a bit of a hurry since it looked like rain was coming. IMG_9832.JPG IMG_9833.JPG IMG_9836.JPG IMG_9837.JPG bolts
 
OP
OP
Rocket Man

Rocket Man

Mark
Supporting Member
Joined
Dec 25, 2014
Posts
25,966
Reaction score
50,660
Location
Oregon
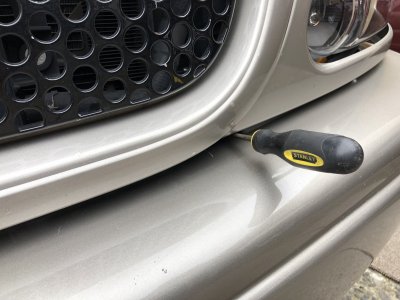
IMG_9838.JPG IMG_9839.JPG IMG_9840.JPG IMG_9842.JPG IMG_9843.JPG As for the outer brackets inside the fenders, I just loosened their mounting bolts and was able to lift both of them almost an inch. I did have to enlarge the holes a bit to one side after that but that was it. I used an air die grinder to enlarge holes which made quick work. I pulled the bumper about 6 times to mark holes and enlarge them or adjust things but it turned out to be pretty easy. As for the grill, I didn't need to do anything to it. And like Ivin said, there was just enough room under the grill to get a screwdriver in to turn the plastic clip that holds it in.
 

Forum statistics

Threads
129,213
Posts
1,812,260
Members
92,313
Latest member
kylesimmons
Top