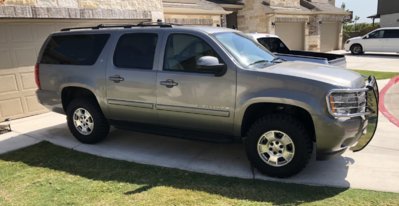
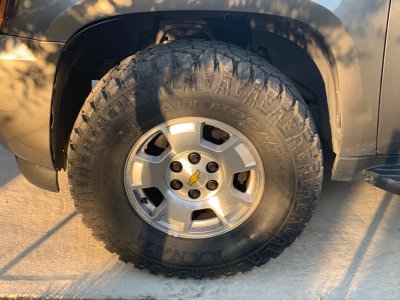
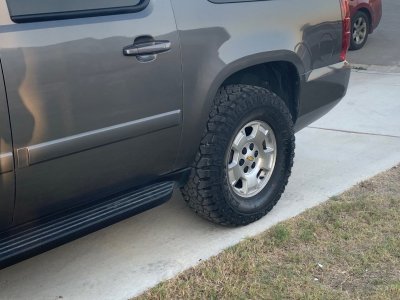
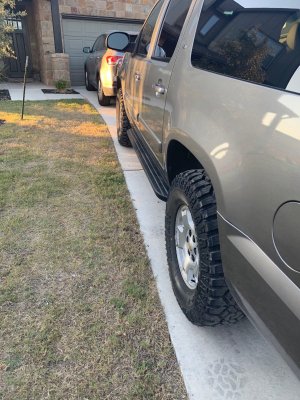
Pro Comp 2.25” level

Disclaimer: Links on this page pointing to Amazon, eBay and other sites may include affiliate code. If you click them and make a purchase, we may earn a small commission.

Bwiggins1985

TYF Newbie
Joined
Aug 12, 2018
Posts
27
Reaction score
4
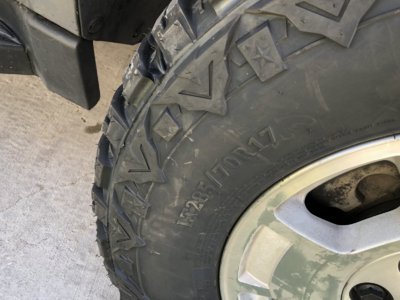
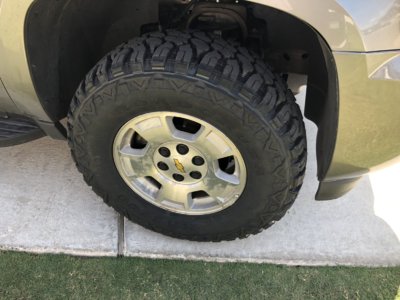
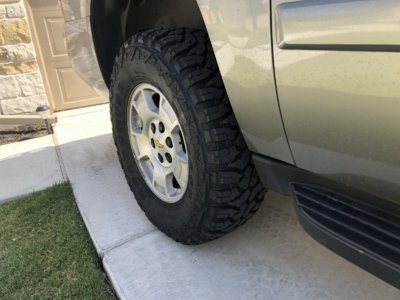
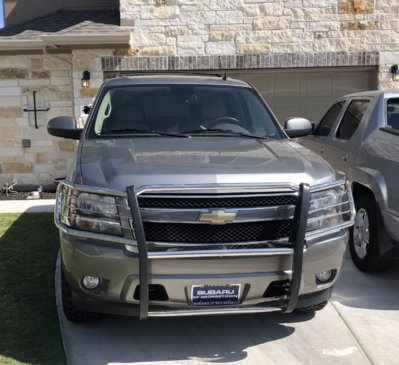
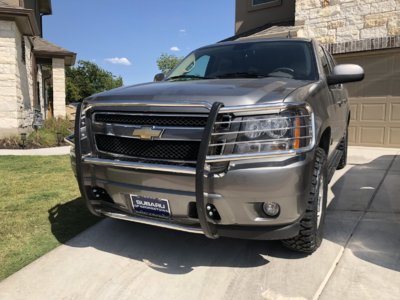
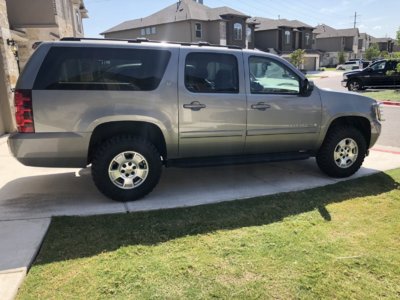
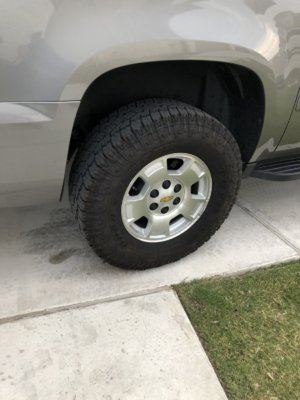
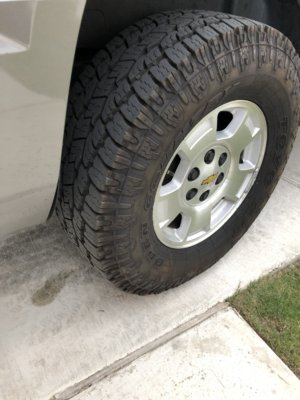
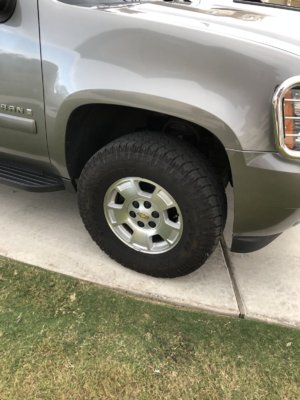
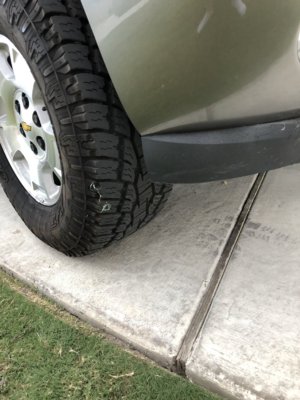
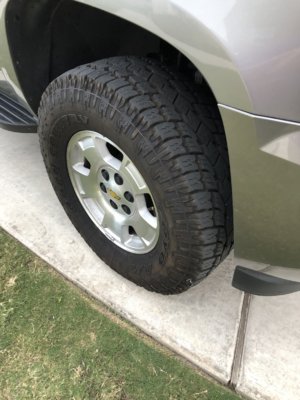
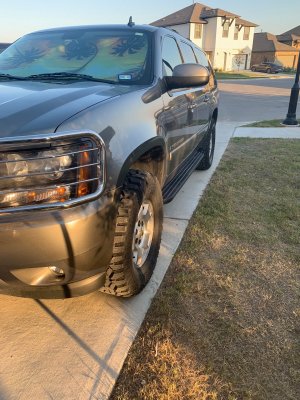
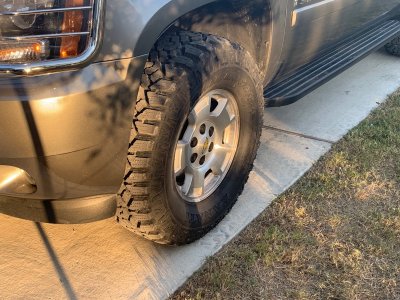
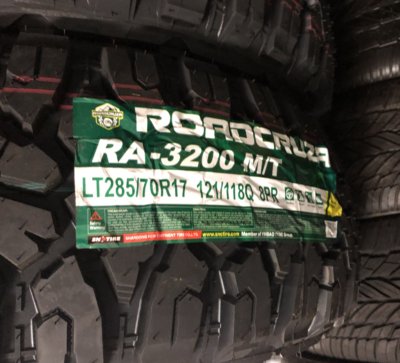
Hi guys! Just got my suburban this last week and I put on my 2.25” pro comp level this weekend! It’s a little bit higher in the front so I am going to ad a spacer in the rear to give it a little bit of rake back. I ended up putting 285/70R17 Roadcurza RA-3200 MT. They look really good! They have a little bit of a humm at 50-60 ish and a little around 70...the seem to be quieter around 78-80. Texas freeways 80 mph :-D I am thinking I am going to put some spacers to push the wheels out a bit unless I can find some wheels with a good offset for a good price. Might go with chrome but not sure yet. I also found a scratch and dent grill guard it’s stainless/chrome so that’s what I am thinking to try for chrome wheels. Sorry I didn’t get any before pictures....
8D525443-BCC0-4AAD-A96D-60A8893C8074.jpeg 3F3ADEEF-7547-4D57-9A0B-7143B12F476B.jpeg B1D7D55C-0BBC-467B-BBF7-8749BD61B897.jpeg FB3C26EF-EEB4-41CF-AE5F-E56C2D4388E5.jpeg
 
OP
OP
B

Bwiggins1985

TYF Newbie
Joined
Aug 12, 2018
Posts
27
Reaction score
4
I made a trip to San Antonio this weekend and the MTs are just too loud. Going to have to switch them out for an all terrain...
 
OP
OP
B

Bwiggins1985

TYF Newbie
Joined
Aug 12, 2018
Posts
27
Reaction score
4
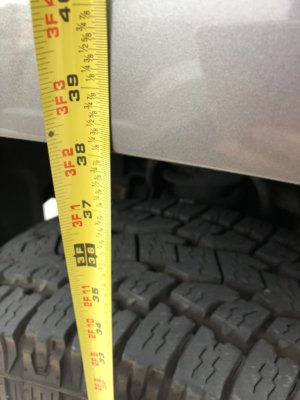
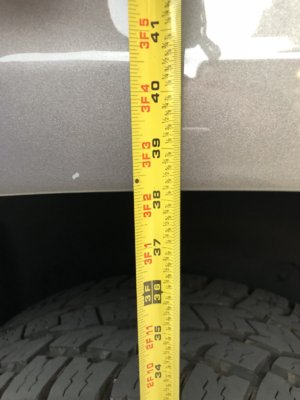
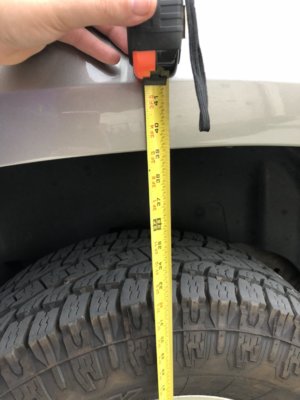
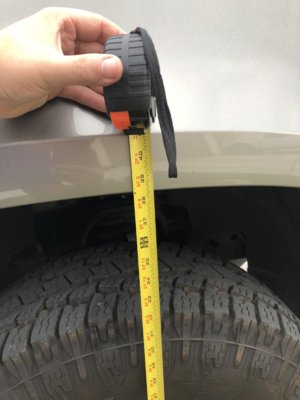
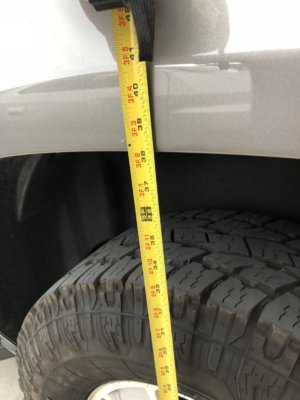
I also got some measurements today in the driveway and for some reason the passenger rear was about 1 inch higher than the rest of the truck. I am going to measure again tomorrow in a parking lot or a garage. The other 3 were real close to 38” from the ground to the wheel well. I am thinking it might be my driveway because it kind of turns and is on an incline.

Driver frontF0105FF1-155C-42D0-BCDB-E5BDBCAB62D6.jpeg

Driver rear
4A44248B-6E3F-416B-B078-5C6863FC9047.jpeg

Passenger rear
EC0F1828-0606-4A0C-8FB4-69D3B4519601.jpeg

Passenger front
3154FD9E-DB71-4850-895B-ADAB593AC80F.jpeg A2FF8C56-2803-4694-BE24-66C514CCFA49.jpeg
 
OP
OP
B

Bwiggins1985

TYF Newbie
Joined
Aug 12, 2018
Posts
27
Reaction score
4
So its been a year running my pro comp level with the Toyo AT tires. And it was time to replace the struts and shocks. SO I ended up getting Bilstien 5100 struts and Skyjacker lifted rear shocks. I also picked up a set of Z71 rear coils and a rear spacer. Thus far I have installed the front which turned out to be a chore to say the least. But once I had all the tools it really wasn't that bad. Here is the story in picture lol...

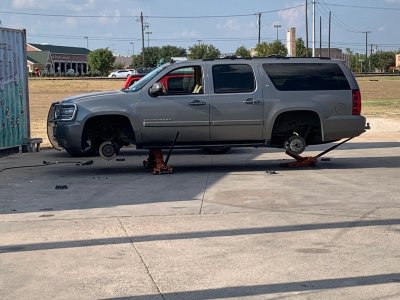
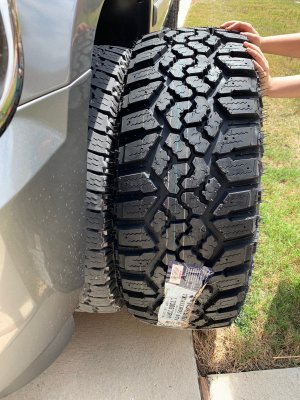
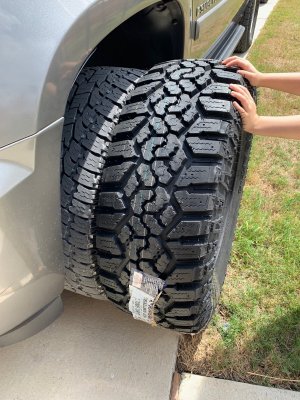
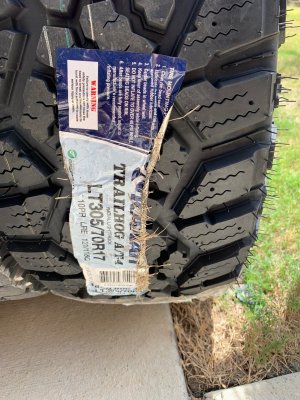
Friday night I went to a local shop and swapped out my Toyo AT tires for these. Kanati Trail Hog AT LT305/70R17 tires. They fit but I am going to have to install spacers to push them out a bit. I had bought some spacers but the studs are the wrong size so I will have to get some different ones. Might have to do a tiny bit of trimming after the additional lift. Truck was naked!!!

IMG_1700.jpg
IMG_1624.jpg
IMG_1625.jpg
IMG_1626.jpg

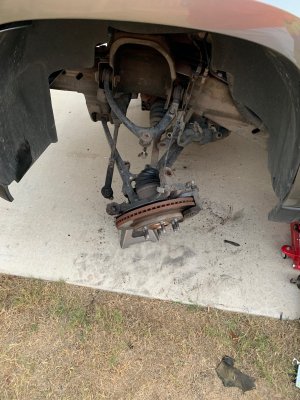
This last weekend after my daughters birthday party in the ridiculous hotness of Texas I started taking apart the front to replace the front struts. We had the lights set up, the tool out, the fans going...ready! Get the truck jacked up and on stands...get the strut tower out of the truck...put it in the rental tool strut compressor and start going to town...BOOM tool breaks. And this was awesome because it broke with my spring compressed enough to get the strut out. I was able to get the strut out but it was an ordeal because I didn't realize you need a special tool to hold the strut shaft still while you loosen the top nut. Tried it without any other tools and the strut rod kept spinning. Then I tried an impact wrench and nothing. I ended up having to tear the foam/rubber boot around the top of the strut and hold the shaft with vice grips. With that I got the old strut out. Now to deal with this compressed loaded spring in the broken spring press. I ended up behind something with the spring in the tool pointed away from everyone knocking it out with a rubber mallet. Probably not the safest but it worked. And that was the end of night one.

59205795885__2F4AAF36-296A-41BA-AC4E-1ED8AC04949E.JPG
 
OP
OP
B

Bwiggins1985

TYF Newbie
Joined
Aug 12, 2018
Posts
27
Reaction score
4
Here are the pictures of the tires installed. I couldn't upload them to the above post.
IMG_1723.jpg IMG_1724.jpg IMG_1725.jpg IMG_1726.jpg IMG_1728.jpg
 
OP
OP
B

Bwiggins1985

TYF Newbie
Joined
Aug 12, 2018
Posts
27
Reaction score
4
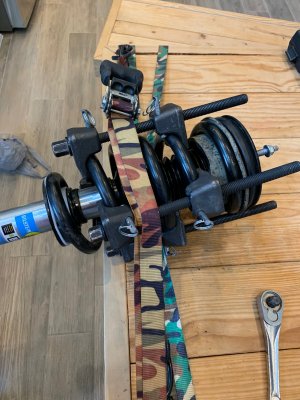
Okay, back to the ordeal of installing the Bilstein Struts. As the picture above shows...Sunday morning I just have my truck with the driver wheel well just hanging out there... I ended up taking the broken tool back and rented 2 sets of strut compressors. I got home and started compressing the factory spring. It was a lot stronger than I thought it would be. I had to use my breaker bar to get it down enough to install the strut into the assembly. I had it on my kitchen table since it was so hot outside. Worked pretty well with 2 ratchet straps holding the assembly down on the table.
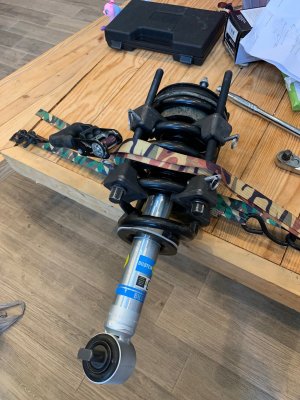
IMG_1734.jpg IMG_1735.jpg

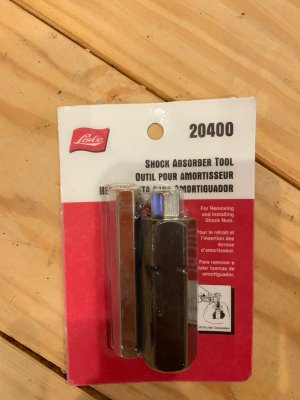
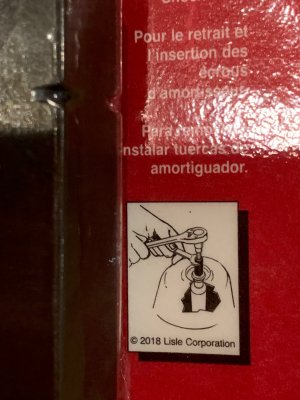
So I get ready to install the top nut to the 19 FtLbs the instructions call for and like the factory struts the rod just sat there and spins...tried the impact wrench and it still spinning. So once again I am stuck. I start researching and you need a special strut install tool. Basically its a nut drive that goes over the strut stud, these have an oval head while some have an Allan head slot, and then a larger nut driver that tightens down the top flange nut while holding the strut rod still. Had to drive across town to find it. it was the only one in town...
IMG_1741.jpg IMG_1742.jpg

So I get it torqued down and outside I go. Only to find out I installed the strut in the spring backwards... Back we go to the table to strap down the assembly and spin the strut 180 degrees....lol

Back outside it went into the bucket very easy. Used the impact wrench to install the bottom strut bolts through the lift, and used the impact on the sway bar end link, and the tie rod end. Had to jack up the lower control arm and pry the upper control arm down to seat the ball joint. With it pried down you can tighten the ball joint nut without it moving. You have to use an impact wrench on the tie rod end or the ball joint in it will spin.

By this time its like 5 pm. I hurry to the other side and repeat the process. It only took about an hour for the other side. This one was a little difficult to hold the strut rod still even with the vice grips. I had to hold the strut rod with vice grips which I almost couldn't close, and use the impact wrench to spin the top nut off fast enough. Everything is put together and looks really high in the front compared to what is use to be. I am really liking it. I will definitely have to get new upper control arms. There is about 3/8 to 1/2" clearance between the control arm and the stop. I will probably do that over the next few weekends. I need to install the rear now and get different wheel spacers and do the alignment. I think its going to look sick when I am done with it! I will get some pictures of the front on flat ground sometime this week!
 

Forum statistics

Threads
129,076
Posts
1,809,991
Members
92,141
Latest member
Georgia 4Low
Top