ScottyBoy
Full Access Member
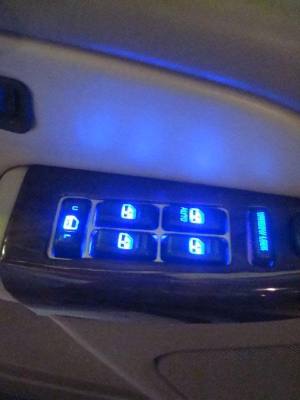
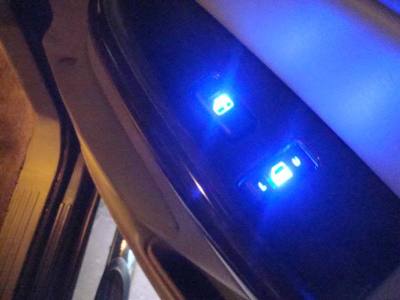
I did this mod on my 2001 Suburban, but all 00-02 Tahoes and Yukons have the same door switches, so this write up should apply to all those models. 03 on up have different switches, they have tiny SMT LEDs in them from the factory.
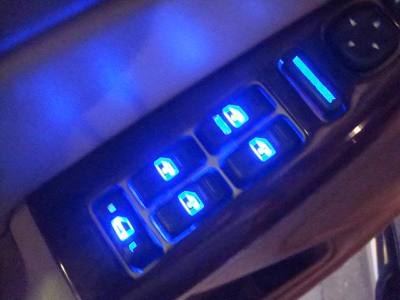
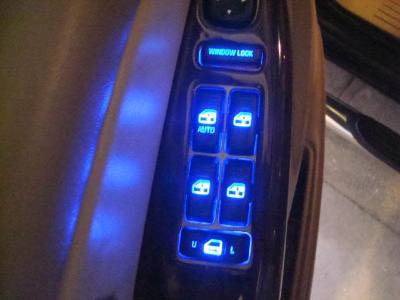
I like the look of Blue LED's so I decided to replace all the backlighting on all my interior switches and guages. I decided to start with the window and door lock switches on the doors.
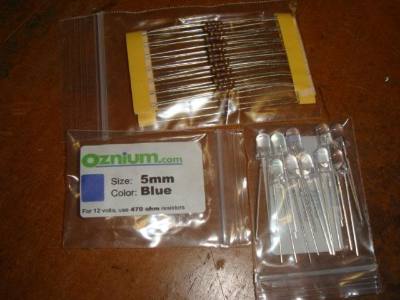
I started off by purchasing some 5mm blue LED's along with the resistors needed for them from www.oznium.com
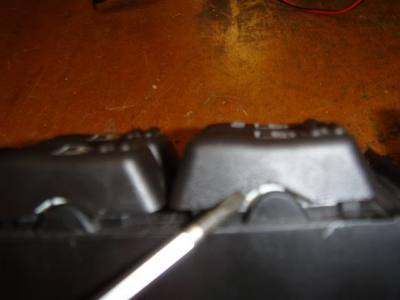
Then I removed the drivers side switch from the truck. To open up the switch, you have to remove all the buttons. I used a small screwdriver to pop them off. Be careful, they are only held on by two lil plastic tabs on each switch. Its one lil tab on each side, so pry under the side right where the switch pivots.
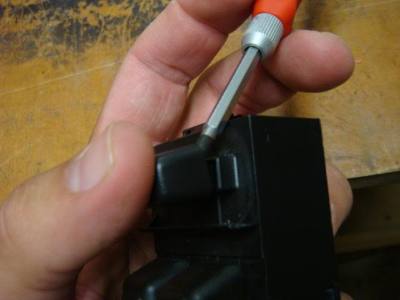
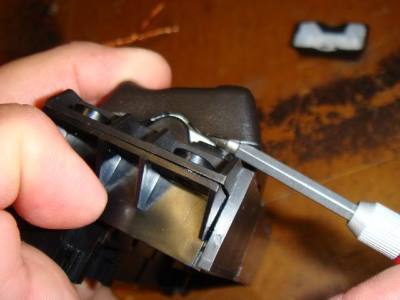
Now with all of them removed...
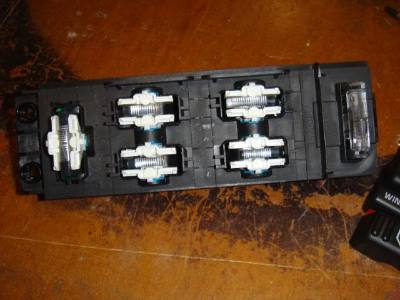
You can now pry the switch open. Just work your way around the switch, undoing the tabs.
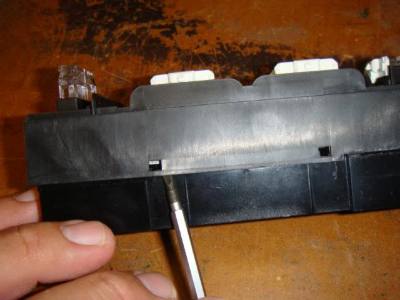
Now you have the switch open to work on it.
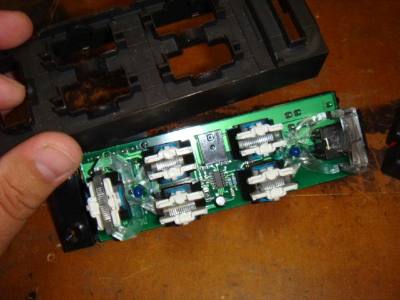
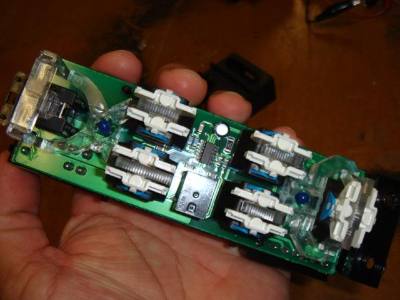
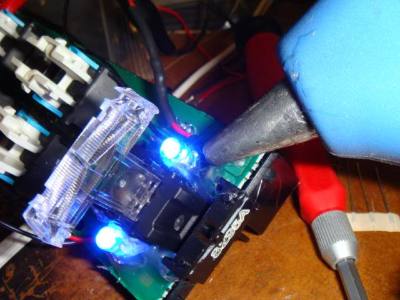
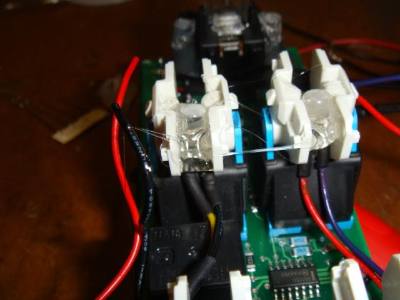
You'll see some clear plastic light diffusers surrounding the stock bulbs, these will have to be removed. If you leave these in place ans just swap an LED in place of the stock bulb, it will look like crap. For even light coverage on every switch, I hot glued an led into each switch.
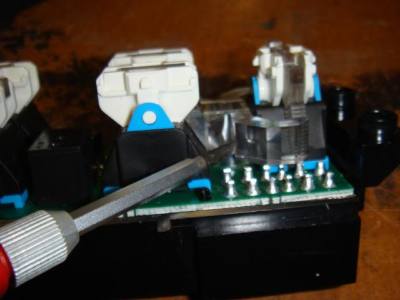
Just carefully pry up at the bottom parts where it srround the bulb.
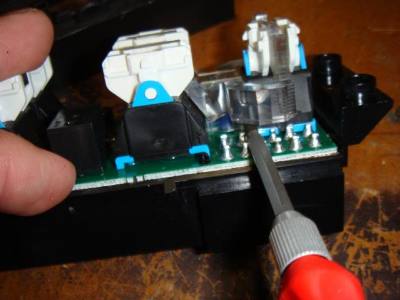
These will not be reused.
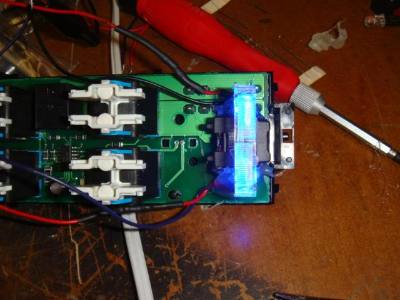
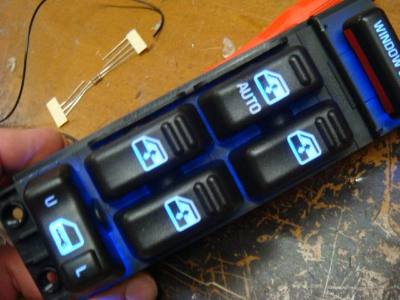
Now you will need to find the hot and ground for the lights, which I've already done for you. The ground is the far left outer row, the hot is the far right outer row.
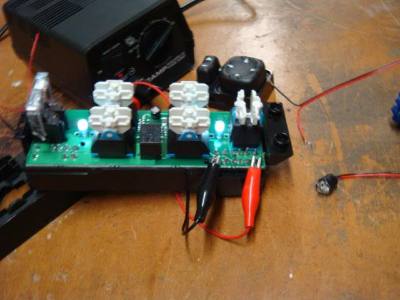
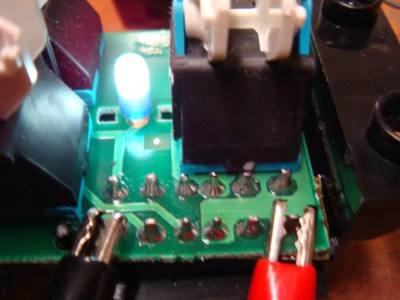
This is where you will solder your hot and ground leads for the LED's.
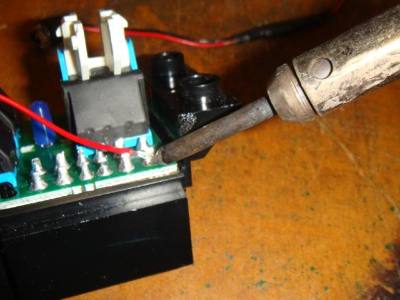
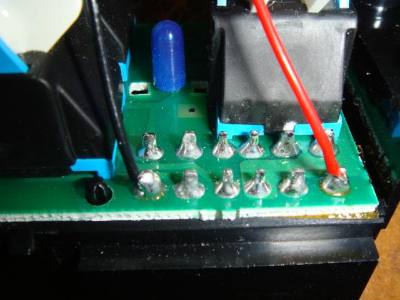
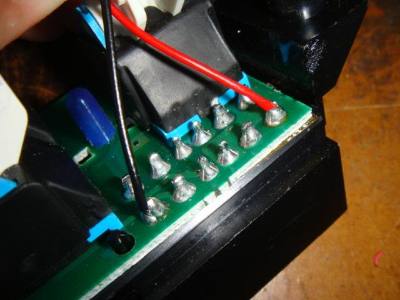
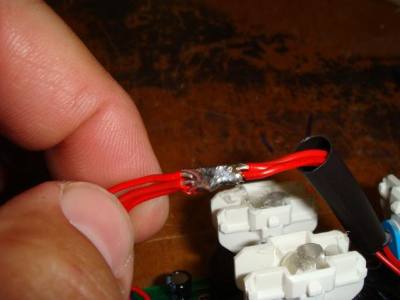
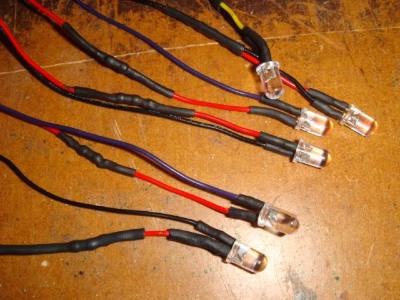
For each led, you will need to solder a hot and a ground wire to it, and solder a resistor into the hot wire. (unless you chosse to skip this step and pay the extra $$ for prewired LED's)
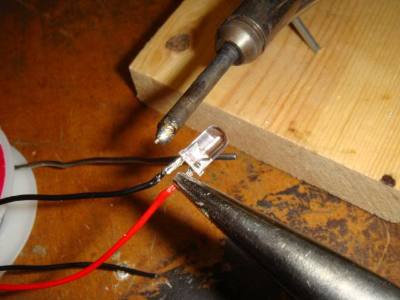
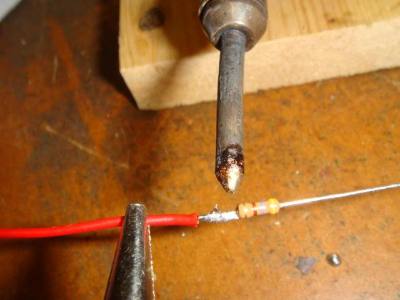
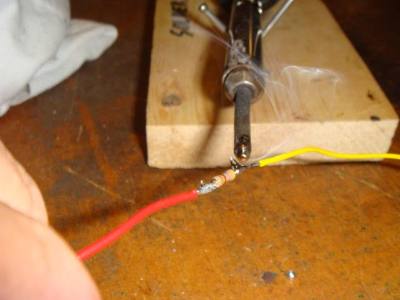
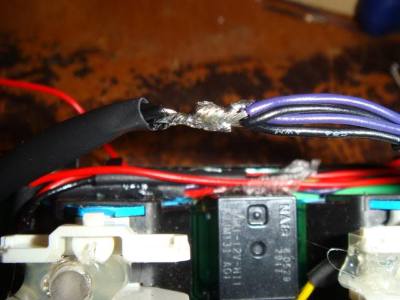
Heres all the LED's wired up and ready to go, with heat shrink tubing over all the solder joints.
I like the look of Blue LED's so I decided to replace all the backlighting on all my interior switches and guages. I decided to start with the window and door lock switches on the doors.
I started off by purchasing some 5mm blue LED's along with the resistors needed for them from www.oznium.com

Then I removed the drivers side switch from the truck. To open up the switch, you have to remove all the buttons. I used a small screwdriver to pop them off. Be careful, they are only held on by two lil plastic tabs on each switch. Its one lil tab on each side, so pry under the side right where the switch pivots.


Now with all of them removed...

You can now pry the switch open. Just work your way around the switch, undoing the tabs.

Now you have the switch open to work on it.


You'll see some clear plastic light diffusers surrounding the stock bulbs, these will have to be removed. If you leave these in place ans just swap an LED in place of the stock bulb, it will look like crap. For even light coverage on every switch, I hot glued an led into each switch.

Just carefully pry up at the bottom parts where it srround the bulb.

These will not be reused.
Now you will need to find the hot and ground for the lights, which I've already done for you. The ground is the far left outer row, the hot is the far right outer row.


This is where you will solder your hot and ground leads for the LED's.


For each led, you will need to solder a hot and a ground wire to it, and solder a resistor into the hot wire. (unless you chosse to skip this step and pay the extra $$ for prewired LED's)


Heres all the LED's wired up and ready to go, with heat shrink tubing over all the solder joints.

Last edited:

