Just Fishing's 09 Tahoe Build thread

Disclaimer: Links on this page pointing to Amazon, eBay and other sites may include affiliate code. If you click them and make a purchase, we may earn a small commission.

OP
OP
Just Fishing

Just Fishing

Can't fix stupid
Joined
Aug 30, 2020
Posts
3,455
Reaction score
7,360
Location
Utah
Hardest part is the centering of the crank.
That might be why many say you can't

Or it's probably more likely that you need to slap that baby's butt during assembly (dead blow hammer to the back of the crank) in order to seat the thrust bearing forward.


And digging around for some more setup and oiling mods, i ran into this article.

Entertaining fo sho. :waytogo:
 

Rocket Man

Mark
Supporting Member
Joined
Dec 25, 2014
Posts
25,965
Reaction score
50,651
Location
Oregon
Hardest part is the centering of the crank.
That might be why many say you can't

Or it's probably more likely that you need to slap that baby's butt during assembly (dead blow hammer to the back of the crank) in order to seat the thrust bearing forward.


And digging around for some more setup and oiling mods, i ran into this article.

Entertaining fo sho. :waytogo:
You can still do that with the engine in the vehicle though, just can’t have the trans in the way. When I was considering looking into it, my trans was out and being rebuilt. They at first thought I had way too much end play and that took out the trans due to some dents on the front of the input shaft which I later determined must have been put there by a hammer from a previous build since the end play was way inside spec.
 
OP
OP
Just Fishing

Just Fishing

Can't fix stupid
Joined
Aug 30, 2020
Posts
3,455
Reaction score
7,360
Location
Utah
I got the end play checked for the thrust bearing today

Pretty much right where it was originally
Might have expanded a tiny bit due to polishing of the thrust surface on the crank. ;)

Came out to be about .0025

I still need to finalize the torque and re-check.

Googled the spec, and it says 0.0015- 0.0078

And i recall one thing that might have something to do with the thrust bearing.
the harmonic balancer, it got reinstalled just a little too far.
So pretty much the belt would be pulling on the crank, against the thrust bearing.

I doubt it would be enough to cause an issue, but i'll try and get that setup better...
 
OP
OP
Just Fishing

Just Fishing

Can't fix stupid
Joined
Aug 30, 2020
Posts
3,455
Reaction score
7,360
Location
Utah
Decided to pull both rod caps that share the thrust bearing oil path.
I had pulled both rod caps in front of the thrust bearing to check them.
noticed the one bearing that shared the same oil path had a little piece of grit in there, and the upper part of the bearing showed some "polishing" where the coating was nearly worn off.
The rod that didn't share that oil path was not nearly as bad.

I did a trick I learned last night via youtube to measure the thickness of the curved bearings using a ball bearing to get a solid reading on the curved surface.
the little flat sided ball bearings from my AC compressor fit the bill perfectly!
Just measure the ball bearing, and Zero the calipers.
then measure away!


No measurable noticeable thickness difference, but i decided to just flip the uppers with the lowers on those two rods. :emotions33:


Did some measurements of the rod bolts, interesting but only one of the bolts showed longer than the new ones i bought.
(I got 4 new to replace the two i disassembled)

So i opted to just replace the longer bolt on each rod with a new one. :happy3:

I have now gone through 3, and i have one bolt left!

So I'm thinking I'll pull a random rod end to check.

I'm also tempted to pull another main to compare to the one that failed.
...Since i have new mains on hand and all... :think:

Not getting any pictures right now, trying to protect my phone... :jester:
I already cracked the back of my "not cheap" phone, and it's just a year old! :chair:
 
OP
OP
Just Fishing

Just Fishing

Can't fix stupid
Joined
Aug 30, 2020
Posts
3,455
Reaction score
7,360
Location
Utah
I rechecked my converter clearance, and i'm just about perfect.
IIRC 0.128...
I'll double check it again tomorrow.

but i don't think that was my issue.


1631331744516.png

1631331774485.png


1631331801208.png
 
OP
OP
Just Fishing

Just Fishing

Can't fix stupid
Joined
Aug 30, 2020
Posts
3,455
Reaction score
7,360
Location
Utah
Yesterday i did some more tinkering with the thrust bearing.
Used a plastic faced deadblow hammer with the crank turned in such a way i had a nice flat surface to slap the hammer against.

Used my dial indicator on one of the main bearing supports, worked great.

I checked it a few times after i decided i had it as good as possible, and fully torqued down.
Clearance came out at just shy of hitting the .003 mark.
I would guess that's probably like .0028ish.

With out finding my measurements from the original build, that's just slightly looser than what i got then.
Accounts for the high polishing of the crank from the old thrust bearing IMO :emotions33:

I was also very lucky there, surface came out nearly perfect from that little whoopsie.

I was up pretty late last night working and digging through service data, so i'm dragging ass today.
Plan is to head to the hardware store and see if i can pick up some thin washers for the converter.
I'm tempted to pull the converter out of the crank snout just by a tad
see if i can't tighten up the setback while i'm at it, and ensure the converter has space to move with the flex plate.

And i did check fitment of the converter into the crank snout, but i didn't check depth of the converter into that crank snout with the flywheel on.

But i didn't cheap out on the converter, so i doubt it's an issue...
 
OP
OP
Just Fishing

Just Fishing

Can't fix stupid
Joined
Aug 30, 2020
Posts
3,455
Reaction score
7,360
Location
Utah
Everything is bolted back up
I ended up making some .020 washers from some sheet metal.
Got them very consistent and even weight balanced them using a food scale. :jester:


Then i decided to re-check the converter clearance, noticed the converter didn't want to slide all the way to the flywheel easily.
From my reading, that seemed normal the first time around.

This time, me wondering if it's bottoming out in the crank snout.
I took a closer look.

Using a screwdriver to support the converter, i was able to slap the flywheel with the converter but it still wanted to pull back like .015

I had greased the crank when installing, but i don't recall if i spent the time to spread it around.
I also didn't spread the grease on the end of the converter.
but instructions i found didn't specify I needed to do that.

So i got the bright idea, pushed the converter all the way into the pump.

then used an air blow gun, packed some redline engine assembly lube into the tip.
then stuck that nozzle up between the converter and the flywheel, as close to the converter to crank mating as possible.
And let it rip!

I did that a few more times while rotating the converter around and working the converter back and forth
Finally, i got it real slick!

I could move the converter into the flywheel with ease, and it fully seated against the flywheel without holding it.

If i could go back, I would have done a slight polish to the end of the crank snout, and maybe the end of the converter snout to make everything as smooth as possible.


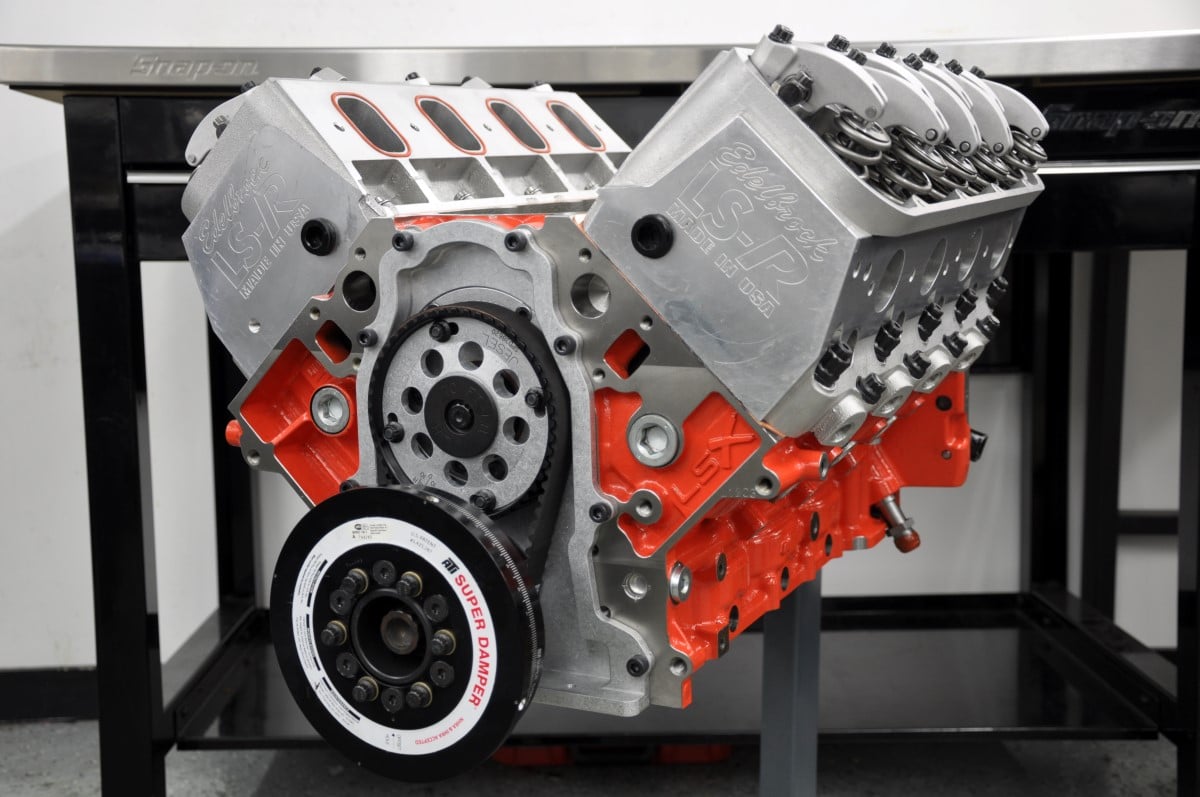
I also pulled my balancer out, from the underside view.
it was pretty clear how badly i had it off.

Reading around online i didn't find any reference to the issue.
all seemed to say to bottom the balancer into the timing/oil pump drive sprocket.
So originally that's exactly what i did.

with the new engine, i did my best to line up the pully with the ac compressor.
but it still ended up too far in after fully torqueing the balancer bolt.

I also found a vague mention of some "Friction washer" that should go between the balancer and the sprocket, but that was on a C6 vette thread.
I couldn't find any other reference of any such "Washer", and i didn't read the thread too carefully. ;)

As of right now, the balancer is sticking out just a tad from the ps pump pully.
My plan is to see how alignment looks once i have the belt on, and then adjust it from there.

Assuming this was in any way related to my issue, it would pull the crank away from the thrust surface, and into the other surface slightly...
 
OP
OP
Just Fishing

Just Fishing

Can't fix stupid
Joined
Aug 30, 2020
Posts
3,455
Reaction score
7,360
Location
Utah
Oh and for the converter spacing.
.120

I spent a solid hour making the spacer washers at .020 thickness, and i even balanced them using a food scale. :jester:

then decided i better not
Maybe if i was at .140 or .135.
Pretty much, i'm right in the "Sweet spot".

so right now, i'm thinking either a slight bind in the converter to crank snout mating.
Or that belt issue.
Also possible i have some pressures too high.

I did raise the lockup pressures a tad, and reduced the "slip" % to help the converter lock up a little faster with that twin disk circle d unit.

I'll try backing that off a bit before my next run.


Task for today.
Find that box that should have 4 oil filters in it.
then start priming the engine.
I also need to finish torqueing the front axle in, and to torque the cv shaft bolts.
 

Forum statistics

Threads
129,118
Posts
1,810,747
Members
92,206
Latest member
ckylec
Top