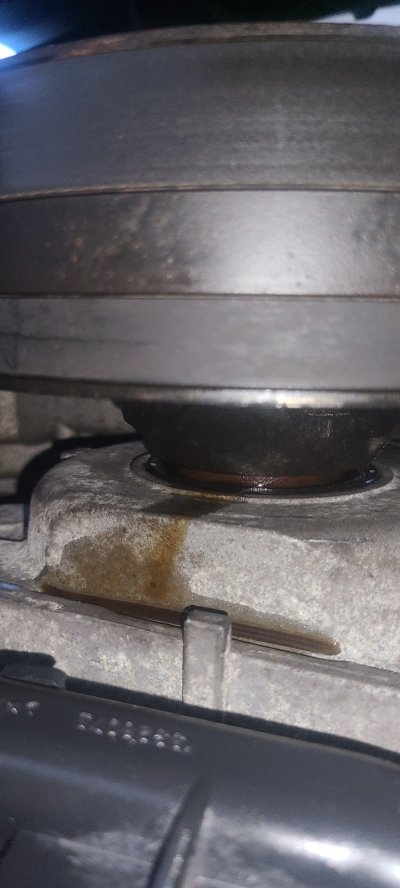
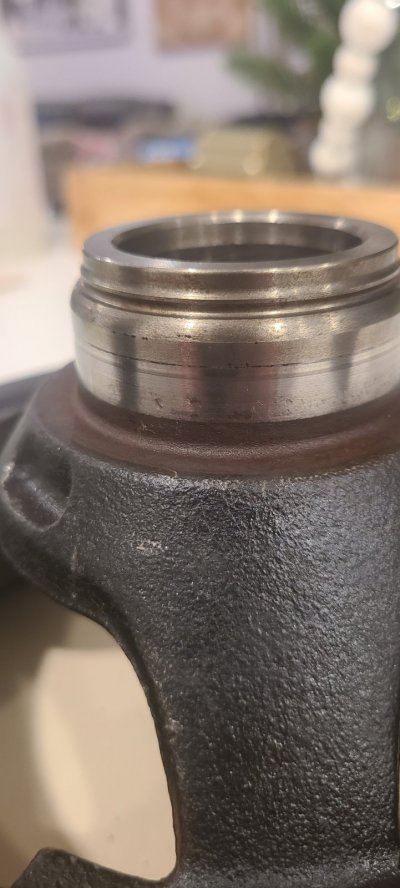
I just finished up doing the AFM/DOD delete on my 2013 GMC Yukon Denail and it seems i have a front crank seal leak. When installing the new OEM seal and balancer, i did not put any sealant on the outside of the seal or grease the inside of the seal prior to the balancer installation.
3 questions:
1. Upon re installation of the seal, is common practice to put sealant on the outside and grease or oil the inside?
2. Are there any best practices to hold the crankshaft still while we tighten the bolt outside of wedging a pry bar in between the balancer? If i can stick pry bar in the sprocket of the flywheel, will that be able to take the torque needed to fully tighten down the crank bolt?
3. I bought an ARP bolt this time around. The ARP website says to torque to 235 ft lbs, is that correct? That seems like an awful lot.
Any help is appreciated. I cleaned up all the excess oil and verified the leak was coming from the seal, i have included a picture.