You are using an out of date browser. It may not display this or other websites correctly.
You should upgrade or use an alternative browser.
You should upgrade or use an alternative browser.
Fosscore's 2013 Suburban LTZ Build Thread
- Thread starter Fosscore
- Start date
Disclaimer: Links on this page pointing to Amazon, eBay and other sites may include affiliate code. If you click them and make a purchase, we may earn a small commission.
Fosscore
Full Access Member
- Joined
- Apr 16, 2014
- Posts
- 10,471
- Reaction score
- 18,075
That rubber appears to be molded/heated? to the plastic.I always wondered how those things got so jacked up. Do you have any ideas? They were like that when I originally bought it from ya and thought it was odd considering the condition of the rest of the rig
That tropical sun and UV lays waste to anything under its laser beam. Lol
I was going to try and just replace the rubber somehow with some thin gauge neoprene rubber (gasket material) but haven’t figured out how to properly attach it and make it a flush fit.
I will keep the old ones and maybe do something with them at some point. The clips are all solid and the cap itself is in good condition.
I’m sure the rubber got worse after I painted them when you see the comparison photos.
Glad to have those couple little things sorted. For now.
Fosscore
Full Access Member
- Joined
- Apr 16, 2014
- Posts
- 10,471
- Reaction score
- 18,075
72200 miles
I went to open the lift gate one day and it only opened up about 15-20%, then closed on it's own. There are a few threads on the TYF with info and plenty of YouTube videos online detailing this problem.
The motor and locking mechanism sounded fine, so the only other option would be the lift supports.
I remembered seeing Stong Arm as an option and I think it was also mentioned in the threads.
 www.tahoeyukonforum.com
 www.tahoeyukonforum.com
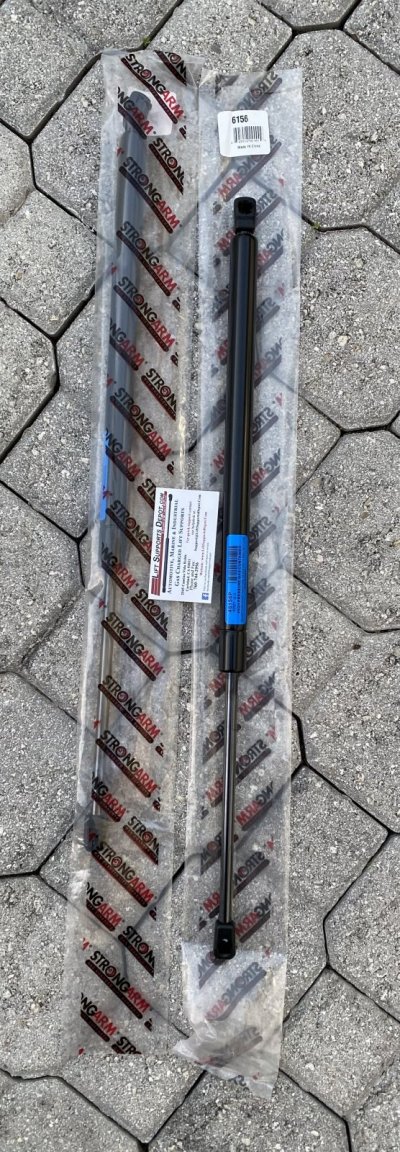
I ended up ordering from this site. My part number was for the Strong Arm lift supports.
6156-W
6156 Strong Arm
22.70”
Lift Supports Depot®
https://www.liftsupportsdepot.com
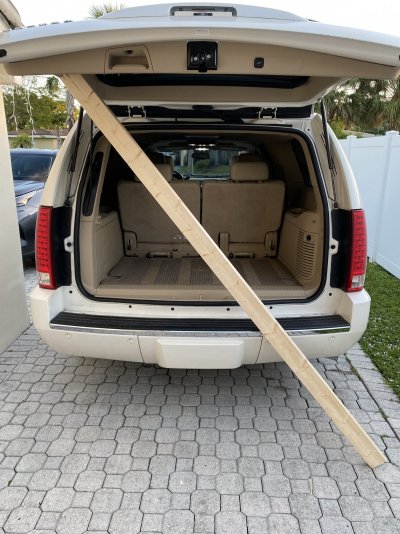
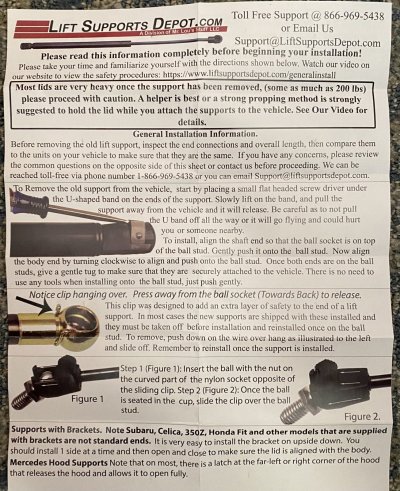
It took about a week for the supports to come from California. I used a 2x4x8 to wedge the lift gate open at a about a 45 degree angle because the wood was too long at 8' overall. I pulled the little sleeve retainers on the ends of the supports and pulled the first OEM support off and installed the new Strong Arm unit.
The new version was a few inches longer and needed the end rotated a few inches to line up on the ball. I had to push the lift gate up a few inches to the maximum swing to get the bottom end on the ball of the truck.
The passenger side needed a little rubber mallet persuasion to pop off and installation was the repeat.
I let the 2x4 go and the lift gate held in position. It seemed to be a few inches taller than before. I gave it multiple tests at the handle, the interior button and the key fob and it worked as it should up, down and locked.
That was a win.
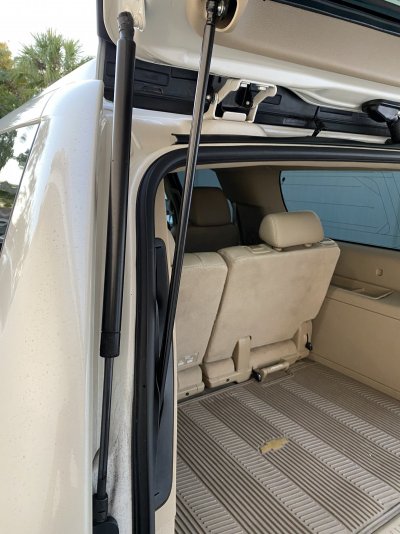 View attachment 387025
I went to open the lift gate one day and it only opened up about 15-20%, then closed on it's own. There are a few threads on the TYF with info and plenty of YouTube videos online detailing this problem.
The motor and locking mechanism sounded fine, so the only other option would be the lift supports.
I remembered seeing Stong Arm as an option and I think it was also mentioned in the threads.
Power Lift Gate won't open all the way
My 2014 chevy Tahoe LT power lift gate will open half way and it will start to close immediately. I heard that the problem may be the struts and I replaced them and still have the same problem. Could it be a bad sensor thinking there is an obstruction or something else? Any help would be great!
Power liftgate partially opens then closes
2007 Denali rear power liftgate partially opens with key fob, console button and handle then immediately closes. Motor appears to be working fine both opening and closing and I can't see where it may be binding up anywhere. Anyone have a clue? If I turn it off on the console, I can open it just...
I ended up ordering from this site. My part number was for the Strong Arm lift supports.
6156-W
6156 Strong Arm
22.70”
Lift Supports Depot®
https://www.liftsupportsdepot.com
It took about a week for the supports to come from California. I used a 2x4x8 to wedge the lift gate open at a about a 45 degree angle because the wood was too long at 8' overall. I pulled the little sleeve retainers on the ends of the supports and pulled the first OEM support off and installed the new Strong Arm unit.
The new version was a few inches longer and needed the end rotated a few inches to line up on the ball. I had to push the lift gate up a few inches to the maximum swing to get the bottom end on the ball of the truck.
The passenger side needed a little rubber mallet persuasion to pop off and installation was the repeat.
I let the 2x4 go and the lift gate held in position. It seemed to be a few inches taller than before. I gave it multiple tests at the handle, the interior button and the key fob and it worked as it should up, down and locked.
That was a win.
 View attachment 387025


Last edited:
Fosscore
Full Access Member
- Joined
- Apr 16, 2014
- Posts
- 10,471
- Reaction score
- 18,075
- Joined
- Jan 3, 2011
- Posts
- 49,909
- Reaction score
- 15,453
Now that you've been riding with them for a while how do you like the belltech coilovers on the front?
Fosscore
Full Access Member
- Joined
- Apr 16, 2014
- Posts
- 10,471
- Reaction score
- 18,075
I think the suspension upgrades as a whole are better. Seems to ride good. Just wish it was another 2" lower all around. But at least the rear wheel gap is more betterer.Now that you've been riding with them for a while how do you like the belltech coilovers on the front?
- Joined
- Jan 3, 2011
- Posts
- 49,909
- Reaction score
- 15,453
I knew you’d want it lower. That’s the way these things goI think the suspension upgrades as a whole are better. Seems to ride good. Just wish it was another 2" lower all around. But at least the rear wheel gap is more betterer.
Fosscore
Full Access Member
- Joined
- Apr 16, 2014
- Posts
- 10,471
- Reaction score
- 18,075
I think they are great >> caveat >>....Is it a massive difference? Is it worth the extra $$? I just don't know honestly.I knew you’d want it lower. That’s the way these things gowas curious as I contemplate purchasing them again to determine if they’re worth the extra $$$
When I look at the OEM vs the Belltech's (sans total knowledge of the tech/hardware of the 2 assemblies) I'm not sure. It is an expense that I am sure is offering something. The adjustability to lower that front was nice and since they were there, seemed like the right mod to do while also getting the rear down a bit on the conservative side and still keeping the auto ride active.
Different set up, but going back to the NBS, I did not have this set up, but changed out to the Belltech shocks and changed out the LCAs which we know took her down low. That was worth it across the board for me. I would love to do that to the NNBS, but that can't happen unless the wife got something new and gave me the long body.
Not sure if that helped or made it clear as mud.?!


Fosscore
Full Access Member
- Joined
- Apr 16, 2014
- Posts
- 10,471
- Reaction score
- 18,075
A couple weeks ago I got an alert from LKQ that an NNBS had hit the yard, so I went down the next day to check it out. I hadn't been to the junkyard in over 2 years and was excited to have a dig around.
Turns out there were numerous NNBS models to choose from. Just shows how times change as the NNBS is now a few gens behind current and they are turning up in the yard more now. Always plenty of NBS too.
Anyways, I was on the hunt for some small parts that nobody else would be looking for.
The little rubber nubs on the center console that stop the cup holder lid from going too far. Somehow one got lost.
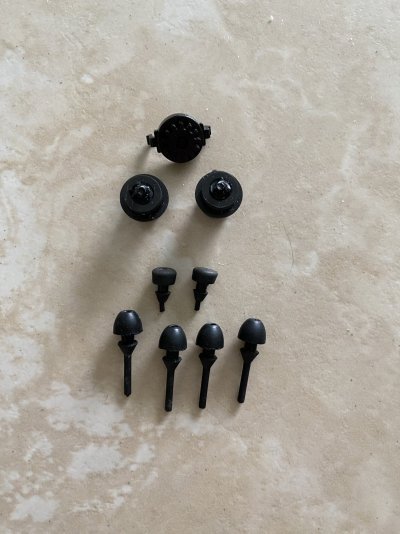
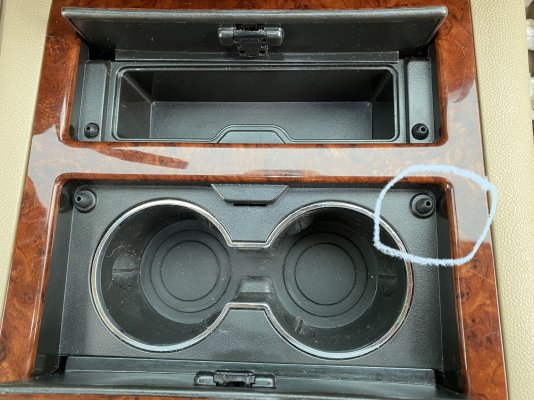
Also, the front lid on the little storage box had a broken piece on the underside that made the lid wobbly when opening and closing.
Turns out is that the little screw in piece that also acts as the piece that the lid pivots around when opening and closing had broken off. Rather fragile and not very well anchored. I found a new one in the yard.
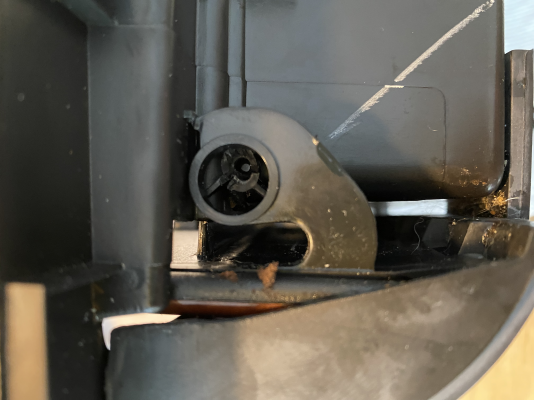
I plastic welded it in place and now the lid works like it used to without wobbling. Wife never knew, but drove me nuts. Two small niggly issues sorted.
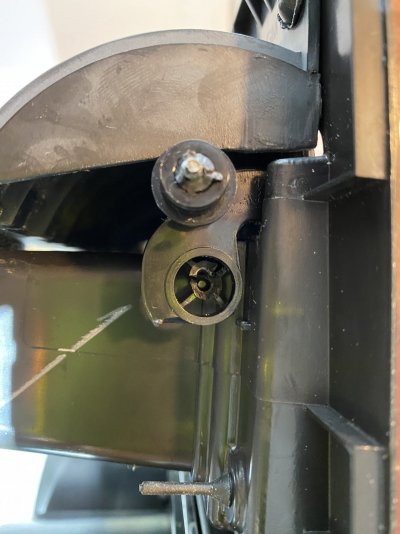
Turns out there were numerous NNBS models to choose from. Just shows how times change as the NNBS is now a few gens behind current and they are turning up in the yard more now. Always plenty of NBS too.
Anyways, I was on the hunt for some small parts that nobody else would be looking for.
The little rubber nubs on the center console that stop the cup holder lid from going too far. Somehow one got lost.


Also, the front lid on the little storage box had a broken piece on the underside that made the lid wobbly when opening and closing.
Turns out is that the little screw in piece that also acts as the piece that the lid pivots around when opening and closing had broken off. Rather fragile and not very well anchored. I found a new one in the yard.

I plastic welded it in place and now the lid works like it used to without wobbling. Wife never knew, but drove me nuts. Two small niggly issues sorted.

Last edited:
Fosscore
Full Access Member
- Joined
- Apr 16, 2014
- Posts
- 10,471
- Reaction score
- 18,075
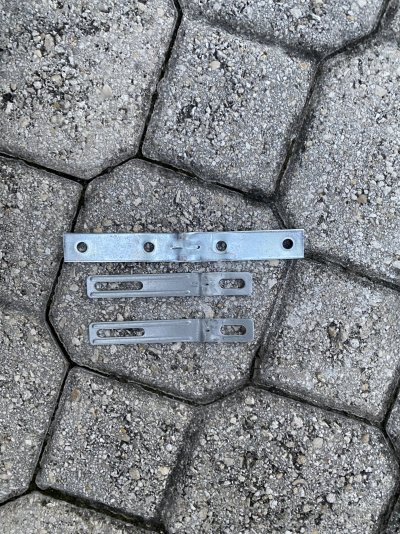
Still working on the passenger interior door grab handle issue. That cheap, skinny pathetic plastic piece they use inside broke and the handle is squishy. I found some L brackets that I pounded flat to insert from the top x 2 and bottom x 2 of the handle when you peel the skin back to help reinforce the handle.
I filled it with Liquid Nails construction adhesive and zip tied it to hold it in place. The driver's side I used spray foam and it is still pretty solid. Unfortunately the adhesive never flashed off and dried, but stayed wet, so I will have to clean that out and apply something else when I get another chance to work on it. For now, I used a couple clear cable ties to keep the door handle skin together.
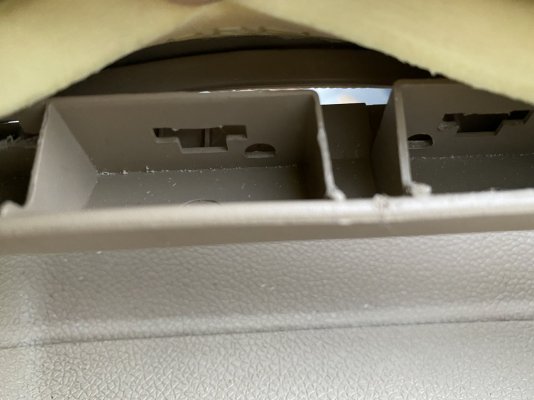
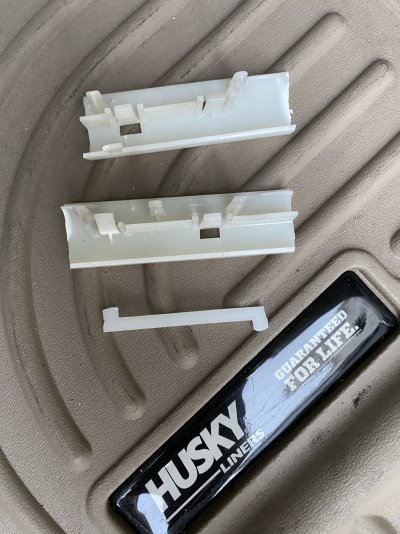
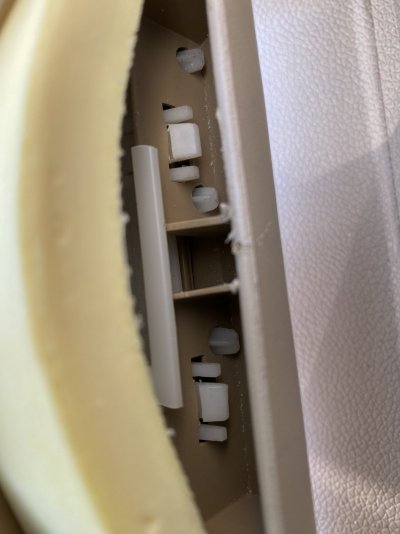
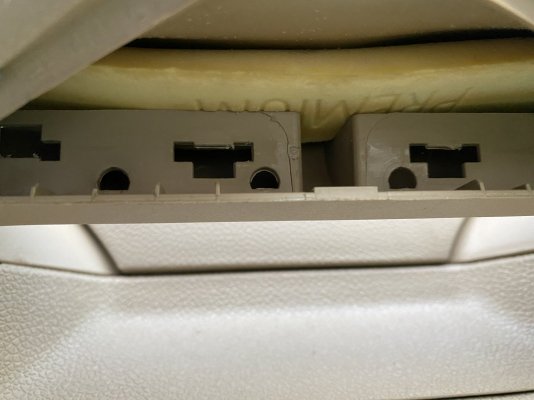
I filled it with Liquid Nails construction adhesive and zip tied it to hold it in place. The driver's side I used spray foam and it is still pretty solid. Unfortunately the adhesive never flashed off and dried, but stayed wet, so I will have to clean that out and apply something else when I get another chance to work on it. For now, I used a couple clear cable ties to keep the door handle skin together.


Similar threads
- Replies
- 2
- Views
- 555
- Replies
- 56
- Views
- 5K
- Replies
- 37
- Views
- 4K

