crayfysh
Member
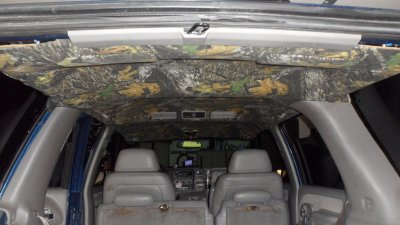
So for my sons 7th birthday I figured I would suprise him with another gift. He is really into camo right now and well I am a big kid lol...
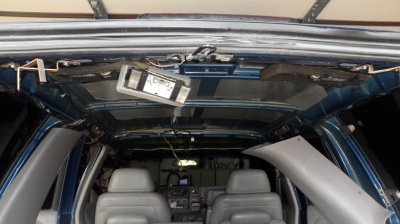
The removal of the headliner is pretty easy, if you have a phillips screwdriver, 10mm socket and 1 torx bit, you can have the whole things out in less then an hour!!
You dont need to remove the old carpeting off the headliner unless it is sagging anyway.
supplies needed---
3 cans of 3m super 77 or equivilent spray contact glue, dont skimp on quality!!!!!
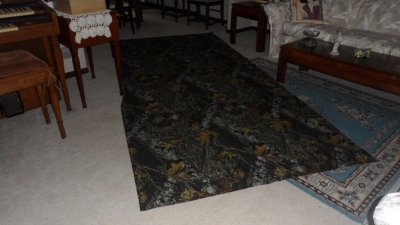
and a 11ft x 64inch piece of material, some people use old bed sheets!!!
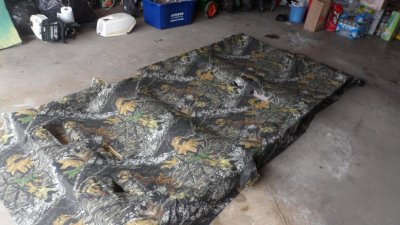
spray half of the headliner with glue and half of the material at the same time so you dont ruin the whole project. and lay on the glue!!!! dont skimp or it will un adhere.
next lay the glued material down slowly smoothing out the material to get rid of bubbles and imperfections ( a second person is almost a must on this part)
next is glue the other half in the same process.
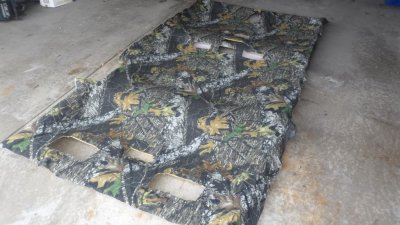
at this time score the material where there are any large holes ( ac vents, overhead council, speakers etc...) so the material will be slack and wont be stretched when it dries.
leave about an inch and a half of material all around the headliner so you can tuck it over to make smooth edges.
Let the headliner dry completly!!!
then trim all holes for speakers, grab bars, council, sunshades.
Now its time to reverse the removal process, take your time you dont want to ruin your hard work!!!
When all done sit in your back seats and admire your hard work!!! and feel free to show off!!


