OP
OP
Dustin Jackson
Full Access Member
- Joined
- Aug 9, 2018
- Posts
- 1,400
- Reaction score
- 1,544
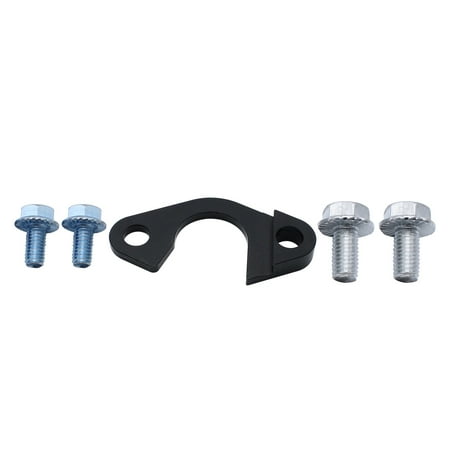
@iamdub what about intake manifold gaskets? I just realized I don’t have a new set of thoseNo. For less than $20, you have absolutely nothing to gain by trying to. That gasket holds a large volume of pressurized oil passing from one galley to the other. It's vital. I used Mahle B31822 and ARP 134-1002. I did not want the Gen 4 countersunk plate and screws.