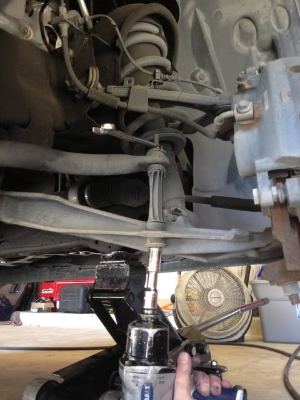
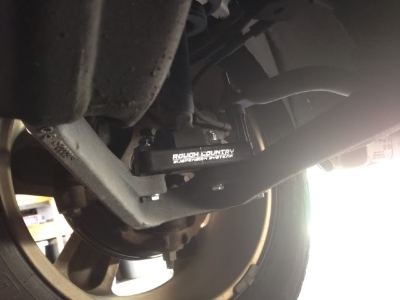
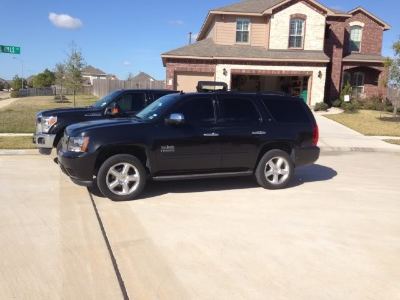
I recently installed a Rough Country 2" leveling kit on my wife's 2010 Tahoe.
My wife is used to me modifying every vehicle we own and have ever owned, so why would this be any different?........well this time SHE asked for it to be done.
In my spare time, I install a lot of lift kits and accessories; mainly on Jeeps, but on just about any truck and SUV as well. I happen to install a lot of Rough Country products. I install whatever kit and brand my customers want, but so many of them choose RC for their wide range of kits and low prices. I am very familiar with the RC 2" leveling kit for 07+ Tahoes, Suburbans, and Silverados. When it came time to pick a kit, it was an easy enough choice.
I have installed about 13 different brands of leveling kits for our platform and they all accomplish the same thing. The RC kit is the fastest install because it does not require removing the strut assembly. Most of the steps in this write-up applies to the upper mount style of spacer, this one just bolts to the bottom.
Let's get started.
Here is a pile of tools. I use an impact where possible/needed; however, it is not needed. Basic handtools get the job done.
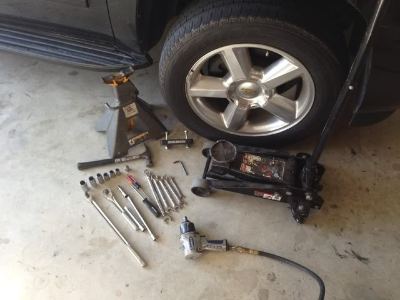
In that pile, you are looking at a floor jack, jack stand, hammer, socket wrench, various metric sockets, various metric wrenches, socket extensions, flathead screw driver, and an allen wrench.
Step 1
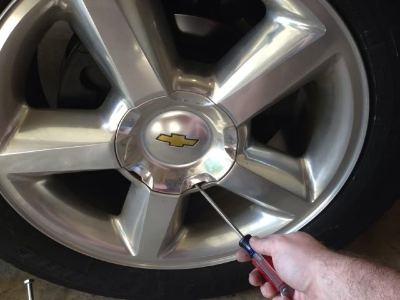
Pop off center wheel cover.
Step 2
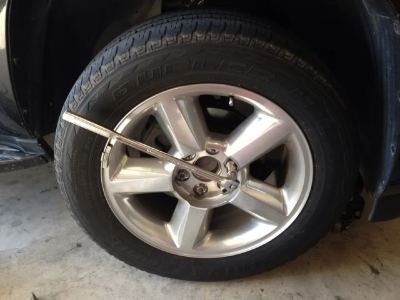
Break lug nuts loose.
Step 3
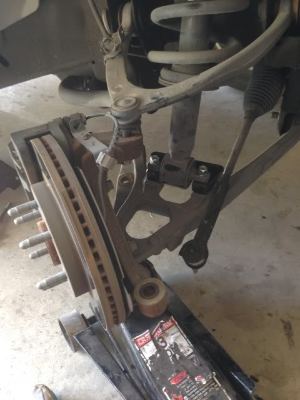
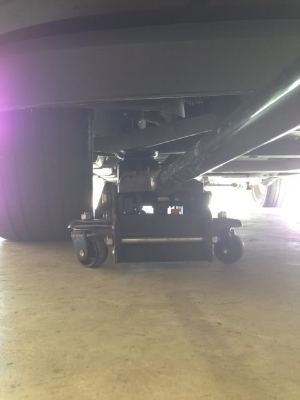
Jack up one side of the truck from under the lower control arm.
Step 4
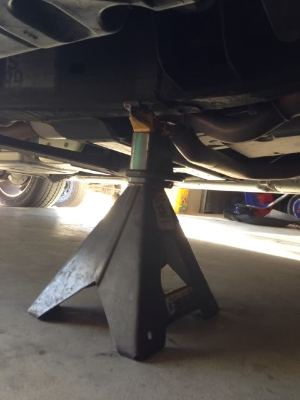
Place jack stand under frame and lower vehicles weight on jack stand. Keep the floor jack under the lower control arm with light pressure for support.
Step 5
Remove lug nuts and remove wheel.
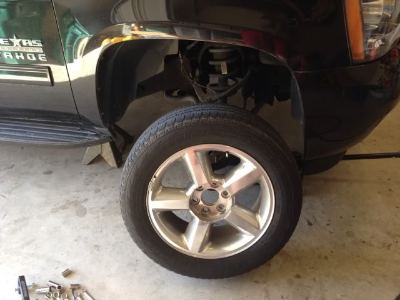
Step 6
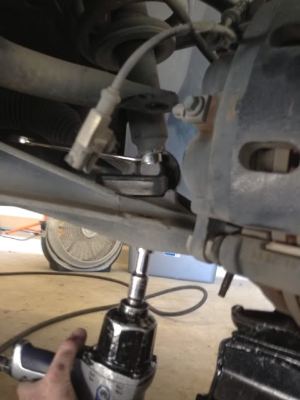
Using an 18mm deep socket and several inches of extensions (I use two that equal 15"), loosen but do not remove the upper strut nuts.
*an 18mm wrench can be used from the side of the wheel well if you don't have the ability to come from the top.
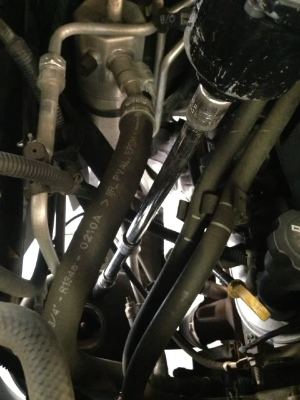
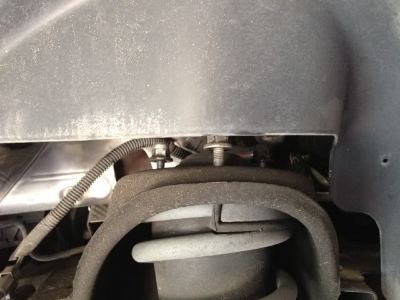
Step 7
Using a 15mm socket, remove the lower strut bolts.
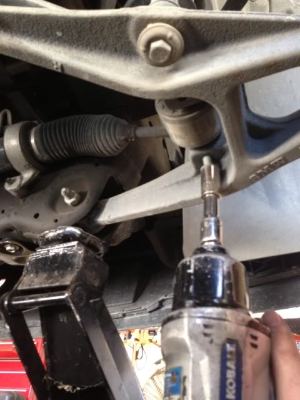
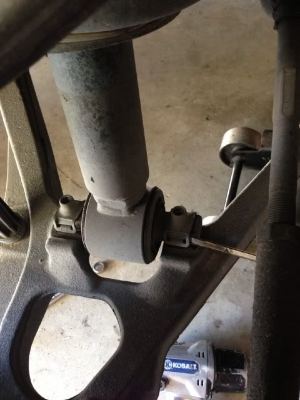
Step 8
Using a flathead screwdriver, remove the lower nut clips. (only if installing this style of spacer)
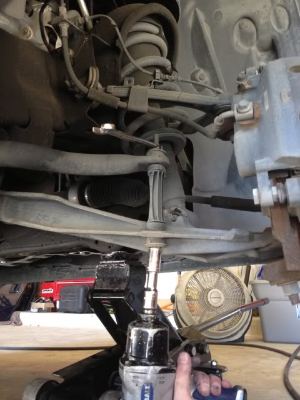
Step 9
Using a 15mm socket from the bottom of the swaybar link and a 15mm wrench from the upper nut, remove the bolt and link.
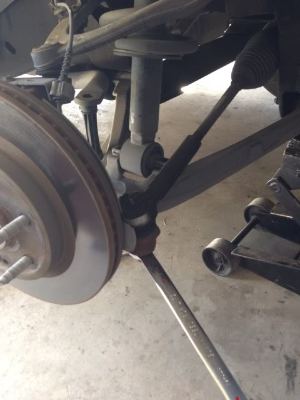
Step 10
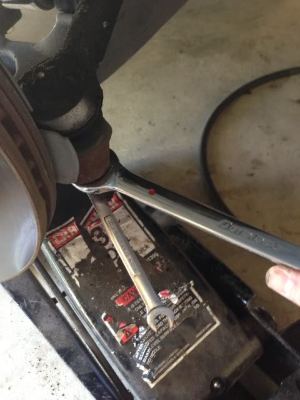
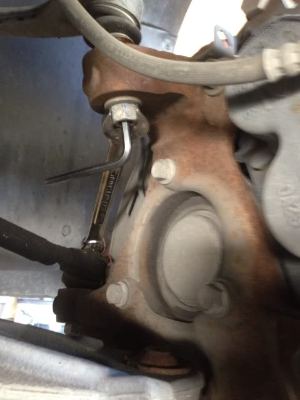
Using a 21mm wrench, remove the tie rod end nut.
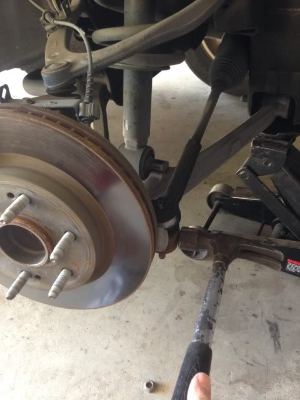
Step 11
Using a hammer, knock the tie rod end loose by knocking the spindle.
Step 12
Disconnect the ABS connection at the plug.
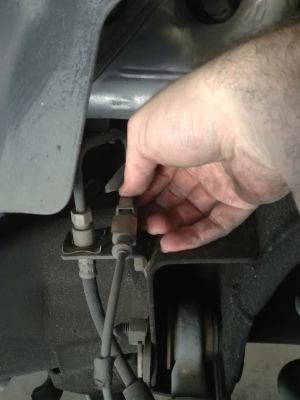
Step 13
Remove the ABS line to allow additional slack when lowering the lower control arm in a future step.
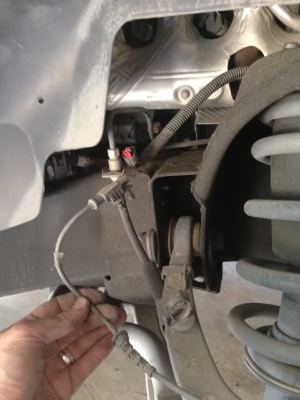
Step 14
Using an 18mm wrench, remove the ball joint nut.
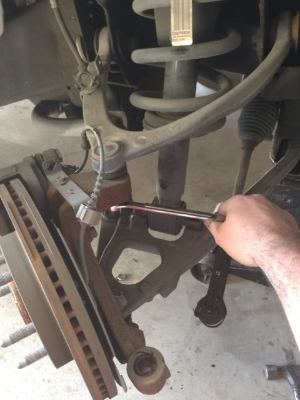
Step 15
Using a hammer, knock the upper ball joint loose by knocking the spindle.
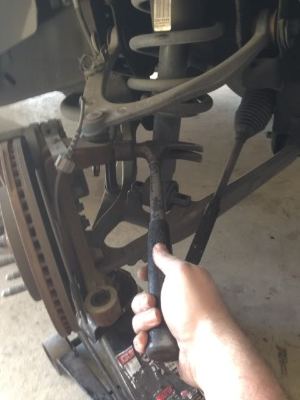
Step 16
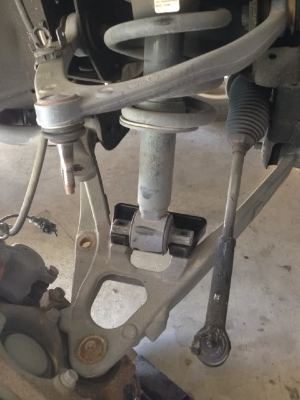
Lower the floor jack enough to make space to slip the spacer in.
Step 17
Install the new bolts, washers, and nuts through the spacers and struts.
My wife is used to me modifying every vehicle we own and have ever owned, so why would this be any different?........well this time SHE asked for it to be done.

In my spare time, I install a lot of lift kits and accessories; mainly on Jeeps, but on just about any truck and SUV as well. I happen to install a lot of Rough Country products. I install whatever kit and brand my customers want, but so many of them choose RC for their wide range of kits and low prices. I am very familiar with the RC 2" leveling kit for 07+ Tahoes, Suburbans, and Silverados. When it came time to pick a kit, it was an easy enough choice.
I have installed about 13 different brands of leveling kits for our platform and they all accomplish the same thing. The RC kit is the fastest install because it does not require removing the strut assembly. Most of the steps in this write-up applies to the upper mount style of spacer, this one just bolts to the bottom.
Let's get started.
Here is a pile of tools. I use an impact where possible/needed; however, it is not needed. Basic handtools get the job done.

In that pile, you are looking at a floor jack, jack stand, hammer, socket wrench, various metric sockets, various metric wrenches, socket extensions, flathead screw driver, and an allen wrench.
Step 1
Pop off center wheel cover.

Step 2
Break lug nuts loose.

Step 3
Jack up one side of the truck from under the lower control arm.

Step 4
Place jack stand under frame and lower vehicles weight on jack stand. Keep the floor jack under the lower control arm with light pressure for support.

Step 5
Remove lug nuts and remove wheel.

Step 6
Using an 18mm deep socket and several inches of extensions (I use two that equal 15"), loosen but do not remove the upper strut nuts.
*an 18mm wrench can be used from the side of the wheel well if you don't have the ability to come from the top.


Step 7
Using a 15mm socket, remove the lower strut bolts.

Step 8
Using a flathead screwdriver, remove the lower nut clips. (only if installing this style of spacer)

Step 9
Using a 15mm socket from the bottom of the swaybar link and a 15mm wrench from the upper nut, remove the bolt and link.

Step 10
Using a 21mm wrench, remove the tie rod end nut.

Step 11
Using a hammer, knock the tie rod end loose by knocking the spindle.

Step 12
Disconnect the ABS connection at the plug.

Step 13
Remove the ABS line to allow additional slack when lowering the lower control arm in a future step.

Step 14
Using an 18mm wrench, remove the ball joint nut.

Step 15
Using a hammer, knock the upper ball joint loose by knocking the spindle.

Step 16
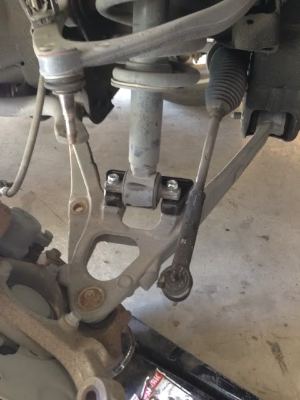
Lower the floor jack enough to make space to slip the spacer in.

Step 17
Install the new bolts, washers, and nuts through the spacers and struts.


