02 Base for my son

Disclaimer: Links on this page pointing to Amazon, eBay and other sites may include affiliate code. If you click them and make a purchase, we may earn a small commission.

TollKeeper

Full Access Member
Joined
Feb 21, 2010
Posts
2,724
Reaction score
5,222
Location
Brighton, CO
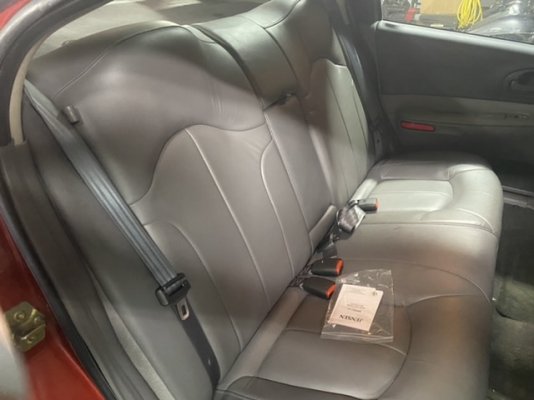
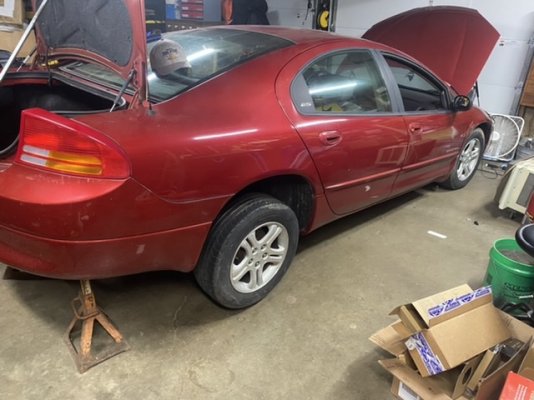
It was rust free. At least what I looked at. I didn’t crawl underneath it. Ran good but was dirty inside and I couldn’t open the sliding doors on either side. Most likely because they haven’t been opened in over 3 years. It had the rear entertainment and rear heat and ac. It was a limited so it was fully loaded but I wasn’t gonna get into it. I know someone would have given them $1500-2000 for it the way it sat with the way the used car market is. Few dings and scraps but there wasn’t anything creased or major. The last picture is deceiving because it looks like it’s dented up and I thought maybe it was but in person, it wasn’t all. It’s the reflection of the car next to it.
View attachment 375046
View attachment 375047
View attachment 375048
View attachment 375049
Man... To bad its likely gone now.. I sure as SH|T would have came and got it.

Not a Ford fan, but I need a mini-van.. And the Sienna that my wife wants its WAY over budget!
 
OP
OP
Snowbound

Snowbound

Jim
Joined
Nov 23, 2016
Posts
1,037
Reaction score
2,410
Location
Chicagoland (Lockport)
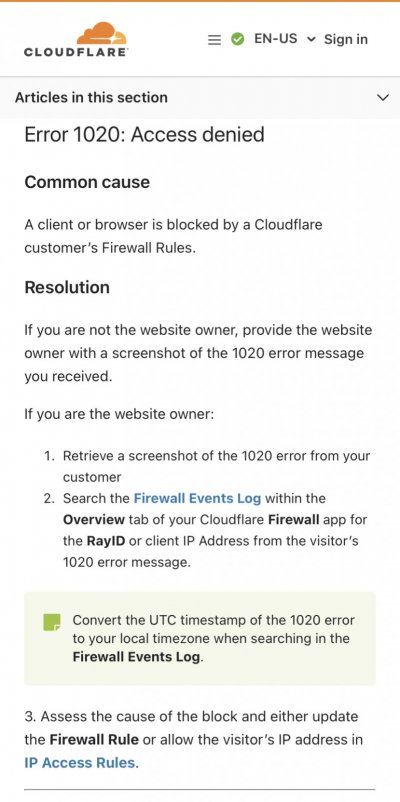
Not sure what happened but I couldn’t get on the forum. Kept getting a 1020 error code saying access denied. Thought maybe I was kicked out but all I did was shut my phone off for a couple hours while I was working and turned it back on. Just letting it reset is all it took.

I woke up about 8pm and didn’t have it in me to go out in garage for a couple hours before work. Ended up passing back out until 9:20. Felt good not having to come to work early and getting some much needed sleep.
My parts showed up so I threw them in the truck and off to work I went.

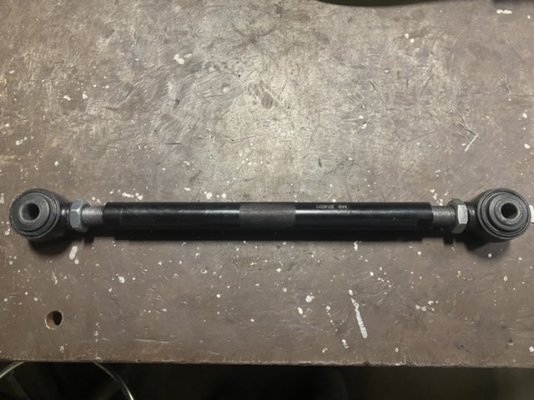
The forward lateral link bars are non adjustable from factory but the Mevotech replacements are adjustable and use the same link for both. The trailing arm is not adjustable and I had to go with a Delphi unit because the Mevotech ones weren’t in stock. They had some economy ones but they weren't round bar, they were C-channel and I didn’t like that. So this is what I have.
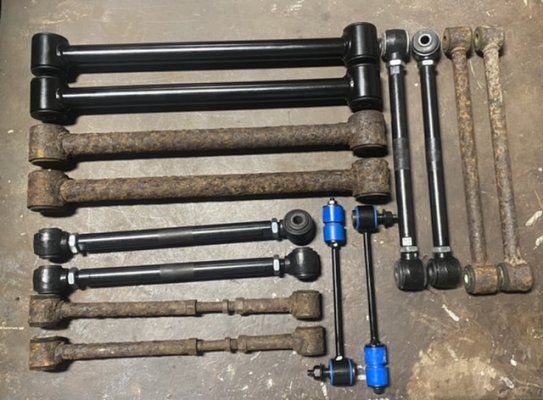
24AA3C55-E5D7-44AB-B77F-9E09F2507191.jpeg

First thing I did was anti-seize the threads and then threaded the ends in all the way making sure the ends were facing the same direction.
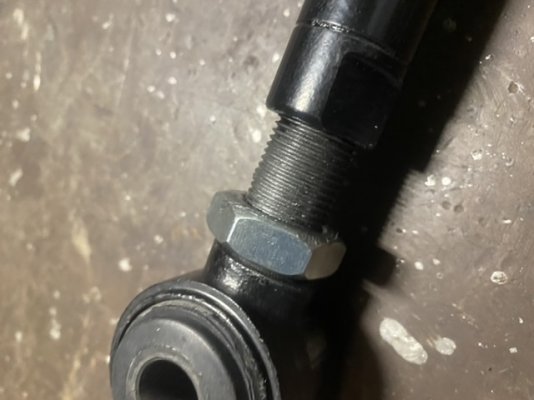
55AA3BF0-27D2-4D39-8C53-C805C5B30575.jpeg

79D11FD9-FBC4-4466-AF6D-D4D7AE08D28C.jpeg

Then to adjust them the same length as what came off I used a 9/16” bolt on one end and had to use a 15/32” drill for the other end. One side is 14mm and the other is 12mm so a 1/2” bolt was too big and a 7/16” bolt too small. I didn’t bring the bolts with me but this worked fine.
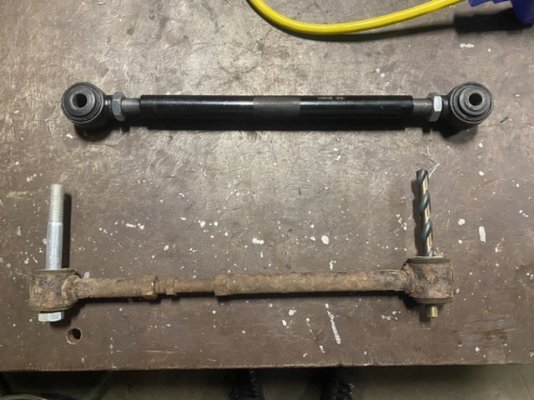
66689E73-E03D-48BB-ADAC-56C2484C38F5.jpeg

After I adjusted it to same length I marked the new link with where it belongs. I only had to mark the rear links because those are the only ones that were adjustable which sets the rear alignment. The good thing with having the forward bars adjustable is it allows a finer tuning on alignment. I guess when you only have the rear link to adjust toe its give and take because it will effect camber. With both links being able to adjust you can get it in spec as opposed to 1-2° acceptable limit. Just what I’ve read while looking into it.

Wiring the stereo adapter and tweeter now before I go home and put this thing back together. Fill you later.
 
OP
OP
Snowbound

Snowbound

Jim
Joined
Nov 23, 2016
Posts
1,037
Reaction score
2,410
Location
Chicagoland (Lockport)
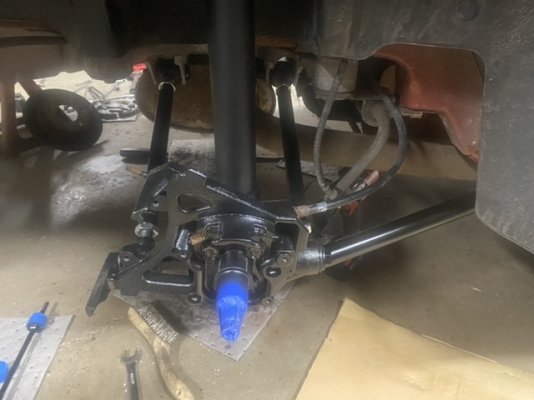
I had a few other things to do today but I did manage to get the link bars installed.
5EE61AB5-5DED-4407-8490-E0A65EF35B30.jpeg

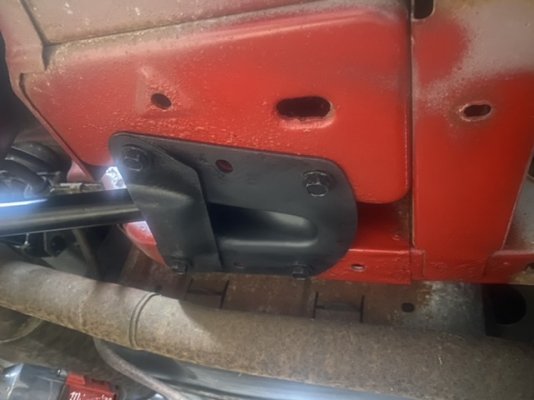
On the trailing arm that runs toward the front, those brackets were pretty rusty and I blasted and painted them but where they mount to the underside didn’t look all that great either. So I spent a little time knocking off some surface rust and hit it with some paint just so it had a good clean surface to mount to.
EC21E143-D24F-4293-9D66-F447AF25DBEC.jpeg

Every threaded hole on spindle, or underneath body that I pulled a bolt from got a tap run thru it. Those threaded holes in underbody in above picture took a little work to tap. Removing the bolts took a little time trying not to break them. In and out more than a few times on each bolt to finally get them removed and the threads didn’t look that great on the bolts due to rust that formed above the threads. Sprayed oil on threads then worked them with a tap and they were good again. I also used some ear plugs in the threaded holes when spray bombed the underside.
Every bolt had a die run over it and every nut was tapped too. I just didn’t want to be hung up because of a cross threaded or stripped thread.
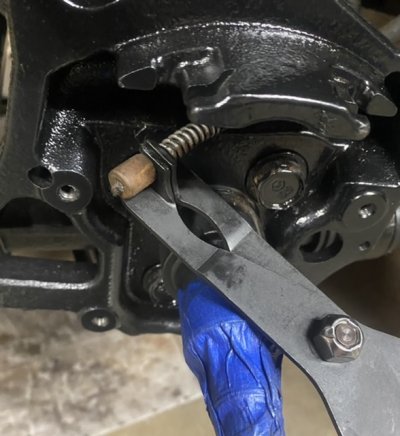
So both sides are mounted along with both new sway bar end links but I have to put the parking brake levers back on the cables and couldn’t find my parking brake cable spring tool. I think my brother has it so I’ll run there in morning and grab it so I can put brakes and hubs back on. Then it should be done besides putting rear speakers in and bypassing the factory amp.
Oh I do have a new serpentine belt and ac belt that I have to throw on. That is not gonna be fun, that front accessory drive setup is close to the e-fans and you can barely see down in there. Maybe it’s time for Jack to learn what sheet metal and sharp plastic can do to the exposed hands. Lol. I’ll finish it up in morning.
 
OP
OP
Snowbound

Snowbound

Jim
Joined
Nov 23, 2016
Posts
1,037
Reaction score
2,410
Location
Chicagoland (Lockport)
Did it to me again, error code 1020 and access denied. Might have to update my phone or something.

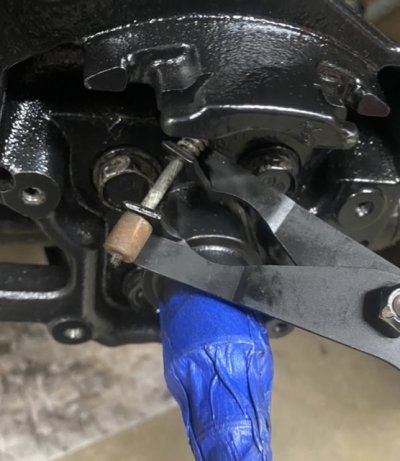
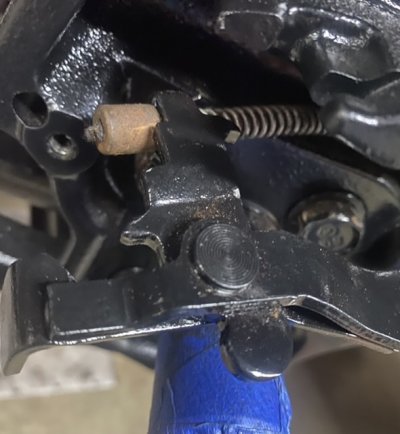
I did get the car finished yesterday. I sprayed them parking brake pivots points with some dry graphite tires keep them from sticking. One was rusted and stuck before I blasted them and I had to work it to get it to move freely.
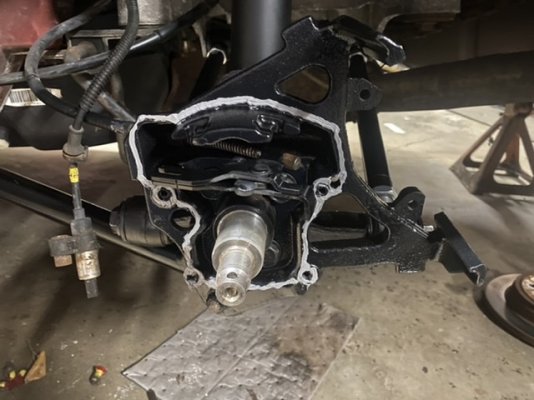
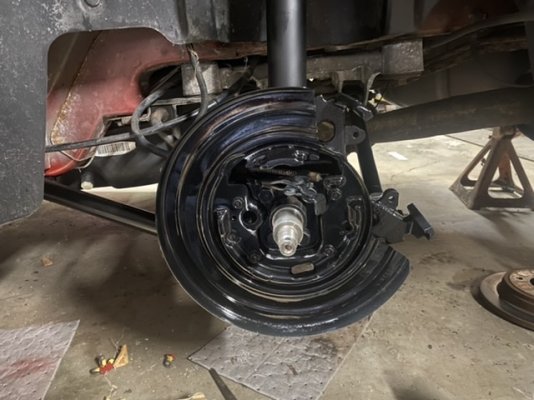
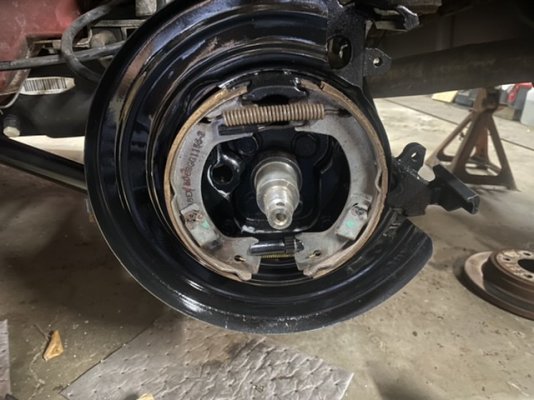
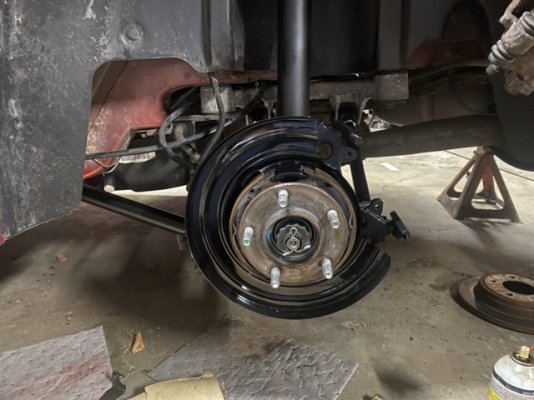
Once the cables were on I could then put the backing plates on. For some reason the backing plates were sealed to the caliper brackets. I have no idea why but since it was there before I went ahead and sealed it again.
41C479BB-ABFA-4852-BF42-09CFB51D6235.jpeg
FF36E62F-CEEC-4BE0-8BF5-88F5DFA05620.jpeg

Then the parking brakes went back on.
913DA05E-3255-4552-84AB-D64223CEFF69.jpeg

Had to look up the torque spec for the hub bearing nut which was 125ftlbs and I also used a new cotter pin.
12ECC9C3-C64F-4F9B-99B1-0B45042FCFF3.jpeg
 
OP
OP
Snowbound

Snowbound

Jim
Joined
Nov 23, 2016
Posts
1,037
Reaction score
2,410
Location
Chicagoland (Lockport)
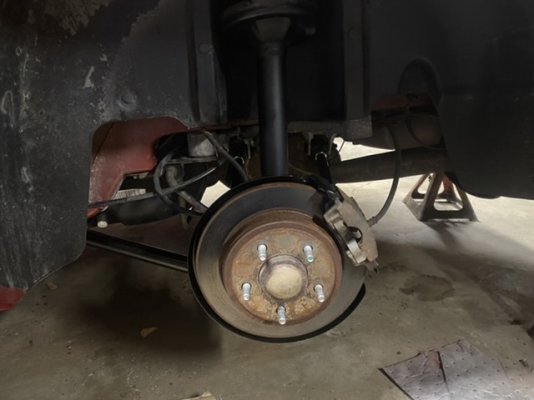
Then I put on the rotor and adjusted the parking brake to a slight drag then just barely backed it off until it wasn’t touching. That should be good enough, they aren’t self adjusting but it’s only a parking brake. Then the calipers went on.
DBC6CCFA-3085-4C8B-A2EA-D853E6C0D902.jpeg

Next thing I had to do was put the rear speakers in. I made sure the wiring was correct, I had to swap the pin in the connectors for the front door speakers for some reason. They were the same wiring adapters. The rear deck carpet went back in followed by the side trim and then the rear seat. Pretty simple.
9A4A7DE5-8A9D-4E7C-A60E-F839D7B9CE5C.jpeg

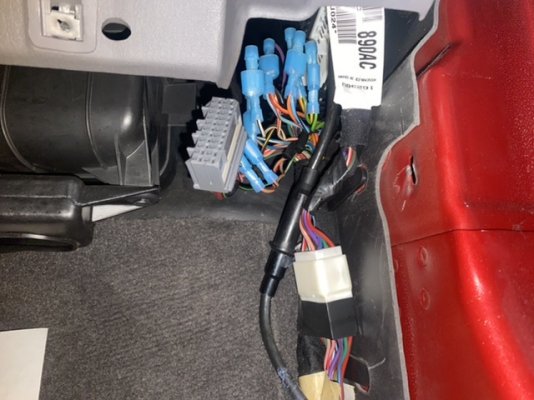
The amp had to be bypassed which was a little challenging. There’s not a lot of slack and trying to use but connectors was a pain because 2 of them had the wire slide out as I was crimping them. So I decided it was easier to use spade terminals and so I could crimp them while the wire was sticking straight out and then plug them in to the corresponding wire. The wires change colors from the radio to the amp and then from amp to speaker. But I figured it out.
A060E32B-0302-4D70-B070-303E0645C97C.jpeg

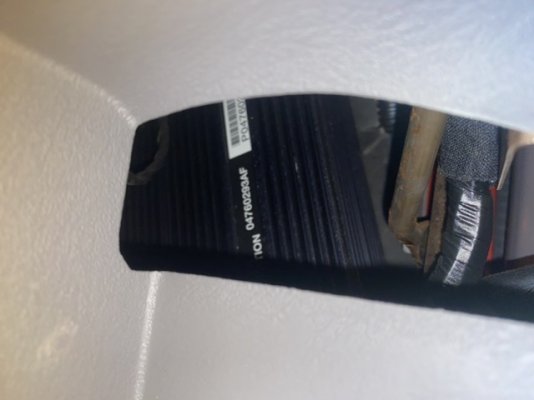
This is the amp tucked up against the kick panel. Be a nightmare to have to remove it. I left the power unplugged and tucked it behind the kick panel when I put it back together.
503AA221-7851-41D9-9A56-12E079321E98.jpeg
 
OP
OP
Snowbound

Snowbound

Jim
Joined
Nov 23, 2016
Posts
1,037
Reaction score
2,410
Location
Chicagoland (Lockport)
I don’t know why this keeps happening. This time I changed my location to New York in my VPN and was able to get on. Has something to do with the firewall setting on the site.
D67AC156-703B-44B9-A931-85F63167AB1F.jpeg
0E1CAED4-4D47-42EB-9215-BB3175AF2F19.jpeg

But anyway, I took the car for a ride and it does feel tighter back there but when I hit a good bump there’s a noise. It almost sounds like the top of the strut is not seated and hits in the tower. Really strange. I pulled the rear seat back out and had Jack take me for a ride and it’s definitely coming from the left side and the noise is high like the top of the strut. I was able to get my hand on the top of the strut thru a cut out in the bottom of the rear deck and the strut does not move at all and I can’t really feel the noise in the top. I can’t reproduce the noise by bouncing or extending the rear of the car. I yanked on the strut spring but it doesn’t move. I rechecked all bolts and can’t find anything.
I went over by my brother’s and had him listen to it. He said it’s definitely up top like I thought. He even pulled on strut and tried getting something to move in the links but nothing.
So now I’m gonna pull the tire, loosen the link bars and pull the strut down. Might have to remove the strut completely to get a good look up there to see what I can find. Nothing like doing the job twice. But at least I know things will come apart this time.
 

Forum statistics

Threads
129,188
Posts
1,811,863
Members
92,292
Latest member
kwhaleys

Latest posts

Top