Scott in AZ
Full Access Member
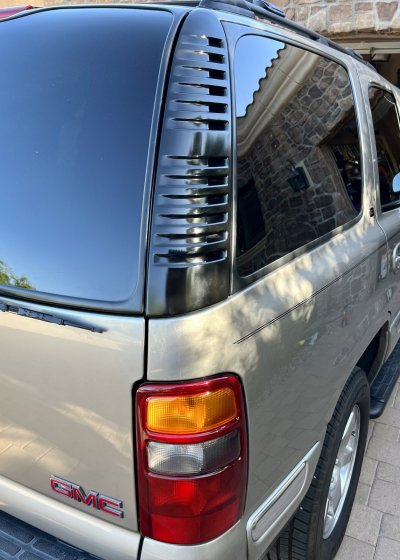
Ncalvo’s rear corner vent louver appliqués showed up and he was true - they are in great shape. I cleaned them up with Meguiar’s cleaner wax and a toothbrush, buffed them out, and the result was great. I will end up using his on the other corner too.
You don’t have to remove the lift gate piston to do this job but I will probably replace the lift gate pistons when I do the other side. (Anybody got a recommendation for lift gate pistons? I’ll probably just use OEM Stabilus).
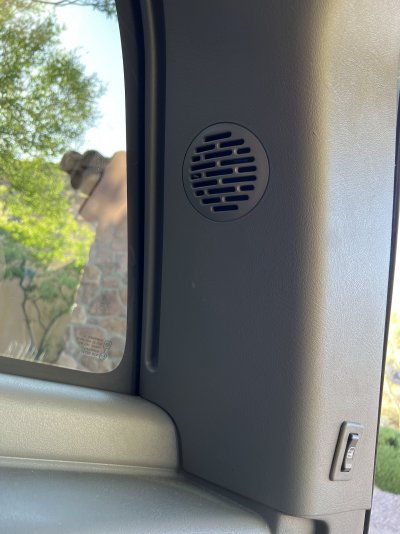
Turns out the rear corner vent appliqués are functional - they vent cabin air out the back. (Makes me wonder about half-blocking them to keep the conditioned air inside in the hot Arizona summer….). I used single-sided foam tape to supplement the existing foam gasket installed around the clips. Wire to wire time was under an hour and that included the toothbrush treatment and a deep clean on the normally-covered body panel under the functional vent appliqué! Good project, fixed a problem I’ve lived with for years, but this would be a good clean-up project even if replacing is not needed.
You don’t have to remove the lift gate piston to do this job but I will probably replace the lift gate pistons when I do the other side. (Anybody got a recommendation for lift gate pistons? I’ll probably just use OEM Stabilus).
Turns out the rear corner vent appliqués are functional - they vent cabin air out the back. (Makes me wonder about half-blocking them to keep the conditioned air inside in the hot Arizona summer….). I used single-sided foam tape to supplement the existing foam gasket installed around the clips. Wire to wire time was under an hour and that included the toothbrush treatment and a deep clean on the normally-covered body panel under the functional vent appliqué! Good project, fixed a problem I’ve lived with for years, but this would be a good clean-up project even if replacing is not needed.
Attachments

Last edited: