Growing up doesn't have to suck

Disclaimer: Links on this page pointing to Amazon, eBay and other sites may include affiliate code. If you click them and make a purchase, we may earn a small commission.

OP
OP
iamdub

iamdub

Full Access Member
Joined
Apr 23, 2016
Posts
20,750
Reaction score
44,588
Location
Li'l Weezyana
Just bought another alternator- #13534128. Seller had pics from all angles. Was listed at $135.96 but had a 20% discount code bringing it to $108.77. Add $10.28 in tax and I'm in it for $119.05. This one has 21,712 miles. New enough for me. No clutch.

I dug through so many listings and most either didn't specify what engine the wrecked truck had or they were the 2.7L, verified by the underhood pics. Yet, they had the alternators listed as fitting the V8s. No pics or part numbers for the actual alternators for which those listings were created. Bunch of BS.
 
OP
OP
iamdub

iamdub

Full Access Member
Joined
Apr 23, 2016
Posts
20,750
Reaction score
44,588
Location
Li'l Weezyana
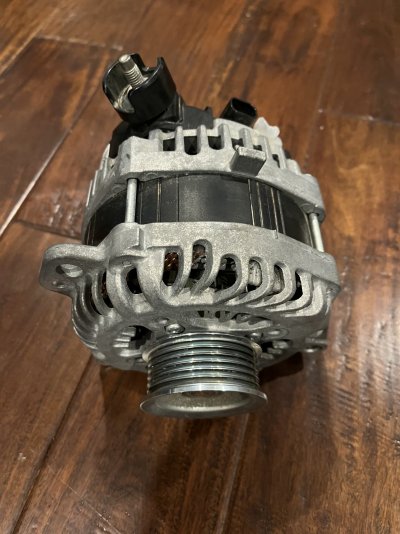
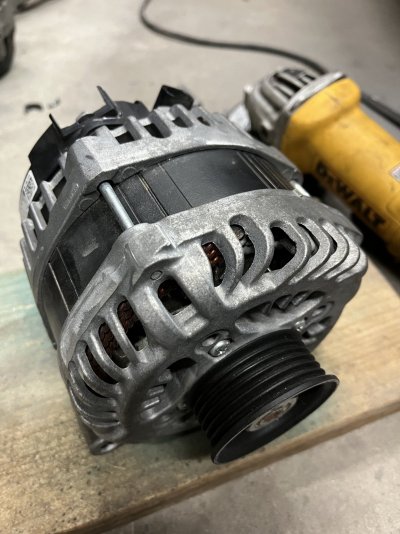
Second alternator delivered yesterday. It was packed much more securely and made the trip from Illinois safe and sound. It spins true but I might swap on my original pulley cuz it's black. Might shave off the extra tabs on the housing, too. I'll have to assess the altered main stud location. I hope I can come up with something clean using the wire I already have. Otherwise, I'll have to make up a new one using a 90° terminal end:

IMG_5730.JPG


Part number 13534128:

IMG_5731.JPG


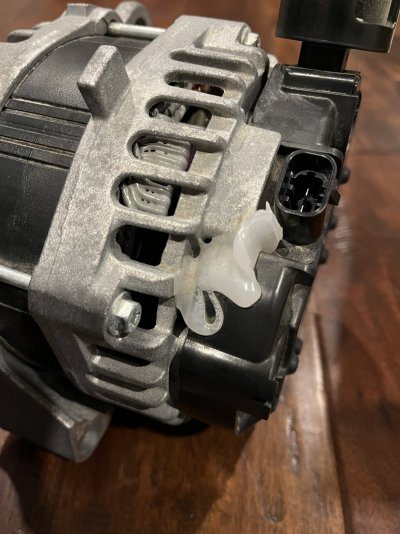
Had this blob of plastic ŝplooge that I first thought was a sloppy repair for a crack in the back cover:

IMG_5732.JPG


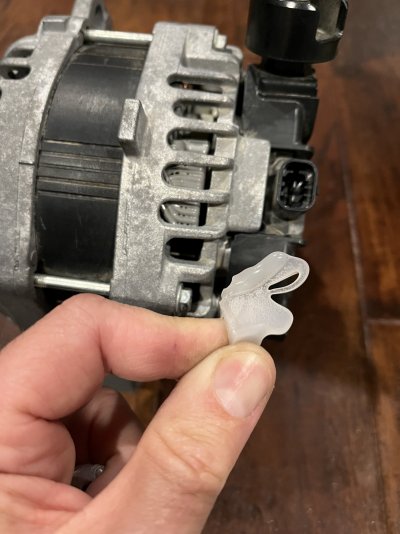
It peeled off cleanly and there was no damage underneath. It looks like hot melt glue but it's firm like plastic:

IMG_5733.JPG


Had too much else to do to go install it. Maybe I'll get to it this evening. I started a return for the first alternator last Friday but the seller hasn't responded yet. EBay will step in on 5/18 if I haven't heard from the seller.
 
Last edited:
OP
OP
iamdub

iamdub

Full Access Member
Joined
Apr 23, 2016
Posts
20,750
Reaction score
44,588
Location
Li'l Weezyana
So, this alternator could probably be a direct bolt-on, plug-and-play swap. But, IMO, it needed some "optimizing" in mounting, appearance and performance. A direct swap would be a 20-minute job. I was on it for a solid two hours, from 5:20 to 7:20. I have 20 pics so the story will be split up over the next four posts. Buckle up, bitches. Here we go...


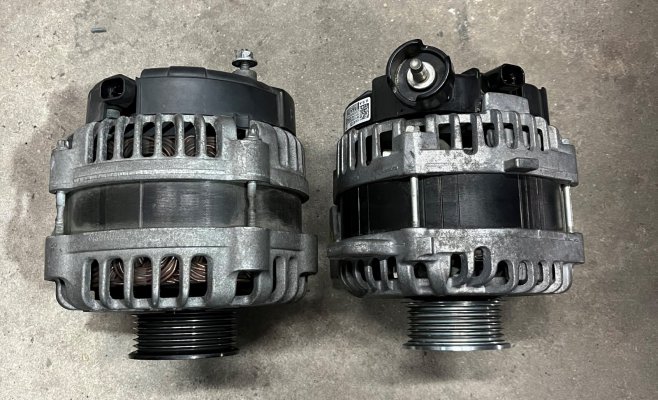
First off, comparisons to my stock DR44. Here, I was comparing the mounting ears. The width of the ears and the spread on centers are the same. The holes in the new alt are much larger. More on that later:

IMG_5739.JPG


Same pulley spacing:

IMG_5740.JPG


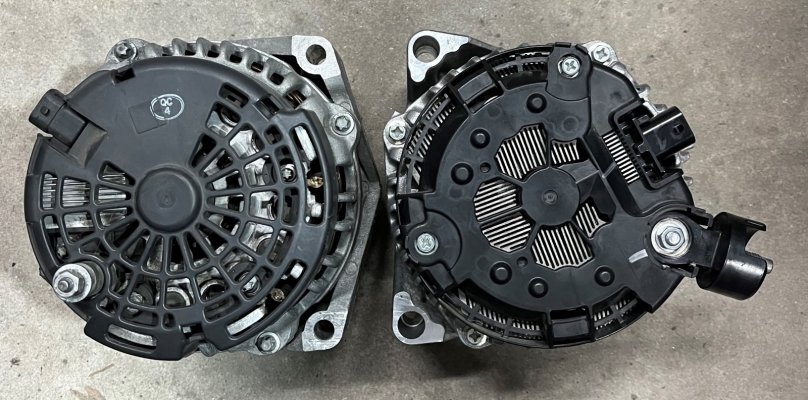
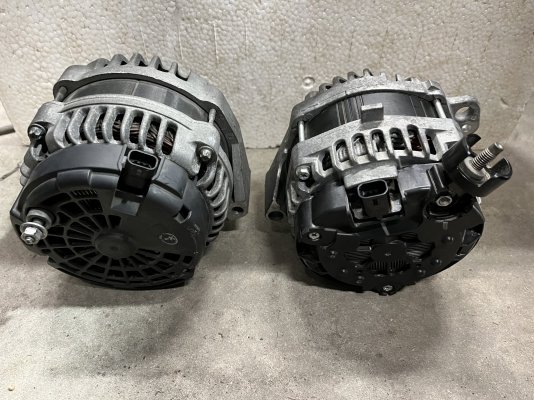
Control plug and output stud locations are swapped and the stud has a 90° adapter. There was a cover over the 10mm nut on the back, but I removed it during brainstorming:

IMG_5741.JPG


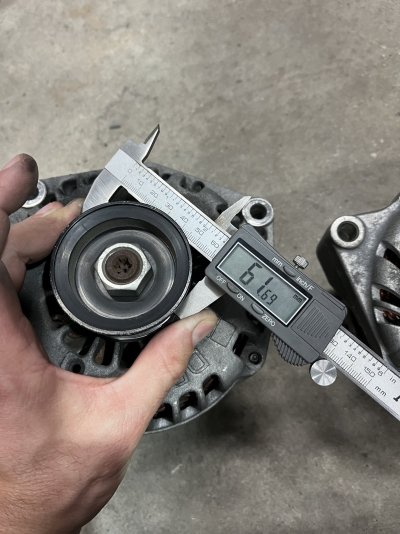
Old alt has ~62mm pulley:

IMG_5742.JPG


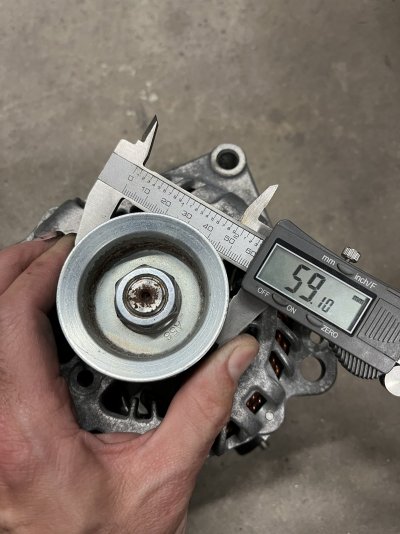
New alt has ~60mm pulley:

IMG_5743.JPG
 
OP
OP
iamdub

iamdub

Full Access Member
Joined
Apr 23, 2016
Posts
20,750
Reaction score
44,588
Location
Li'l Weezyana
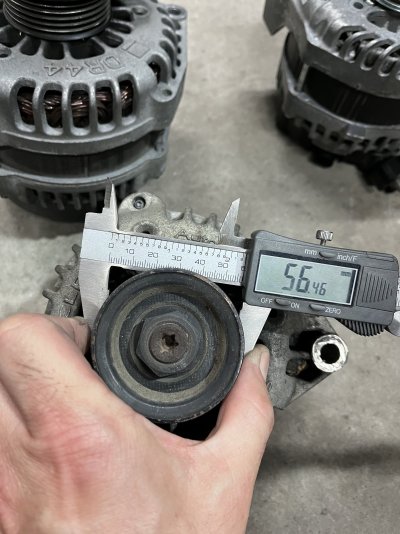
About that pulley diameter. If you recall, that wrong alt I received last week had a 54mm pulley. These alts are all pretty much the same, just with different cases for the types of mounting. If it's fine with a 54mm pulley on an engine that spins ~6,300 (2022 CT5 2.0T), then I want mine to spin the same to achieve the same output. I checked my stash and found an alt from my '02 S10. It had a 56mm pulley. Close enough:

IMG_5744.JPG


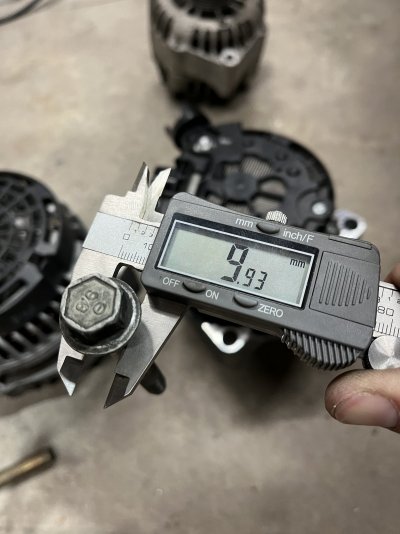
On to the mounting. The bolts have a 10mm shank:

IMG_5745.JPG


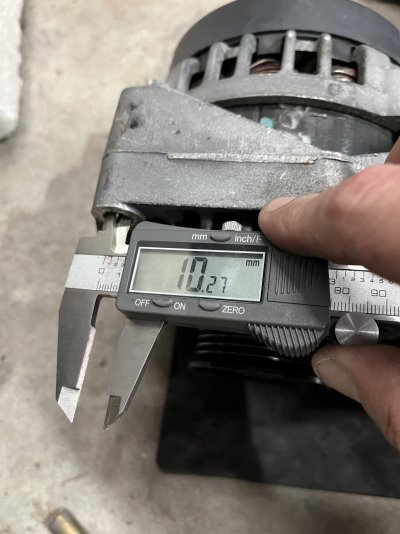
Appropriately, the holes in the old alt's ears are a hair larger than 10mm:

IMG_5746.JPG


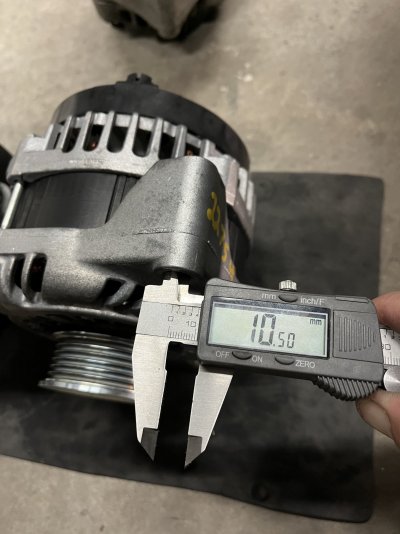
The front of the hole in the ear of the new alt is a hair larger, but still close enough:

IMG_5747.JPG


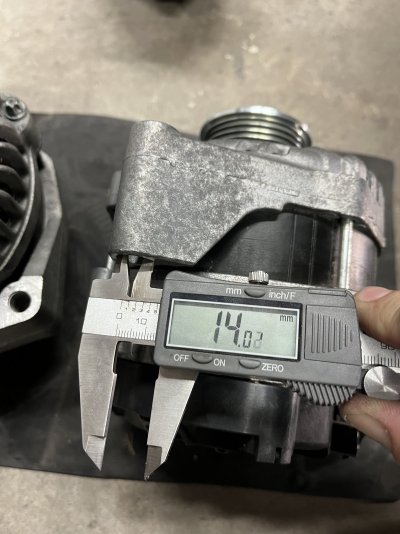
The rear is a whopping 14mm:

IMG_5748.JPG
 
OP
OP
iamdub

iamdub

Full Access Member
Joined
Apr 23, 2016
Posts
20,750
Reaction score
44,588
Location
Li'l Weezyana
With that much slack around the bolt, there's no support. Sure, once it's bolted up and tightened, it'll likely be aligned just fine and likely never be a problem. But, I gotta at least try. Back to my stash shelves...

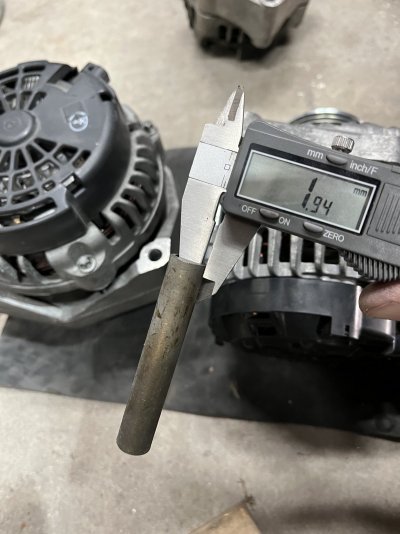
I grabbed a spacer sleeve left over from my recent sway bar end link project. It has a 10mm ID and is about 2mm thick- Perfect!:

IMG_5749.JPG


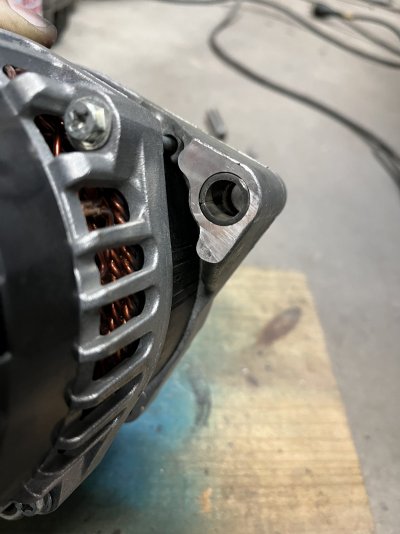
The holes in the ears are tapered. I tapped the sleeve in with a hammer until it was fairly snug and scored a line on the sleeve to mark the depth. I removed the sleeve and measured to the line- 18mm. I cut the sleeve at the line then measured to cut another from the other end so each cut piece would have a smooth, flat end. I put a slight bevel in the cut edges and tapped the 18mm pieces into the holes with the clean, uncut ends outward:

IMG_5757.JPG


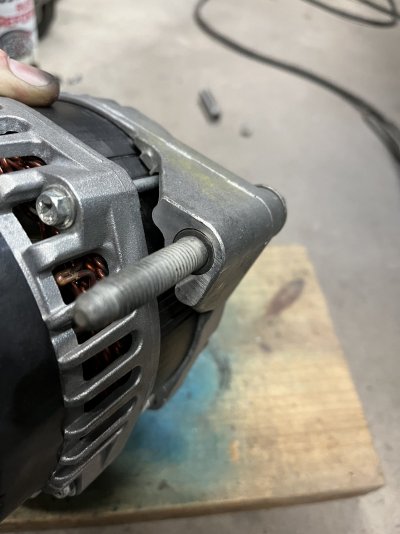
Now, the bolt enters and exits through a 10mm hole, ensuring proper support and alignment:

IMG_5758.JPG


I couldn't see any use for the extra mounting tabs on the case, so I cut them off and smoothed the metal down. Note the smaller pulley already painted and installed:

IMG_5756.JPG


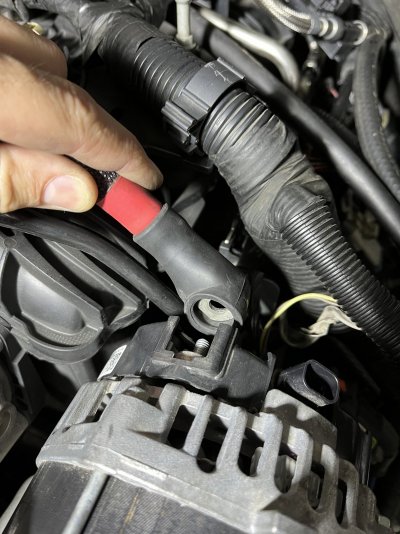
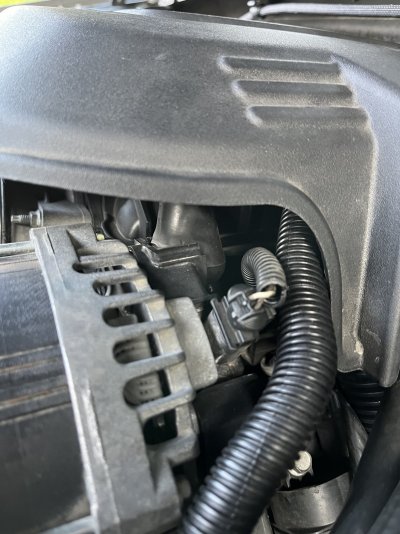
I mocked up the alt to see what I was gonna do with the odd main stud location. I'm thinking the easiest and fastest would've been to trim one side of the shield of that vertical adapter piece and twist the cable 90° to bolt it on. But, I tried dissecting that piece to mod it and it became a casualty. So, I ended up slicing the square slot in that black plastic cover to widen it so the terminal boot would fit so the cable would attach like it did on the original alt, just clocked upward:

IMG_5751.JPG
 
Last edited:
OP
OP
iamdub

iamdub

Full Access Member
Joined
Apr 23, 2016
Posts
20,750
Reaction score
44,588
Location
Li'l Weezyana
It's a bit of an odd angle, but clean enough. It's secure and fully insulated:

IMG_5759.JPG


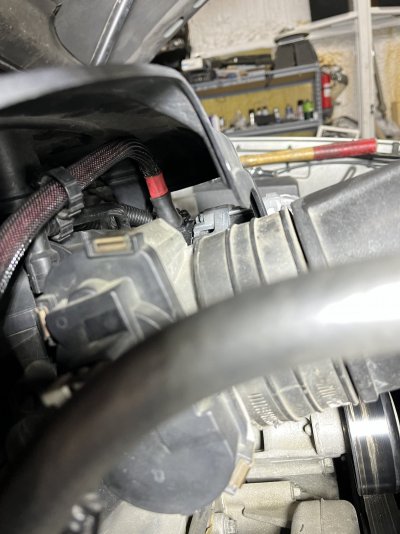
It clears the cover:

IMG_5761.JPG


No exposed hot/live parts:

IMG_5767.JPG


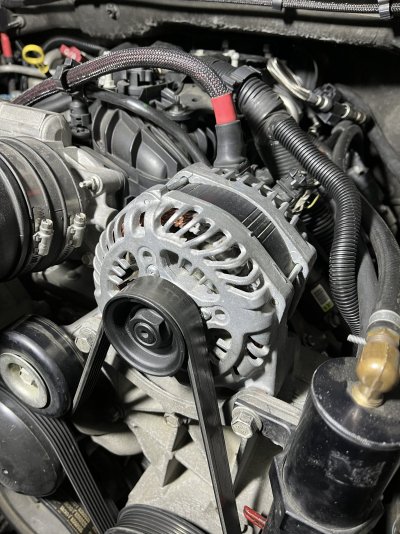
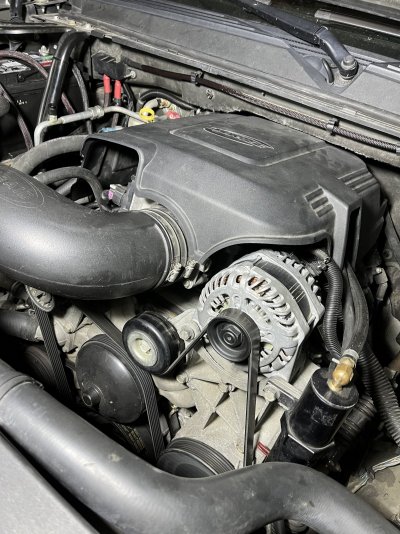
Complete and cover on

IMG_5762.JPG


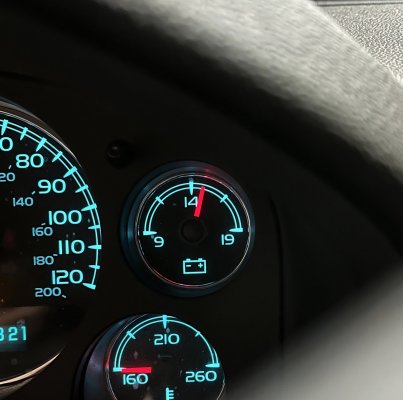
Voltage about 10 seconds after a cold start:

IMG_E5763.JPG


I revved it a little to listen for noises and eyeballed the belt for alignment. Went for a short drive and the voltage settled. Sat in Tahoe Twin's driveway and revved it to ~5,000. No issues. I played some heavy bass tracks and watched the headlights on the wall. The dimming was MUCH improved with just the new battery, but I can see even more improvement with the new alt.
 

Sam Harris

Supporting Member
Joined
Sep 26, 2018
Posts
7,399
Reaction score
14,789
Location
Texas
It's a bit of an odd angle, but clean enough. It's secure and fully insulated:

View attachment 399520


It clears the cover:

View attachment 399522


No exposed hot/live parts:

View attachment 399525


Complete and cover on

View attachment 399526


Voltage about 10 seconds after a cold start:

View attachment 399527


I revved it a little to listen for noises and eyeballed the belt for alignment. Went for a short drive and the voltage settled. Sat in Tahoe Twin's driveway and revved it to ~5,000. No issues. I played some heavy bass tracks and watched the headlights on the wall. The dimming was MUCH improved with just the new battery, but I can see even more improvement with the new alt.
Excellent work and write up as usual sir!
 

randeez

Full Access Member
Joined
Sep 29, 2017
Posts
6,159
Reaction score
18,842
Location
south florida
With that much slack around the bolt, there's no support. Sure, once it's bolted up and tightened, it'll likely be aligned just fine and likely never be a problem. But, I gotta at least try. Back to my stash shelves...

I grabbed a spacer sleeve left over from my recent sway bar end link project. It has a 10mm ID and is about 2mm thick- Perfect!:

View attachment 399515


The holes in the ears are tapered. I tapped the sleeve in with a hammer until it was fairly snug and scored a line on the sleeve to mark the depth. I removed the sleeve and measured to the line- 18mm. I cut the sleeve at the line then measured to cut another from the other end so each cut piece would have a smooth, flat end. I put a slight bevel in the cut edges and tapped the 18mm pieces into the holes with the clean, uncut ends outward:

View attachment 399516


Now, the bolt enters and exits through a 10mm hole, ensuring proper support and alignment:

View attachment 399517


I couldn't see any use for the extra mounting tabs on the case, so I cut them off and smoothed the metal down. Note the smaller pulley already painted and installed:

View attachment 399518


I mocked up the alt to see what I was gonna do with the odd main stud location. I'm thinking the easiest and fastest would've been to trim one side of the shield of that vertical adapter piece and twist the cable 90° to bolt it on. But, I tried dissecting that piece to mod it and it became a casualty. So, I ended up slicing the square slot in that black plastic cover to widen it so the terminal boot would fit so the cable would attach like it did on the original alt, just clocked upward:

View attachment 399519

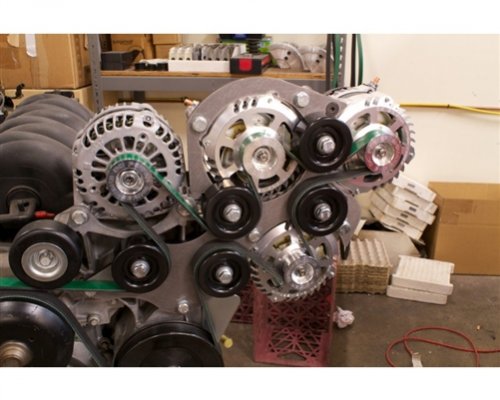
this is where i was hoping this install was going :(

GMQK-QuadKit-2.jpg
 
Last edited:
Top