BigDaddy13440
Full Access Member
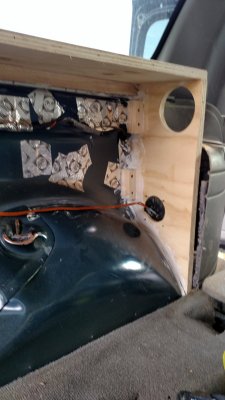
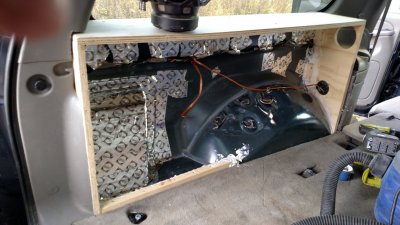
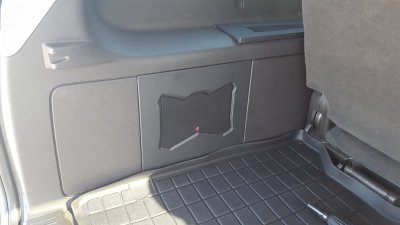
What I had to do was tear out everything where the old factory sub was, the sheet metal underneath was completely rusted away. I used some aluminum coil stock, bent pieces to fit around the gas filler neck (after removing the shroud covering it), and siliconed and self-tapped screws the aluminum in place. Once that was done, I used some Pella Waterproofing tape, layered it over the top of all the aluminum, made sure it was completely sealed. Once that was done, I filled between the inner and outer skins with expanding foam, and used it to seal around the filler neck. The wires you see are for a strobe light system, the 'Burb used to belong to a Volunteer Fire Chief (nice little $1200 toy!)
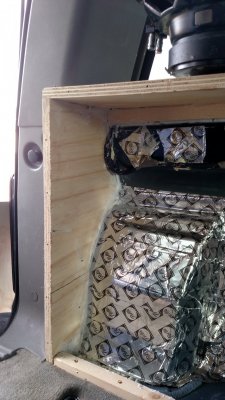
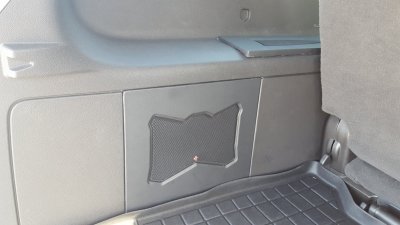
The first step I did, I traced out the outline of the inner skin on a piece of plywood for the front (facing forward), refining it so I had less than 1/8" gaps when done. Made a small cleat to mount it to, and loaded up about 1/2 a tube of silicone under it before I mounted it permanently.
Next, I made the cleat that runs lengthwise under the window. This cleat is 3/4" under the "visible" window line, so that when the top is put on, it comes even with the window.
Third, I did the same thing for the rear panel (facing the hatch) as I did the front. Wasn't quite as critical to get the gaps as close, as the panel is secured to the inside metal, lots of silicone behind it.
Fourth, fabricated the top panel. On mine, it tapered from 9" at the front to 8 3/8" at the rear, apparently it follows the curve of the outside quarter panel and glass. I verified the straight line with a level running alongside the wheelwell, and it is equidistant from the panel on the passenger side (49 1/4") front and back.
Forgot to take pics of fabricating a cleat across the floor behind the wheelwell to the corner.... but I think that's pretty self-explanatory.
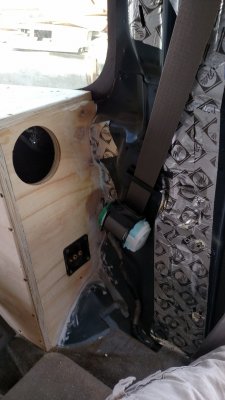
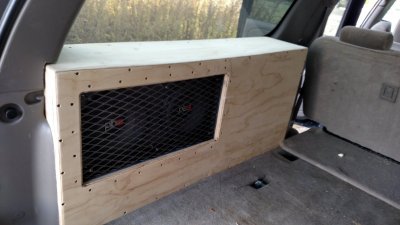
Lastly, the face. Took a piece of plywood about 2" longer and higher than the enclosure, and scribed the bottom to fit tight against the floor. Once I did that, I then scribed the top and two sides, then cut and test fit it, made sure it fit perfect (It IS off by about 1/8", but nothing that some carpet won't cover). I did screw right thru the fenderwell with some 1 1/4" screws, those are only temporary - in a couple days, I'm going to take those out, and use Stainless Steel screws from inside the fenderwell to secure the panel, then paint the heads black.
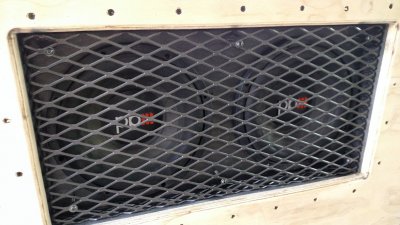
Since I carry a lot of tools and materials around every day for work, I recessed the baffle for the subs in 2" from the face, gotta make sure there's enough room for the excursion! I have a buddy that owns a metal fab shop, I'm going to have him make a heavy mesh grill that will fit inside the rectangle opening, and I can use some Panhead screws to secure it in the four corners. Once that is done, I'm using some acoustically transparent carpet to wrap the whole thing.... eventually.
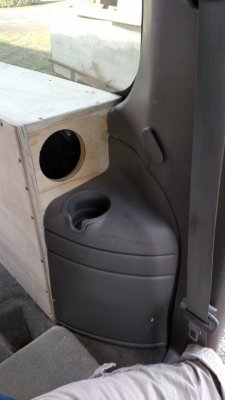
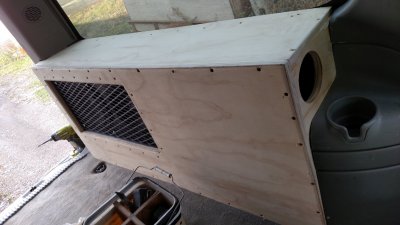
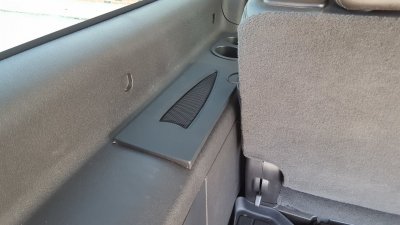
It did sound pretty good sealed, on the factory amp. But, I prefer the sound of a ported enclosure, gets me a little more bump just above the tuning frequency - in this case, between 32 and 36Hz, as noted in my previous post. I bought a 4" drain cap @ Lowe's, and put in a 7 1/2" port on the small space above the factory trimpanel on the front, just above the third row cupholder.
If you notice, there's about 3/4" from the top of the box to the rear D-pillar trim panel. That IS intentional, as I'm going to be fabbing up a tray on top of the box so that I can throw all the random screws and nuts and bolts at the end of the day on it, along with smaller tools. I am going to cut and modify the panel on the other side of the truck, so I can put a cleat and another tray there too. That will allow me to put some 2x4's across from one side to another, supporting the doors and windows I install on a daily basis. That will allow me to open the hatch and access my tools without having to take all the materials out.
I've had this in for two weeks now. And I must say, I may not even bother with adding a dedicated subwoofer amp. If I keep the bass at moderate levels, and don't crank the volume up too far, the stock amp has enough balls to push these subs to the point that my rearview mirror is shaking and blurry. The two 4 ohm subs are wired in parallel, making a 2 ohm load, the same as the factory 8" sub... but I'm probably clean at a good 10-12Hz lower, with at least a 5-7dB gain in output.
Last edited:

