Tahoe/Yukon Double Console Mod

Disclaimer: Links on this page pointing to Amazon, eBay and other sites may include affiliate code. If you click them and make a purchase, we may earn a small commission.

Madgrty

Full Access Member
Joined
Apr 22, 2015
Posts
107
Reaction score
58
Location
St. Louis MO
I’m starting a winter project. I picked up a used 03-06 Denali console for my Yukon the other day for a steal (along with Denali dash and door switches). Trying to find some nice heated rear bucket seats in the light pewter grey color to replace the bench but may have to take what I can find and re-upholster all the seats while I’m at it. New heating elements probably wouldn’t hurt either.

Anyways I’m doing a “double console” or back to back console. I’m going to try and blend the secondary console the best I can to the back of the front console. I’ll try to get some pics of the mock-up and post them on here as I go. Really wanting a factory look but something different and unique without sticking out terribly. While I’m at it, I’m also planning on putting 2 8” American Bass VFL’s under it. One in a porter box in the front of the console and one sealed in the factory spot in the rear console. It’ll be slow until overtime dies down at my work. If anyone knows anywhere (preferably in the St. Louis area but I can also always ship them if needed) that can simulate the Denali wood-grain through hydro-dip please let me know! Planning on getting the Esky doors and refinish the wood grain to match the Denali’s as time goes by here.

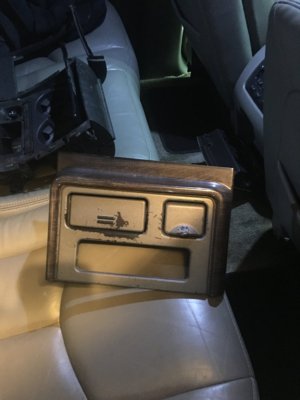
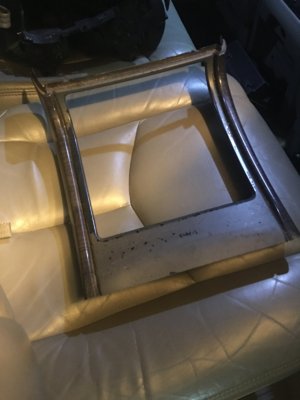
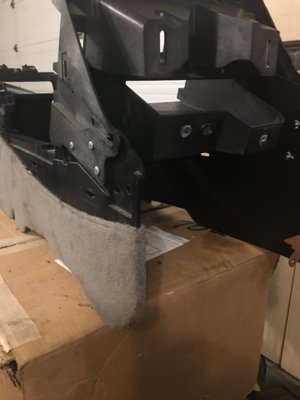
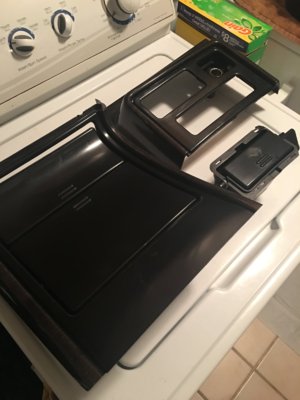
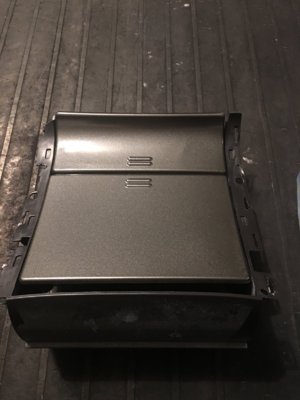
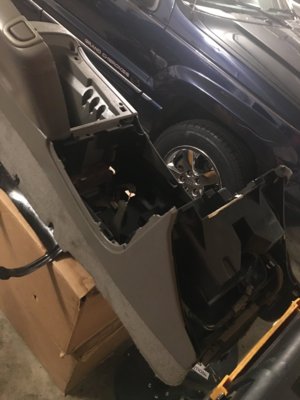
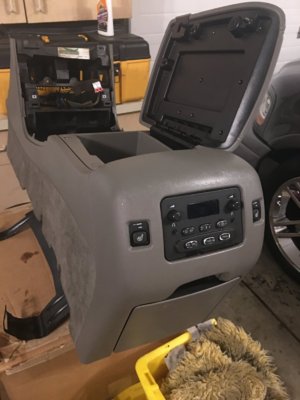
Tore down the center console I purchased so we could start on a sub box plan for under the console. I’m wanting to retain the cupholders and the console storage which makes this a bit difficult.

Console started off pretty ruff but with some TLC should clean up pretty good. After some fiberglass work the plastics will all be getting painted with some SEM anyways so everything matches good and looks new. The plastic doesn’t have any gouges or cracks which is a big plus. 9033F6C7-61BA-414E-BCB9-CABDC6F9B03D.jpeg FF80D679-A529-4ACC-B8DF-91F5B0AB107E.jpeg1B18DEEB-4970-4798-B434-138C44E955C9.jpeg09984278-6A85-4E37-B184-71EFD0D350B0.jpegCC26E50B-C46C-40D9-B777-9EC3B707309E.jpeg
 
OP
OP
Madgrty

Madgrty

Full Access Member
Joined
Apr 22, 2015
Posts
107
Reaction score
58
Location
St. Louis MO
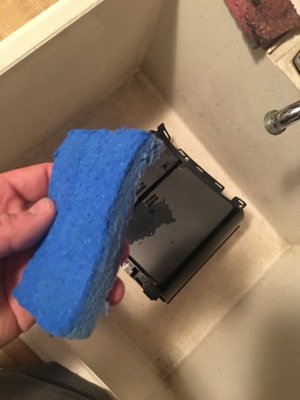
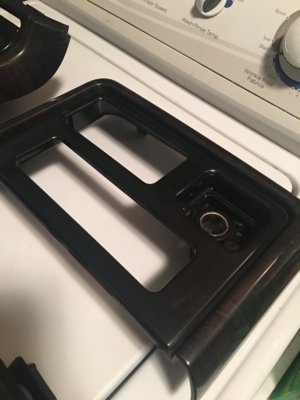
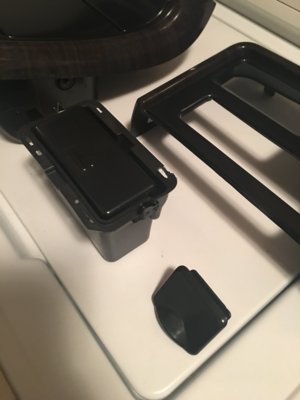
Got started on fixing up the Denali trim pieces. I dissasembled them to make it easier to get the old paint off. I found the easiest way to get off the old paint was by taking a sponge with the soft gritty texture (have no idea exactly what it is, just found it around the house and it worked well) and scrubbing while holding it under water in the slop sink. It’s like trying to get crusted food off of plates. Just flakes right off. 31B8F120-B96D-4A6C-8DA4-1668A0A2ACD8.jpeg
For some people trying to restore the Denali pieces, may decide to just leave the black raw finish of the plastic but i personally think the Titanium color looks better. Hopefully will get to spray them tomorrow and reassemble if the weather permits.
A7FE102C-7783-43E2-B157-B810C2096E6B.jpeg 4B35A9FA-CFFA-4F96-AACA-99502CBE6B37.jpeg F2DB9F8E-5CF8-4CD2-87C5-B482DC4ABDFE.jpeg
 
OP
OP
Madgrty

Madgrty

Full Access Member
Joined
Apr 22, 2015
Posts
107
Reaction score
58
Location
St. Louis MO
I may be picking up some 2nd row buckets seats out of a 06 Esky this week coming up (hopefully). Once I have the seats I can start mocking up the "double console". I may try and use an Esky clock and heated seat buttons in place of where the 6 disc CD player sits for the rear console and just delete the rear HVAC and radio controls. I don't want the console to sit too high compared to the backside of the front console though so we'll see how it ends up going.
 
OP
OP
Madgrty

Madgrty

Full Access Member
Joined
Apr 22, 2015
Posts
107
Reaction score
58
Location
St. Louis MO
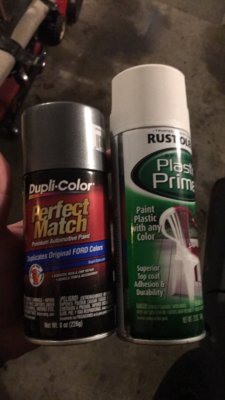
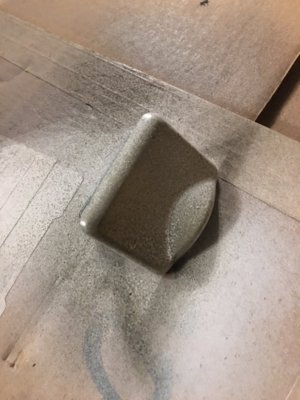
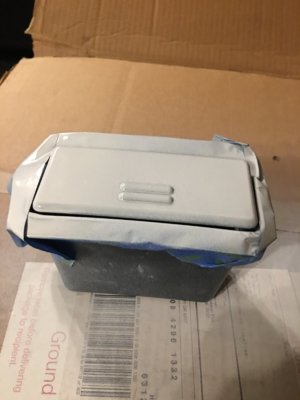
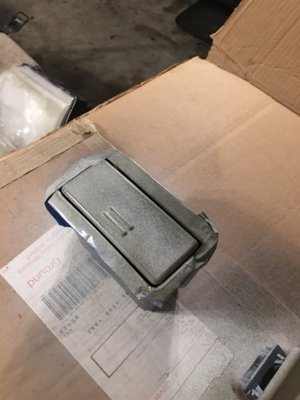
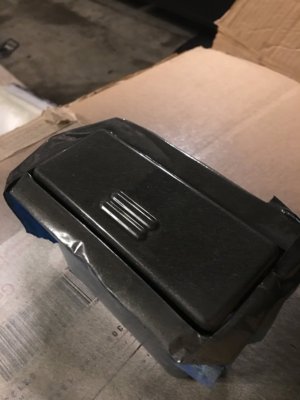
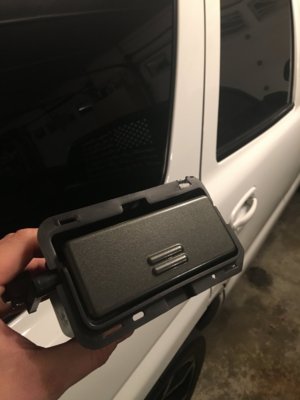
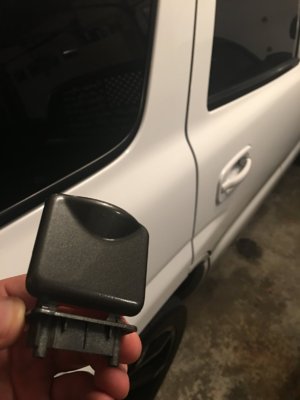
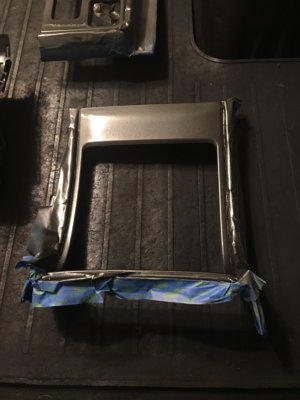
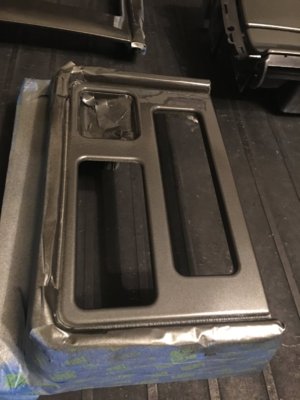
I didn’t get much done today, but i started taping off the wood grain and cup holder pieces earlier and did some test shots on the small door pieces to see if I’ll like how it turns out. I used some perfect color match from autozone to replace the original grey. It’s a very close match, but has a lot of Metal Flake and is much glossier than the flat grey prior.
D37AE585-9094-4AC3-8C7B-C9C52BC6355A.jpeg

I started with light coats of plastic primer (3 coats with 15 minute dry times) and worked my way up to the finish color (3 coats of color). Currently debating on weather i should clear over it or just leave as is. 70D57CD4-7FE8-4C44-8572-C823A4AFCD05.jpeg FF0CFFAB-A584-49C8-9C92-C16DAA6643B3.jpeg
E2470657-89B3-4807-9048-854B11E6CD43.jpeg
E6841C77-F3BF-4878-8036-2CEFF431B8E8.jpeg

I’ll have to strip the dash also so i can match it with this but so far i like it! Picture really doesn’t do it justice. I’ll try to get some better pics in the daytime.
 

KReed450

Member
Joined
Sep 28, 2017
Posts
36
Reaction score
50
This is going to be pretty slick! I think a clear would definitely give it a nice shiny finish and hopefully hold up! Cant wait to see more progress!
 
OP
OP
Madgrty

Madgrty

Full Access Member
Joined
Apr 22, 2015
Posts
107
Reaction score
58
Location
St. Louis MO
I ended up using clear, I think (hoping) it’ll be more protective and it looks much better.

I was originally planning on getting the Esky wood grain pieces in the doors re-trimmed to match the Denali wood grain but I’m thinking I’m going to paint them with the same grey and see how it turns out.
 

Tonyrodz

Resident Resident
Joined
Feb 16, 2012
Posts
30,987
Reaction score
45,145
Location
Central Jersey
I didn’t get much done today, but i started taping off the wood grain and cup holder pieces earlier and did some test shots on the small door pieces to see if I’ll like how it turns out. I used some perfect color match from autozone to replace the original grey. It’s a very close match, but has a lot of Metal Flake and is much glossier than the flat grey prior.
View attachment 186523

I started with light coats of plastic primer (3 coats with 15 minute dry times) and worked my way up to the finish color (3 coats of color). Currently debating on weather i should clear over it or just leave as is. View attachment 186526 View attachment 186524
View attachment 186525
View attachment 186527

I’ll have to strip the dash also so i can match it with this but so far i like it! Picture really doesn’t do it justice. I’ll try to get some better pics in the daytime.
I'd use a gloss coat on it. It'll act as a protective coat in case it gets scratched. The gloss will take the brunt instead of the base coat. Looks great tho.
 
OP
OP
Madgrty

Madgrty

Full Access Member
Joined
Apr 22, 2015
Posts
107
Reaction score
58
Location
St. Louis MO
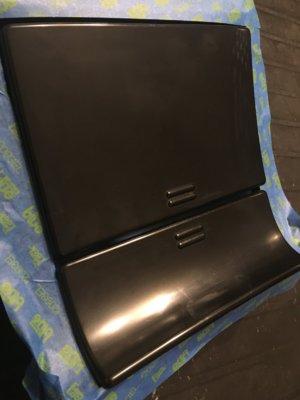
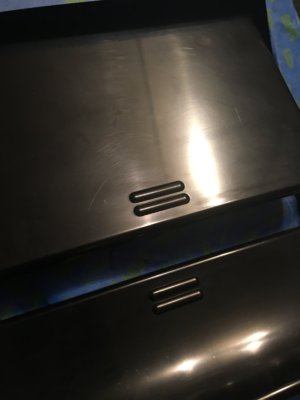
I got some better pictures of the 2 finished pieces. Also got the rest of the console pieces painted. Taping these things off is a pain honestly, but if you take your time it’ll turn out good. The creases in between the wood and the trim panel are a pain, and I know they aren’t going to be perfect so I’m planning on pin-stripping in between unless it’s really unnoticeable. We’ll see once the tape comes off in the morning.
8BE8A7FF-E2C0-456B-B413-2EEA6B90C08C.jpeg 622F4389-E9EC-47A2-97D1-1A41200D7233.jpeg B5DABA5F-9461-4DFF-9E3D-8A92F223EBD7.jpeg 6CD62DFB-EF2E-4FE1-9D99-F3CB52BC686F.jpeg CF6FA72C-8A22-4E96-81C2-59B52A051006.jpeg
 

Forum statistics

Threads
129,174
Posts
1,811,641
Members
92,268
Latest member
willie110hh
Top