Hey guys,
I finally got around to installing my reverse camera and monitor. I had a couple hiccups and I think I'll end up re-doing a couple things, but overall it wasn't too bad.
I started with a 2000 Yukon SLT w/ all options for the year including OnStar. I thought I would be slick and modify the OnStar harness to get my power and ground for the monitor. I figured that since the camera would only be on w/ the reverse lights, I could deal with the blank monitor.
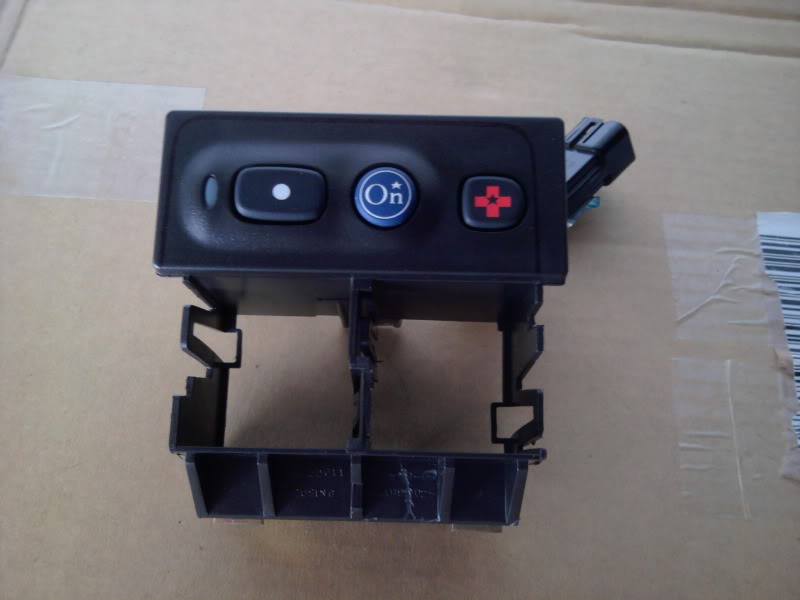
Connector all de-pinned and soldered:
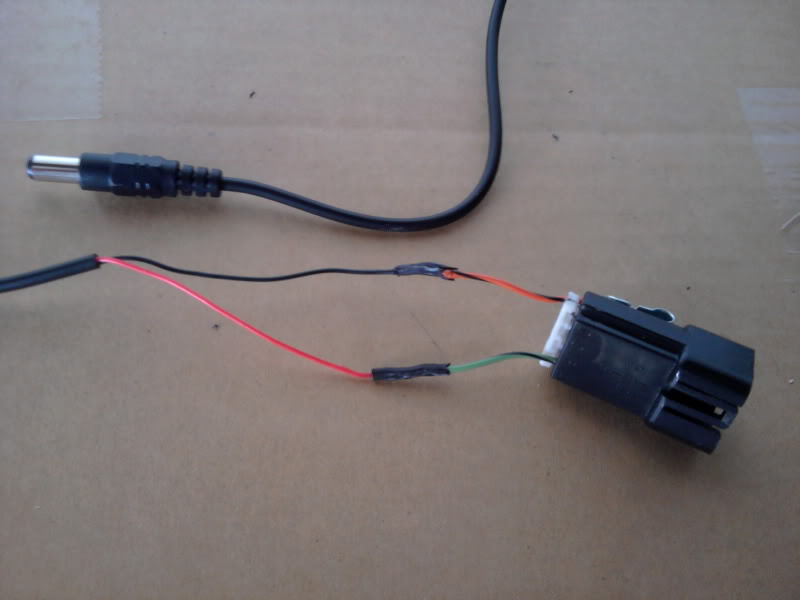
The next step was taking some measurements and modifying GM PN 15207926 from this:

To this:
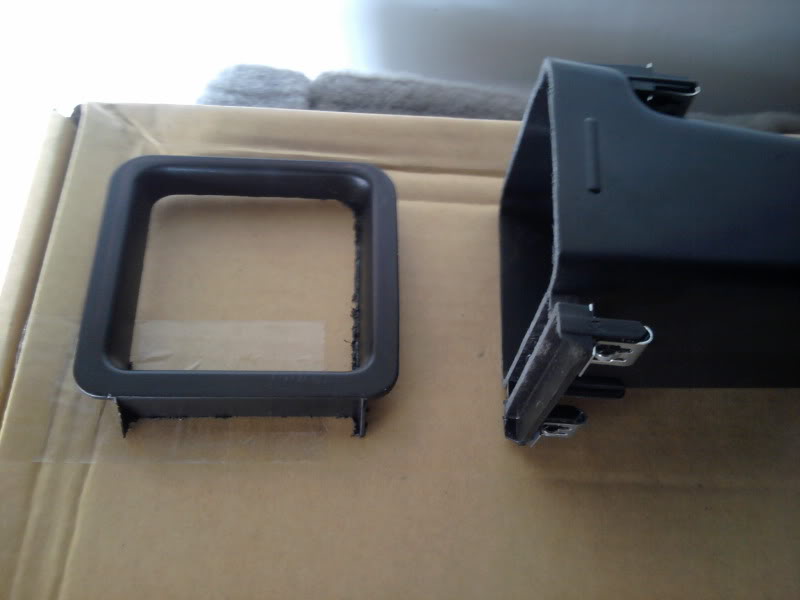
After that I broke out the JB Weld and secured my monitor to the compartment:


Got it fitting well:


Then I wired up my camera to the trailer harness:

(Sorry, not the best pic. But I just de-pinned the white wire (grd) and lt green wire (reverse light), soldered/heatshrunk my leads and connected the camera.)
That's when I found out my snazzy OnStar harness didn't feed power to the monitor. D'Oh!!
So I ran the power and ground for the monitor down the same way I ran the video cable:
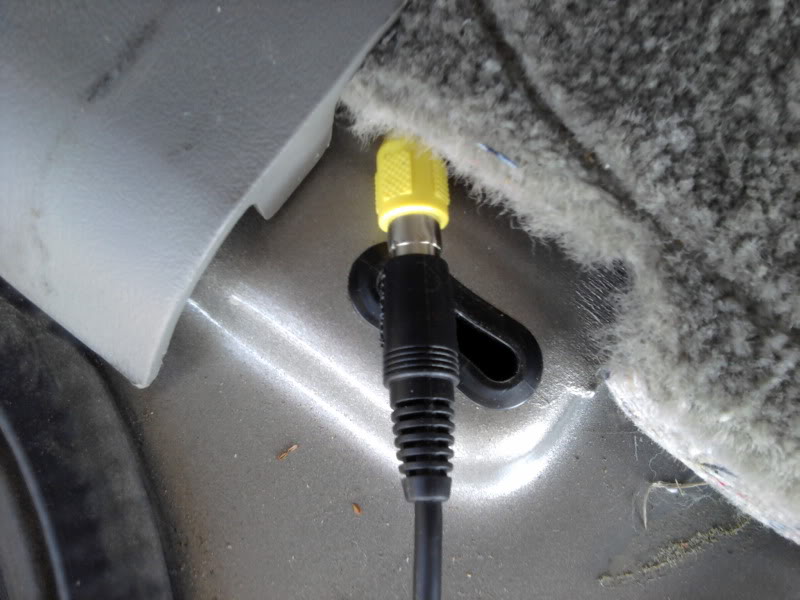
I needed a 6ft extension, but I was able to sneak the video cable through the weatherstripping and I found a hole below the trim piece that ran out the bottom of the truck for my monitor's power and ground:

I checked the camera orientation since I had played with the bracket when I got it and I didn't remember which way was up (note to all others: If you move the bracket around after you make sure it all works, mark the top of the camera first)
Then worked on mounting the camera to the bumper:


Honestly, the camera is still a tad too high, so with the hatch closed, it cuts off the top part of the image. I'll trim some more and re-install down the road, but for now it gets the job done. I hope you guys enjoyed the read and I will say I was very happy to find that I didn't have to drill any holes in the body for the wiring and I was able to run most of the wires in the OE conduit to keep it clean.
PS - Sorry for the long read
PPS - Cliffs: Installed reverse camera and monitor, lol
I finally got around to installing my reverse camera and monitor. I had a couple hiccups and I think I'll end up re-doing a couple things, but overall it wasn't too bad.
I started with a 2000 Yukon SLT w/ all options for the year including OnStar. I thought I would be slick and modify the OnStar harness to get my power and ground for the monitor. I figured that since the camera would only be on w/ the reverse lights, I could deal with the blank monitor.
Connector all de-pinned and soldered:
The next step was taking some measurements and modifying GM PN 15207926 from this:
To this:
After that I broke out the JB Weld and secured my monitor to the compartment:
Got it fitting well:
Then I wired up my camera to the trailer harness:
(Sorry, not the best pic. But I just de-pinned the white wire (grd) and lt green wire (reverse light), soldered/heatshrunk my leads and connected the camera.)
That's when I found out my snazzy OnStar harness didn't feed power to the monitor. D'Oh!!
So I ran the power and ground for the monitor down the same way I ran the video cable:
I needed a 6ft extension, but I was able to sneak the video cable through the weatherstripping and I found a hole below the trim piece that ran out the bottom of the truck for my monitor's power and ground:
I checked the camera orientation since I had played with the bracket when I got it and I didn't remember which way was up (note to all others: If you move the bracket around after you make sure it all works, mark the top of the camera first)
Then worked on mounting the camera to the bumper:
Honestly, the camera is still a tad too high, so with the hatch closed, it cuts off the top part of the image. I'll trim some more and re-install down the road, but for now it gets the job done. I hope you guys enjoyed the read and I will say I was very happy to find that I didn't have to drill any holes in the body for the wiring and I was able to run most of the wires in the OE conduit to keep it clean.
PS - Sorry for the long read
PPS - Cliffs: Installed reverse camera and monitor, lol